
API Integration: Create and Manage Scoped API Keys
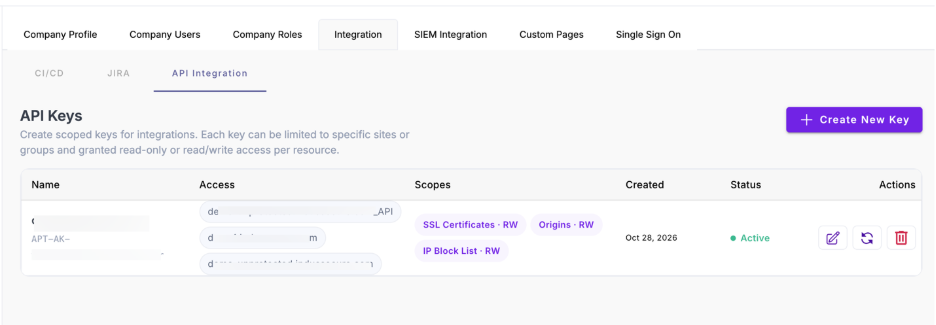
The API Integration tab in the AppTrana allows you create API keys with limited access. Each API key gives access only to the sites and the API scopes that you select.
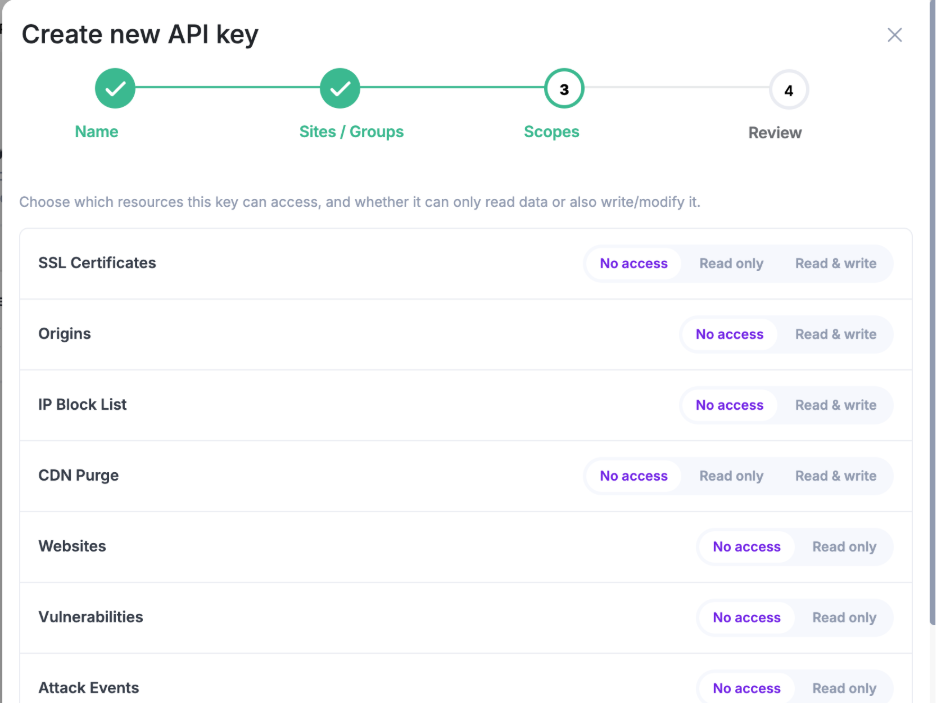
With the API Integration tab, you control the access for each API key:
- Site access: Select the sites that the API key can access.
- Scope access: For each API scope, select the permission level. For example, Read, or Read and write.
Use a different API key for each user, team, or automation task. Give each API key only the access that it needs.
Permission levels
- No access: The API key cannot call the APIs in the scope.
- Read only: The API key can get data from the APIs in the scope. The API key cannot make changes.
- Read and write: The API key can get data and make changes through the APIs in the scope.
Create an API key
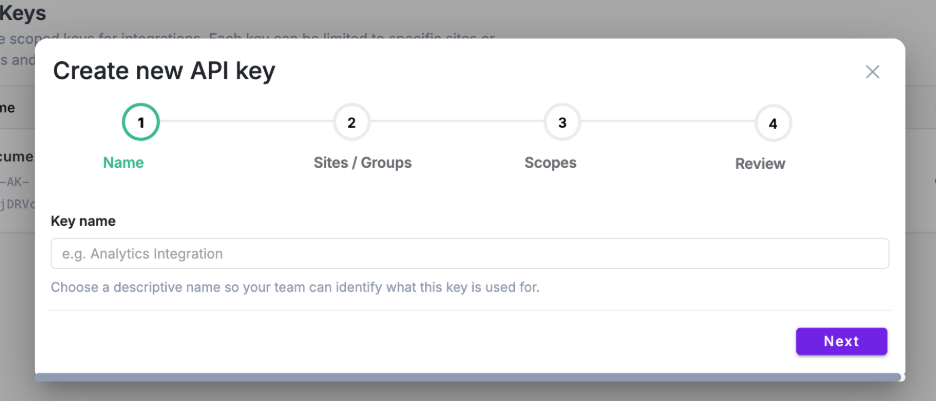
Go to Settings > Integrations
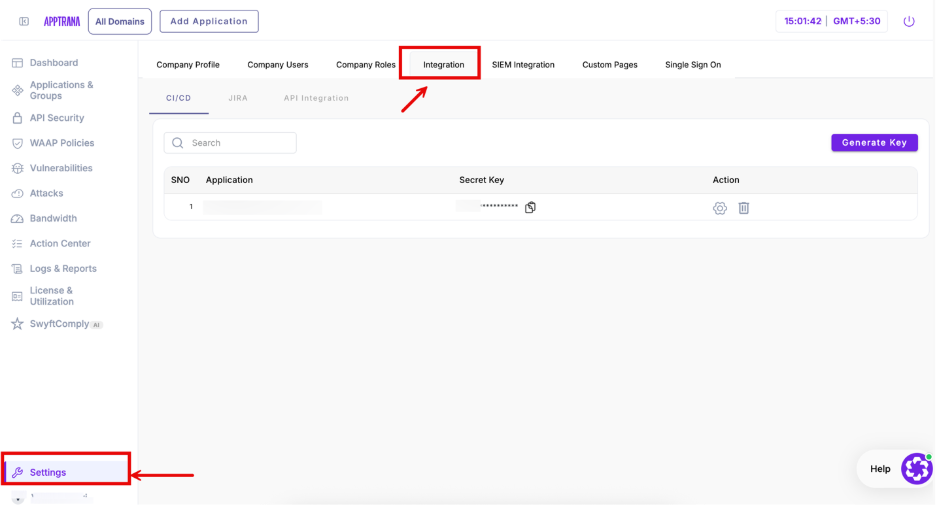
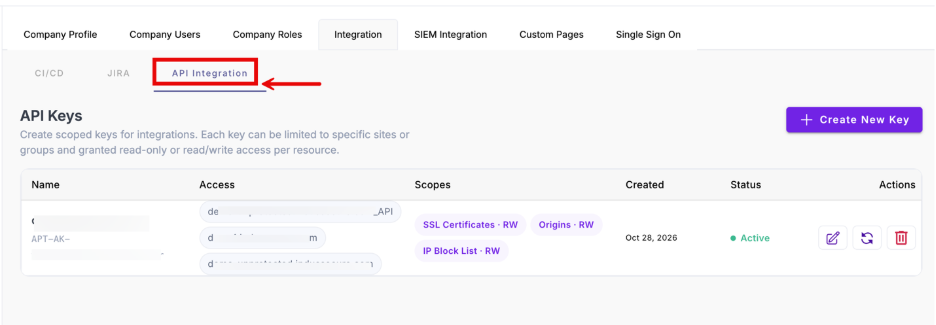
- Select the API Integration tab
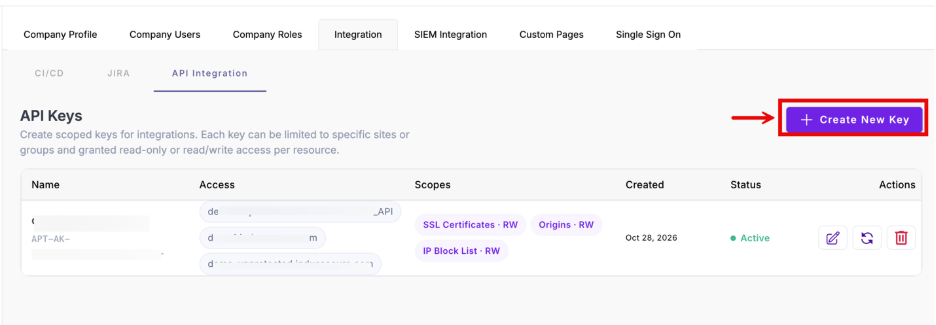
- Click Create New key
- In the Name field, type a name for the API key. Example: SSL certificate automation
- Click Next
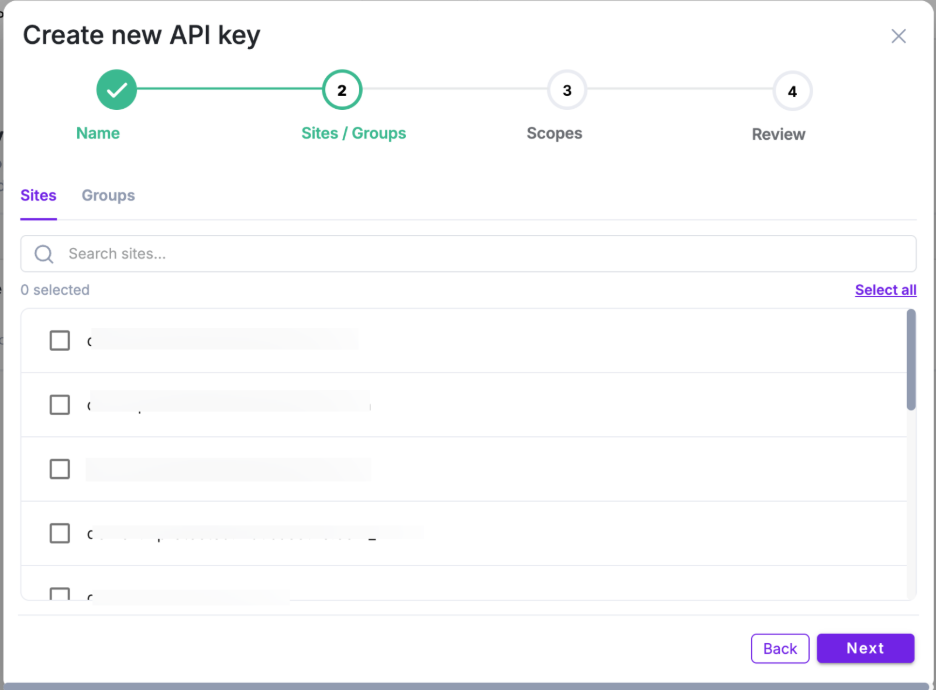
- In the site list, select the sites that the API key can access
- For each scope, select the permission level: No access, Read, or Read and write
- Click Next
- Review the sites and the permission levels
- Click Create
AppTrana shows the API key ID and the API key
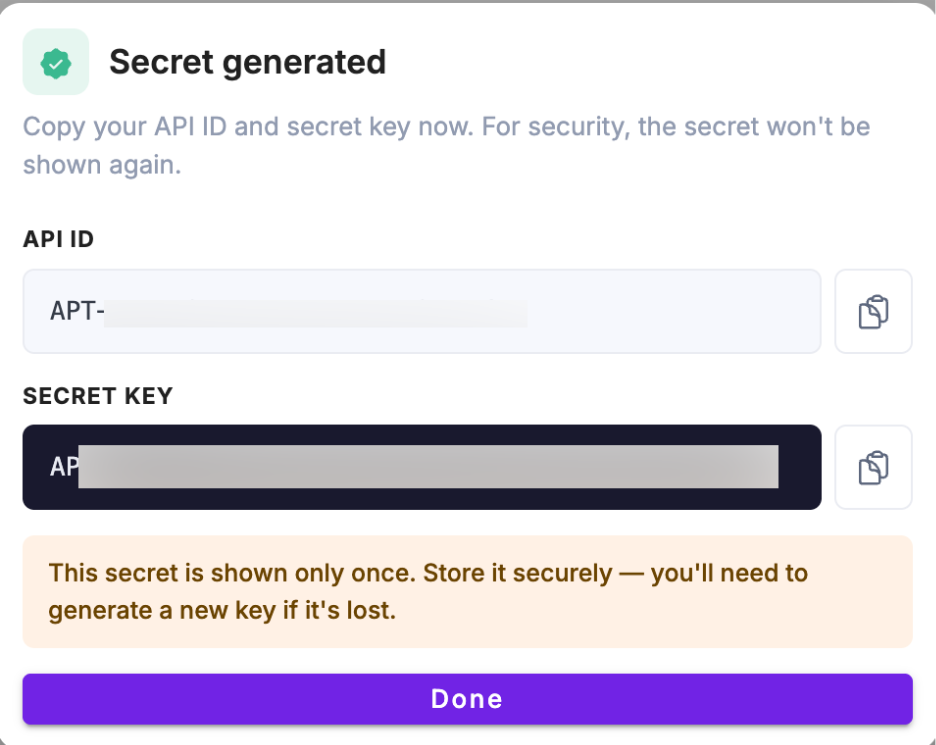
AppTrana shows the API key one time only. If you close the window before you copy the API key, you must rotate the API key to get a new value.
- Copy the API key ID.
- Copy the API key.
- Store the API key ID and the API key in a secure location.
- Close the window.
The API key shows in the list on the API Integration tab. To use the API key, refer to AppTrana API access via token-based authentication
Manage an API key
You can rotate, edit, or delete an API key on the API Integration tab.
1. Rotate an API key
Rotate the API key at a regular interval, or if the API key is exposed. The API key ID does not change. Only the API key changes.
After you rotate the API key, the old API key does not work. Update all scripts and tools that use the old API key.
Find the API key in the list.
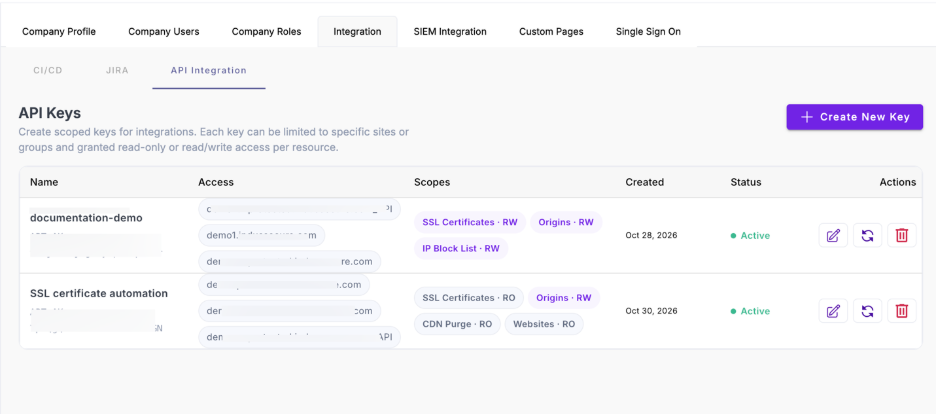
- Click Rotate.
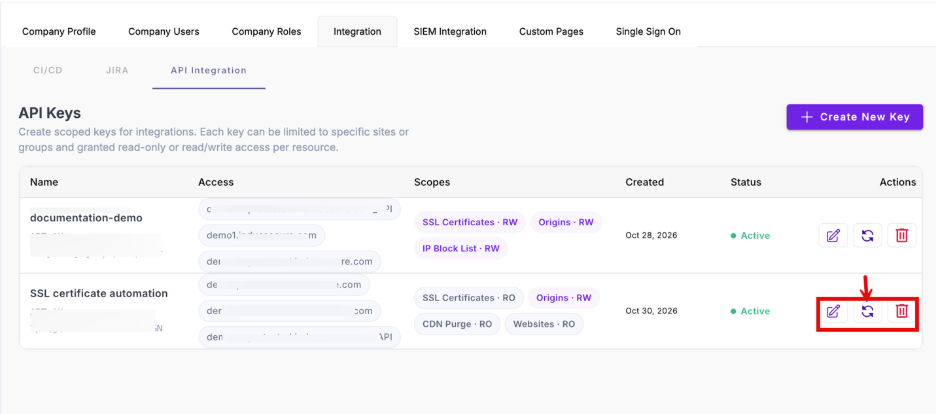

- Copy the new API key.
- Store the new API key in a secure location.
- Replace the old API key in your scripts and tools.
2. Edit the access of an API key
Add or remove sites and permissions when the needs of the user or the task change. The change applies to the same API key. You do not need a new API key.
- Find the API key in the list.
- Click Edit.
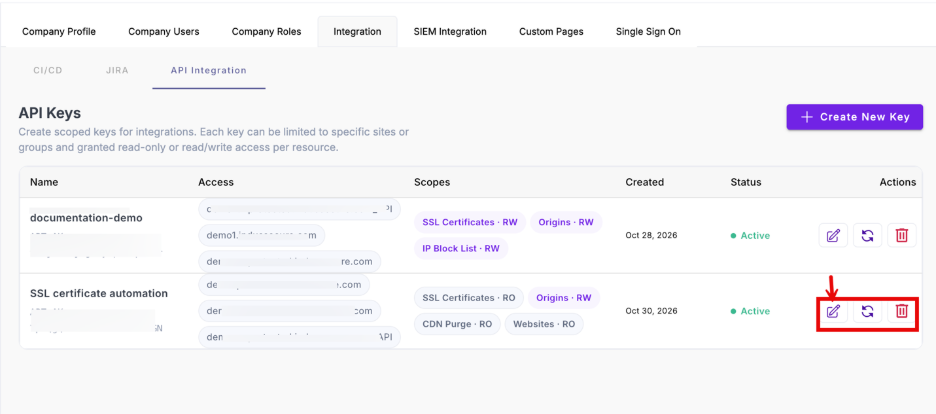
- The Name screen opens. Click Next
- Add or remove sites
- Change the permission level for each scope
- Click Save
3. Delete an API key
After you delete an API key, all API requests that use the API key fail. You cannot restore a deleted API key.
- Find the API key in the list
- Click Delete
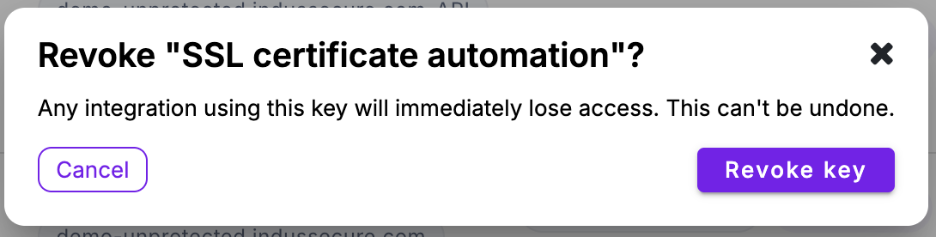
- Confirm the deletion
Use cases
Create one API key for each user or task. The table shows example configurations.
Use case | Sites | SSL certificates | Origins | CDN | All other scopes |
| One user updates SSL certificates | Selected sites | Read and write | No access | No access | No access |
| One user changes CDN settings | Selected sites | No access | No access | Read and write | No access |
| One user manages origins | Selected sites | No access | Read and write | No access | No access |
| Monitoring tool reads configuration | All sites | Read | Read | Read | Read |
With this model, each API key shows which user or task can read or change each area.