
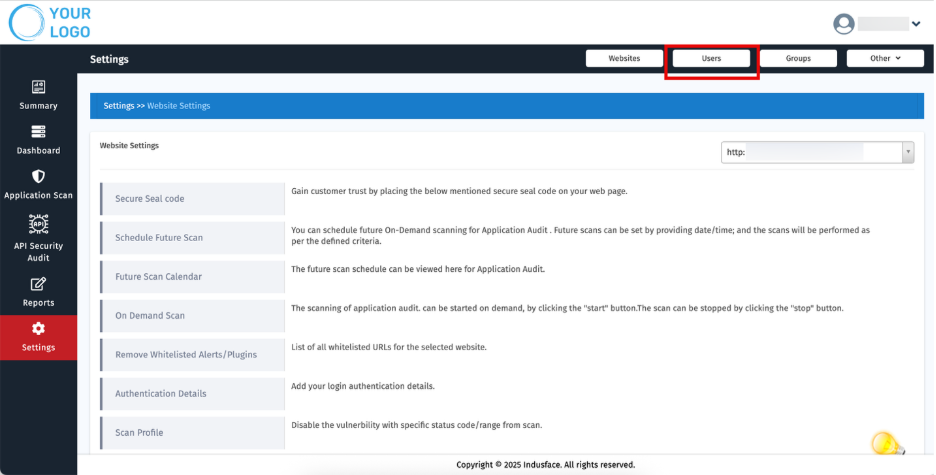
Users
The User Settings section in the Indusface WAS MSSP Client Portal enables administrators to manage user access across various customer accounts. MSSPs can create and manage user roles, assign access to specific websites or customer groups, and enforce security features such as two-factor authentication to ensure secure access to sensitive data.
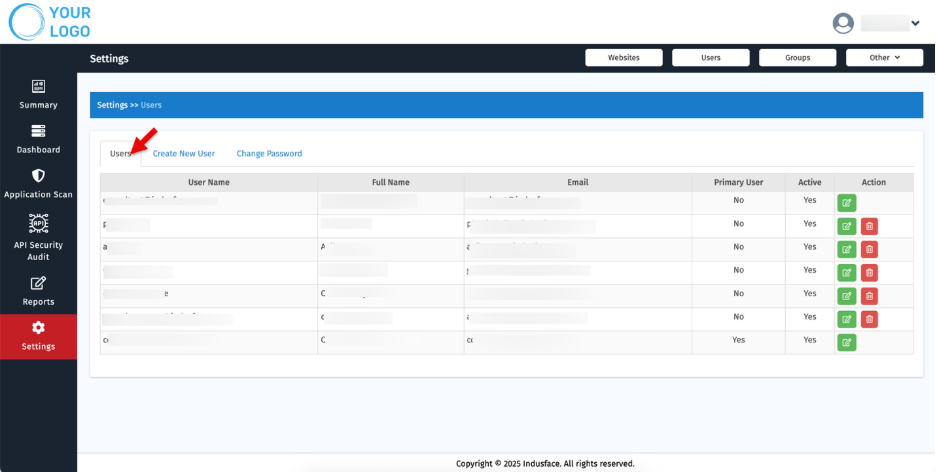
1. User Management Overview
MSSPs can maintain a centralized view of all users associated with their account, each with varying levels of access to client websites.
Field | Description |
| User Name | Name of the user |
| File Name | Internal reference tag or profile label |
| User’s login email address | |
| Primary User | Indicates if the user is the main contact (Yes/No) |
| Active Status | Displays if the user account is currently active or inactive |
| Actions | Edit or Delete the user account |
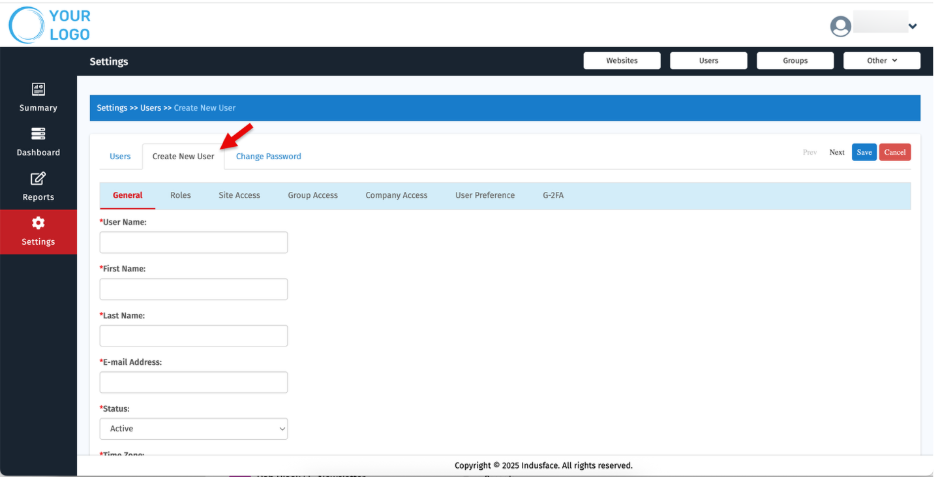
2. Create New User
Click "Create New User" to onboard a new user to the MSSP portal. This process includes multiple configuration tabs that allow you to tailor access per client, based on your operational structure.
General
Capture basic user details and define their default settings.
Field | Description |
| First Name | User’s first name |
| Last Name | User’s last name |
| Email Address | Used for portal login and receiving scan alerts |
| Status | Set as Active or Inactive |
| Timezone | Ensures scan reports and alerts align with the user’s time zone, especially useful for MSSP teams in different regions |
| Inactive Date | Set a deactivation date for temporary or project-based team members |
| Report Format | Enable advanced grouping for better visibility across multiple clients |
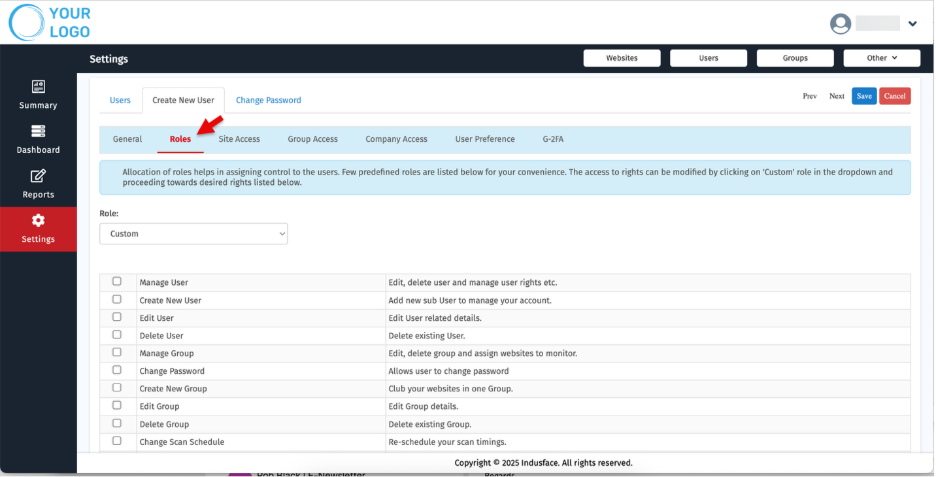
Roles
Assign user privileges based on their responsibilities within the MSSP’s operations.
Role Type | Description |
| Global Administrator | Provides full access to all features and customer accounts within the MSSP portal |
| Custom Role | Allows granular permission settings for specific tasks or client accounts, ideal for assigning roles such as scan operators, auditors, or account managers
|
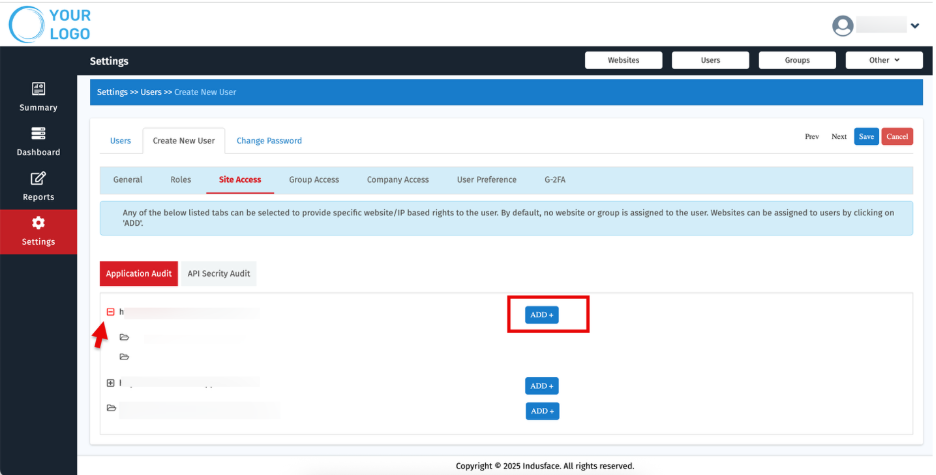
Site Access
MSSPs can assign access to specific customer websites and allow users to manage defined services for each.
Steps
Choose the customer website.
- Select scans types
- Application Audit
- API Security Audit
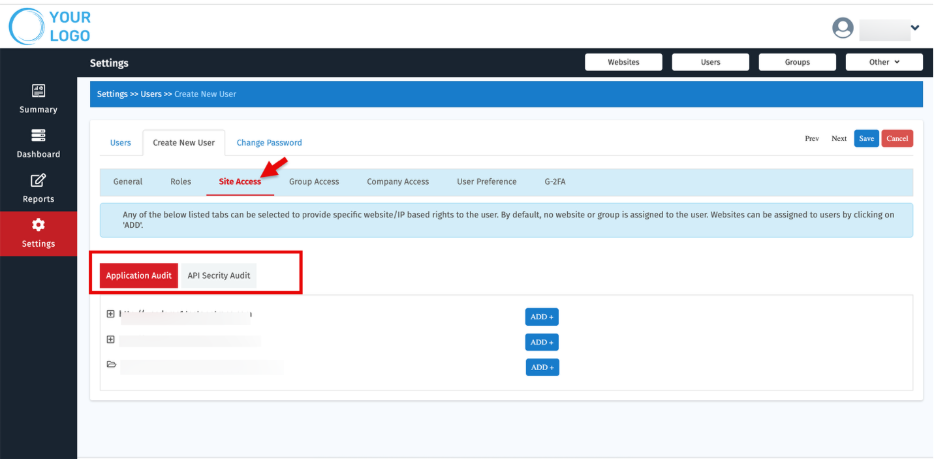
- Click ➕ beside an IP to view associated URLs.
- Click ADD or REMOVE to manage access for each user.
- Click Save.
This allows you to give team members precise control over the security tasks assigned for each customer.
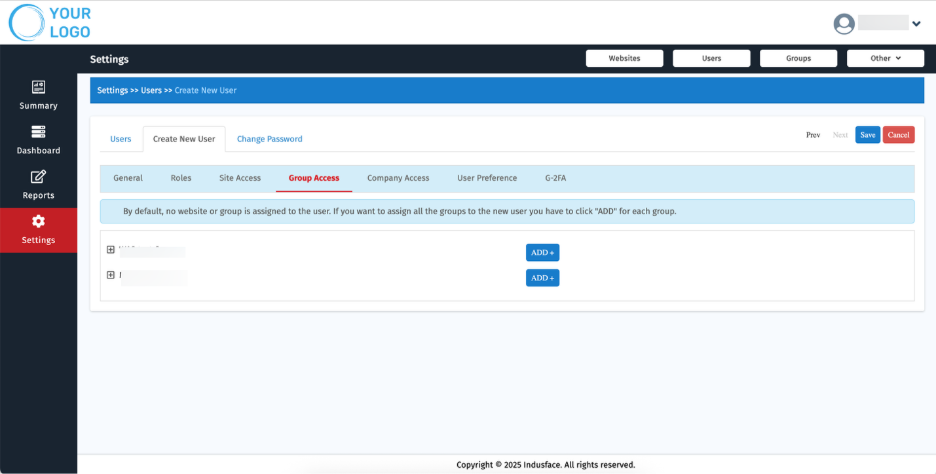
Group Access
Useful for MSSPs that organize websites into customer-specific groups. This option helps assign access to all websites under a group (i.e., a single client) in one go.
Steps:
- Click ➕ beside a group to see the list of associated customer websites.
- Click ADD to assign or REMOVE to revoke access.
- Click Save to apply changes.
Company Access
For users who need broad access, MSSPs can grant permissions to all websites and services under a specific customer company.
Steps:
- Go to Company Access tab.
- Select the target companies/sites the user can manage.
- Click Add to add access.
- Click Save

User Preferences (Notification Settings)
Users can configure which types of email notifications they wish to receive, helping them stay updated on security events related to the clients they manage.
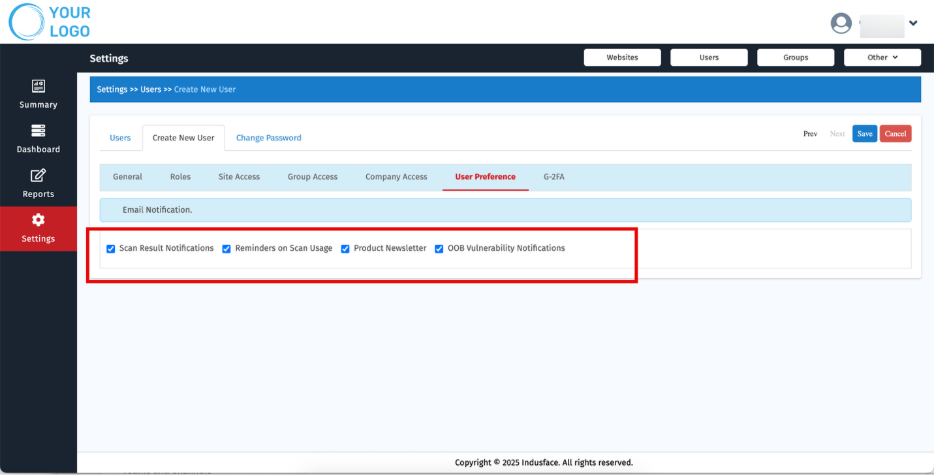
Notification Type | Purpose |
| Scan Result Notifications | Alerts after each scan finishes for assigned client sites |
| Reminders on Scan Usage | Warnings before reaching scan limits on a customer account |
| Product Newsletter | Updates about new features or platform enhancements |
| OOB Vulnerability Notifications | Immediate alerts for critical or out-of-band vulnerabilities across client environments |
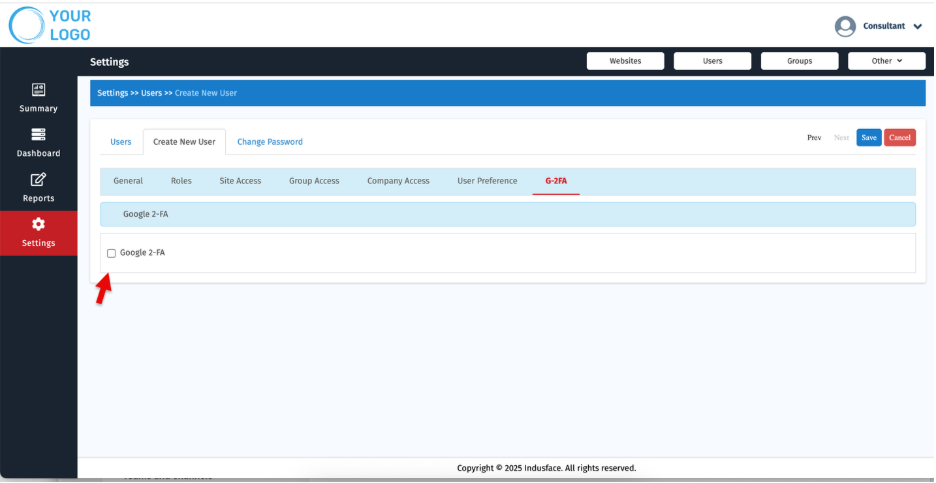
G-2FA (Google 2-Factor Authentication)
- Enhance portal security for all users managing customer data.
- MSSP administrators can enforce 2FA using Google Authenticator.
- Once enabled, users must enter a code during each login, ensuring that access to multiple customer environments remains secure.
3. Change Password
Users can update their login credentials securely through the Change Password tab in the portal.
Field | Description |
| Current Password | Enter existing password |
| New Password | Enter new password |
| Confirm Password | Re-enter new password |
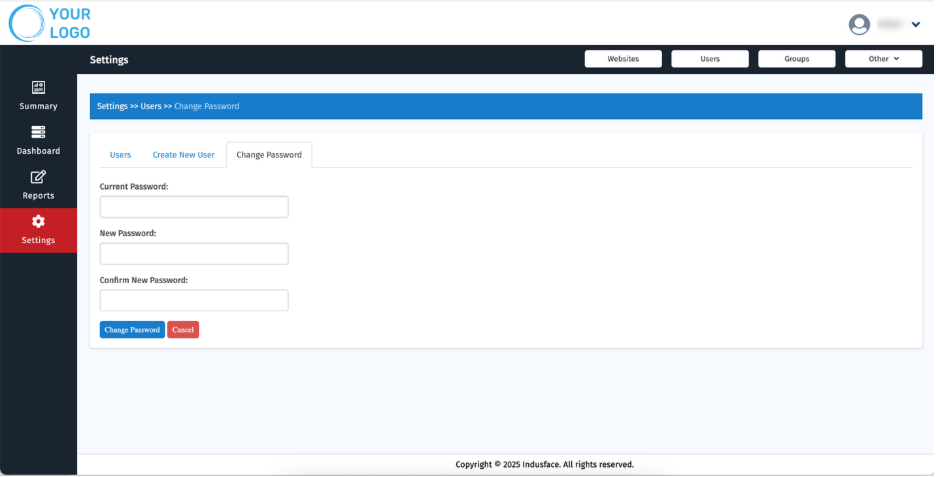
Click Submit to update.