AppTrana and Jira Integration
AppTrana allows you to integrate with Jira so that detected vulnerabilities can be directly exported as Jira issues. This helps your engineering team track, prioritize, and fix vulnerabilities without switching tools.
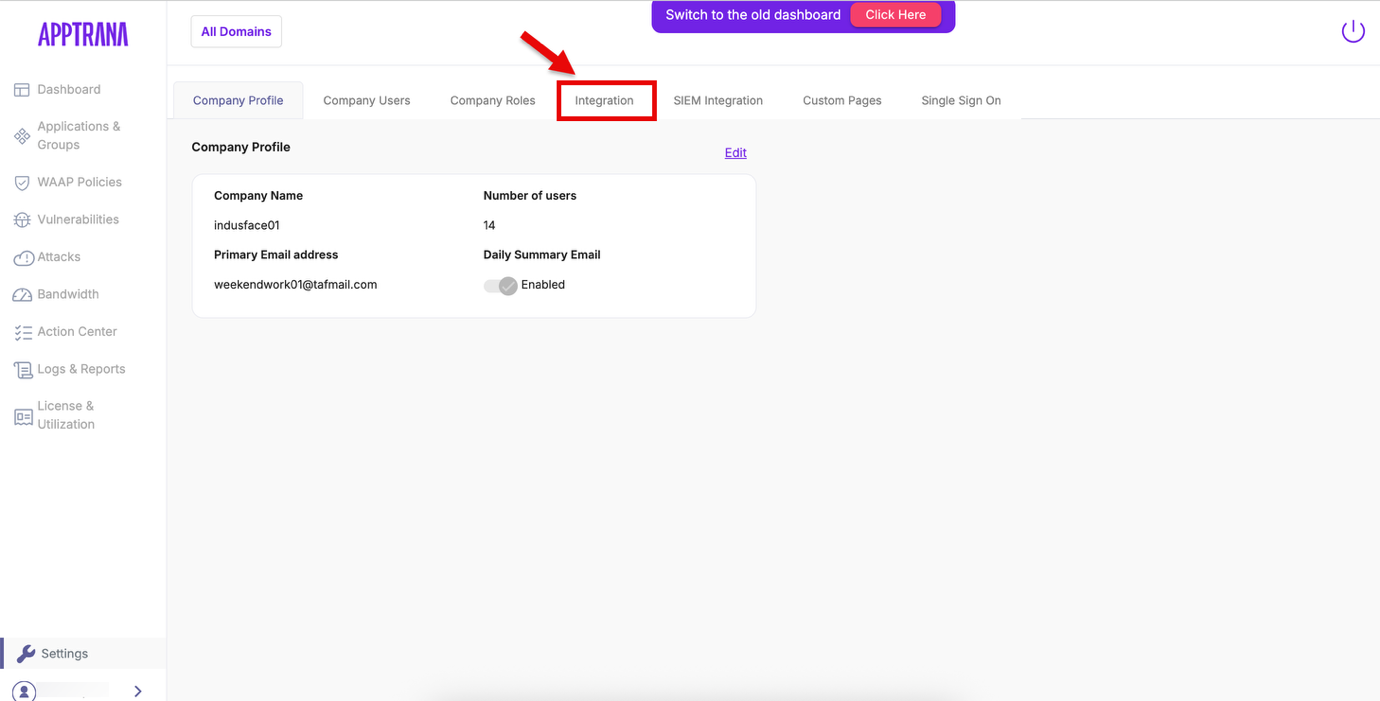
1. Access Integration Settings
- Log in to the AppTrana portal.
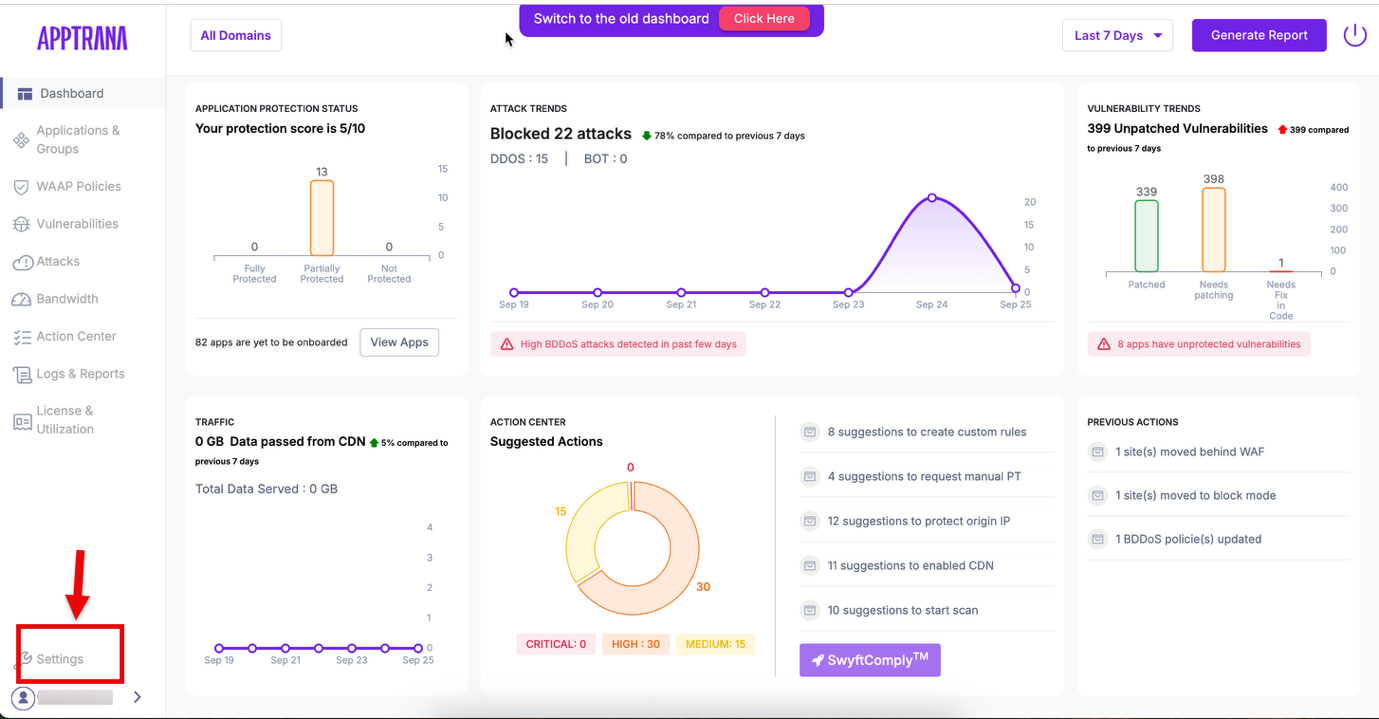
- Navigate to Settings
3. Select the Integrations option within Settings.
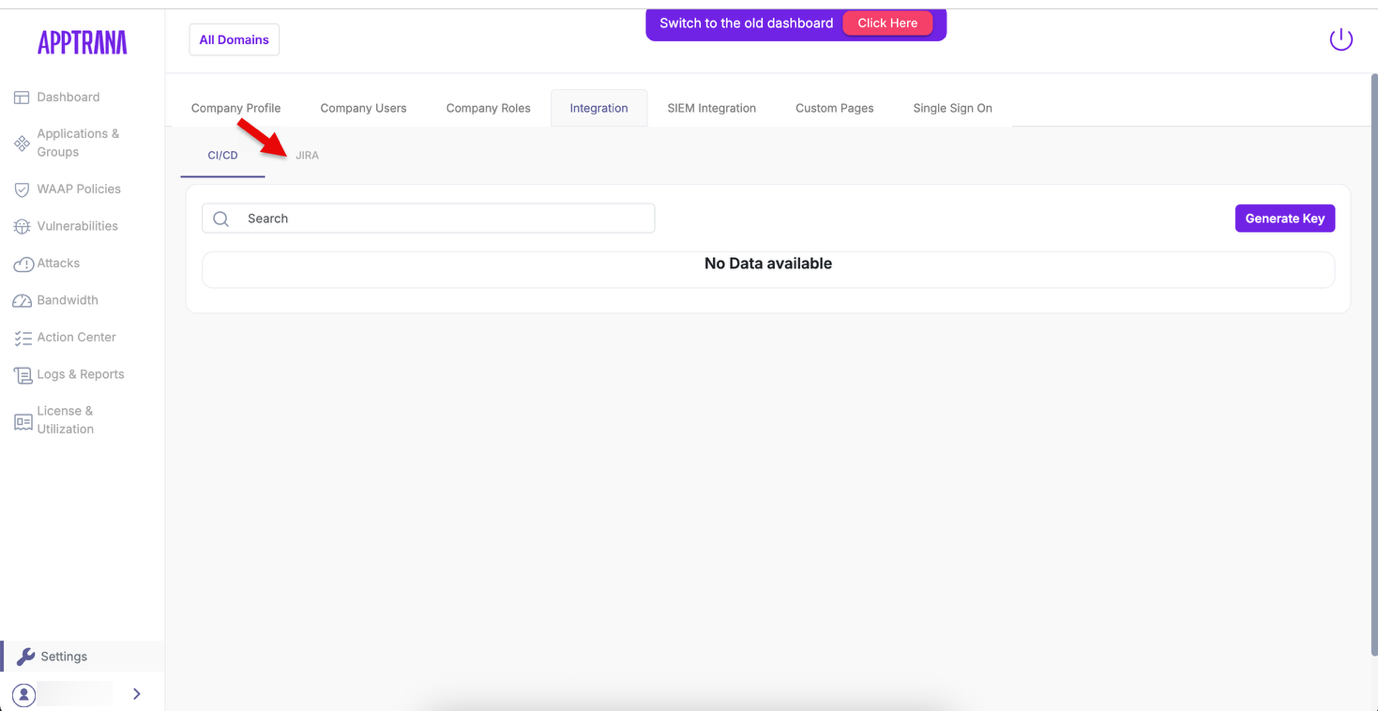
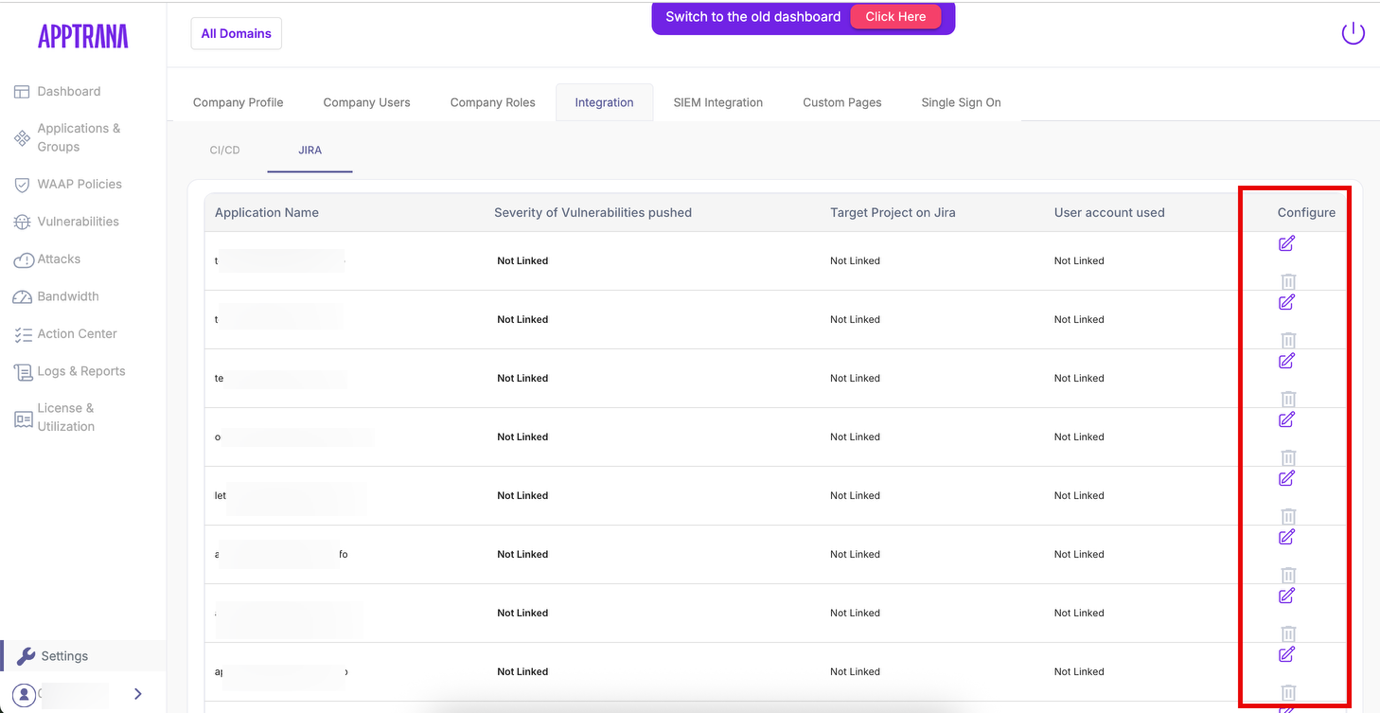
2. Add a Jira Account
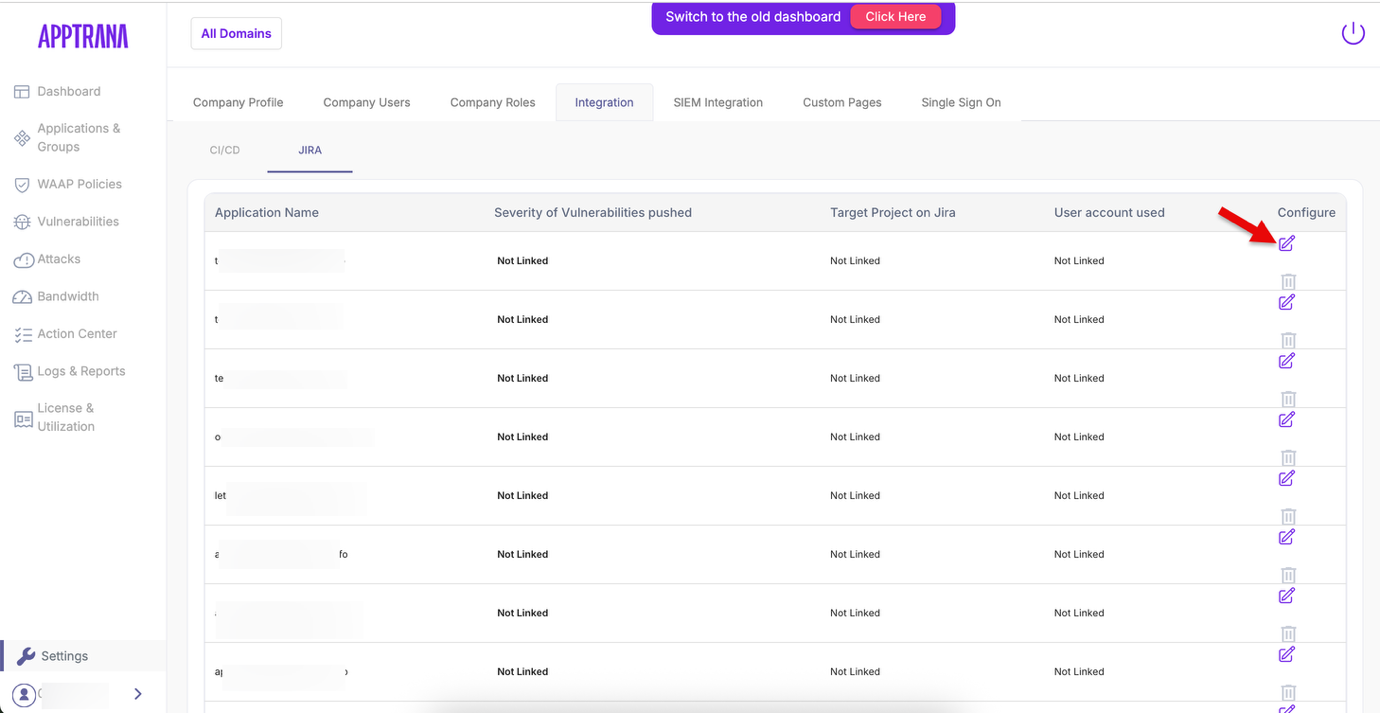
- Click Configure for the site you want to integrate.
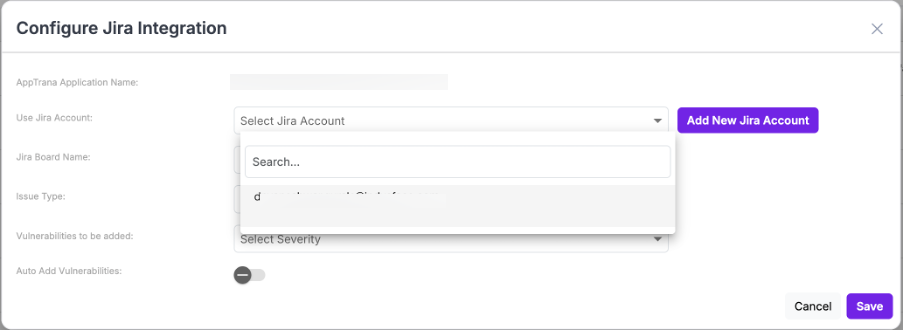
2. Beside the Jira Account dropdown, click Add New Jira Account.
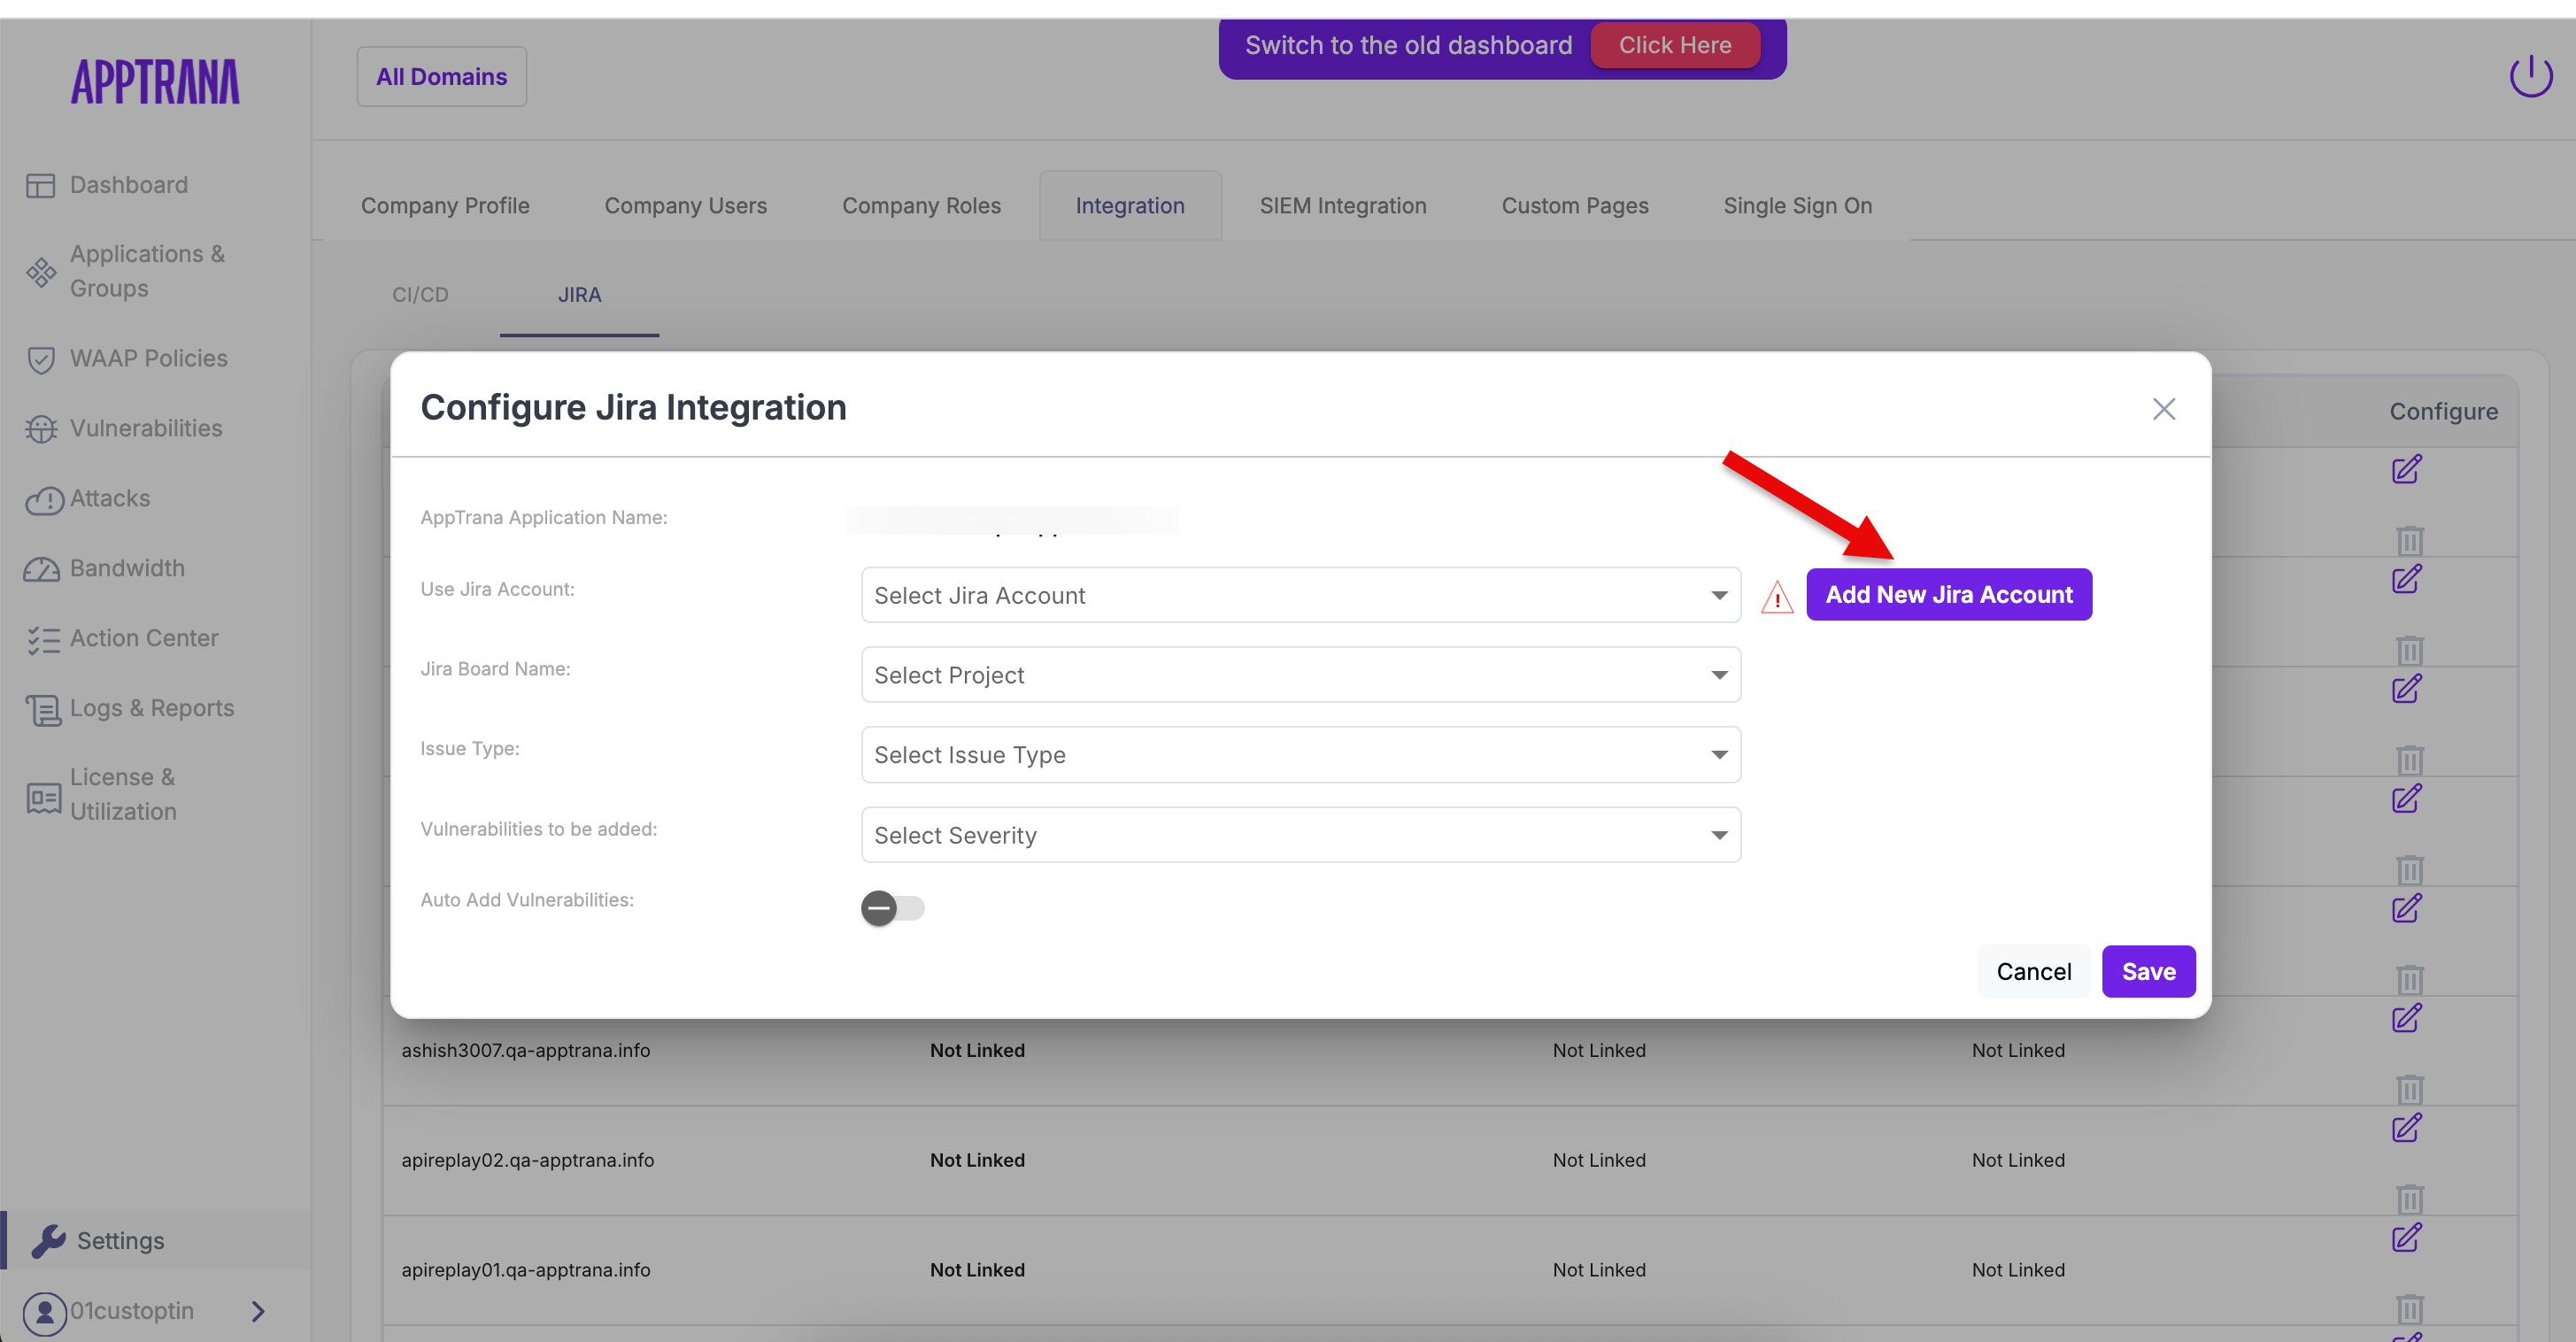
3. Provide the following details:
To configure Jira integration in AppTrana, provide the following information:
a. Jira URL: The web address of your Jira instance.
Example: https://yourcompany.atlassian.net
b. User Email: Login to Jira → Profile & Settings → Manage account → Contact section.
c. API Key:
- Go to Atlassian Account → Security → API Tokens.
- Click Create and manage API tokens → Create API Token.
- Name your token, set expiry, and click Create.
- Copy the token and paste it in the API Key field in AppTrana.
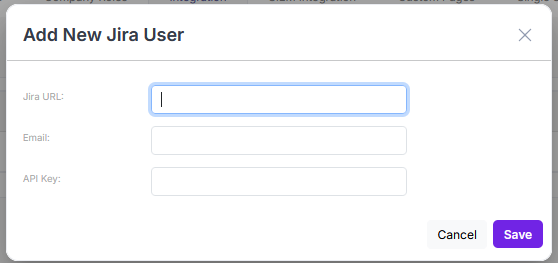
d. Save the details. AppTrana will verify the credentials and make the account available in the dropdown.
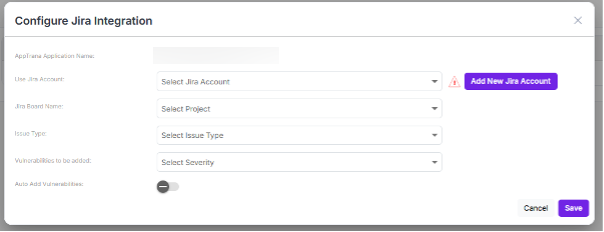
3. Select Jira Project & Issue Type
- From the dropdown, select the Jira account you added earlier. This links AppTrana to your Jira workspace.Use Refresh if you recently added projects.
2. Choose the Issue Type (e.g., Bug, Task, Story).
3. Select the vulnerability severities to sync.
Optionally enable Auto-Add Vulnerabilities to automatically create Jira issues.
4. Export Vulnerabilities
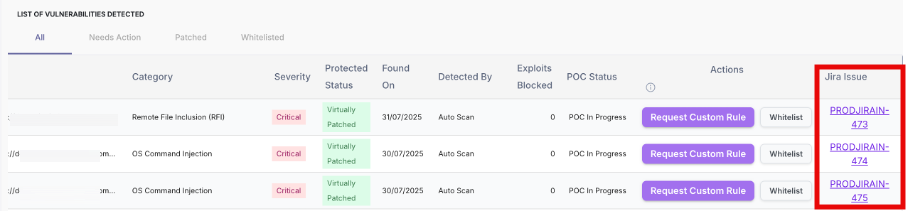
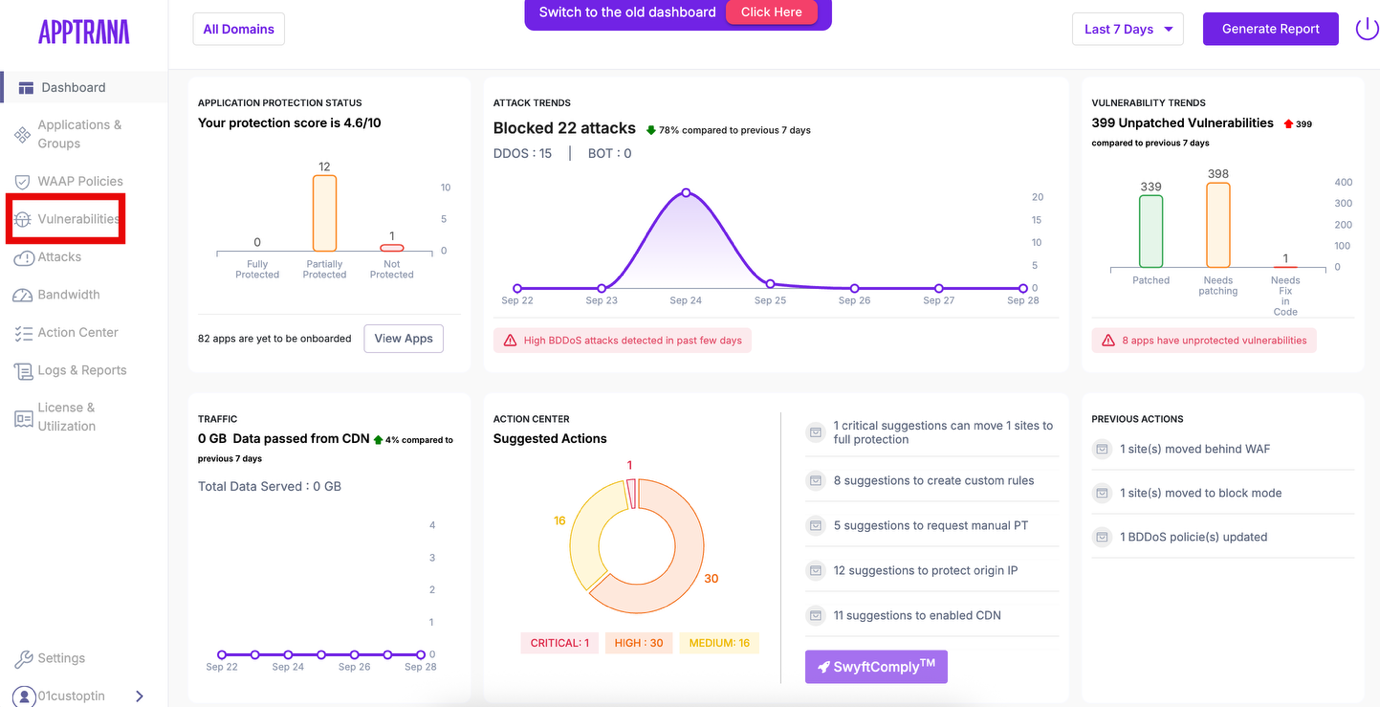
1. Navigate to the Vulnerabilities tab in AppTrana.
2. View the List of Detected Vulnerabilities
In the list, check the rightmost column for export options:
- Create Link – Appears if manual mode is selected. Clicking Create Link will create a Jira issue in the configured project.
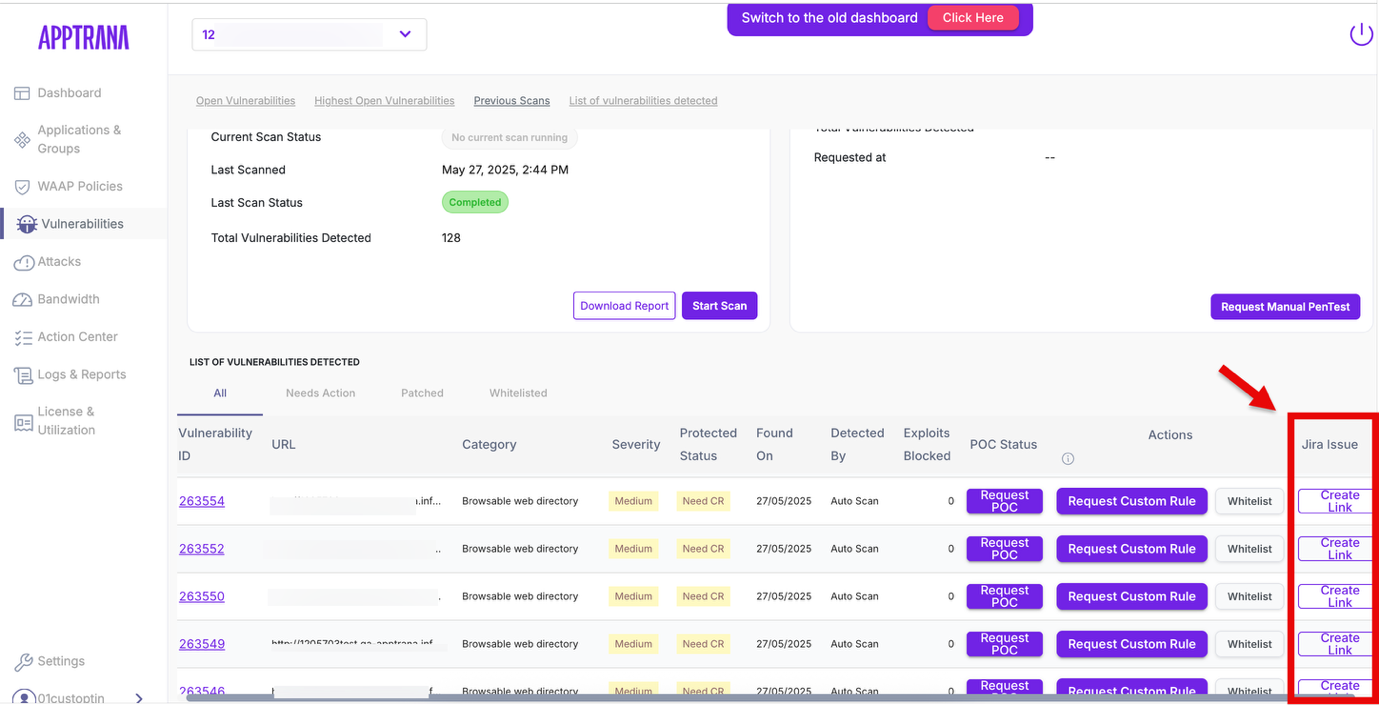
Jira Issue ID Link – Appears if auto-add mode is enabled, showing the ID of the Jira issue automatically created.