Website
The Website Settings page allows you to configure scanning preferences, authentication, and security settings for each website added to the Indusface WAS MSSP Client portal.
Accessing Website Settings
Navigate to Website Settings under the Settings section.
Select the specific customer website from the dropdown list.

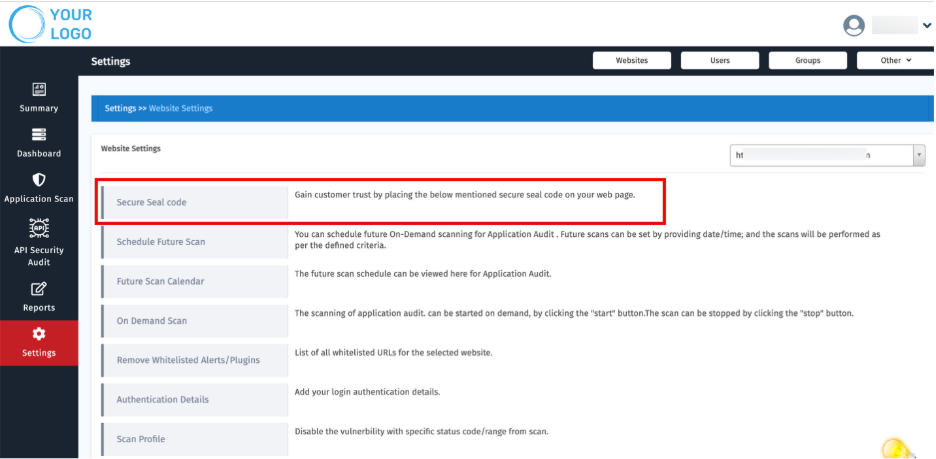
Configuration Options
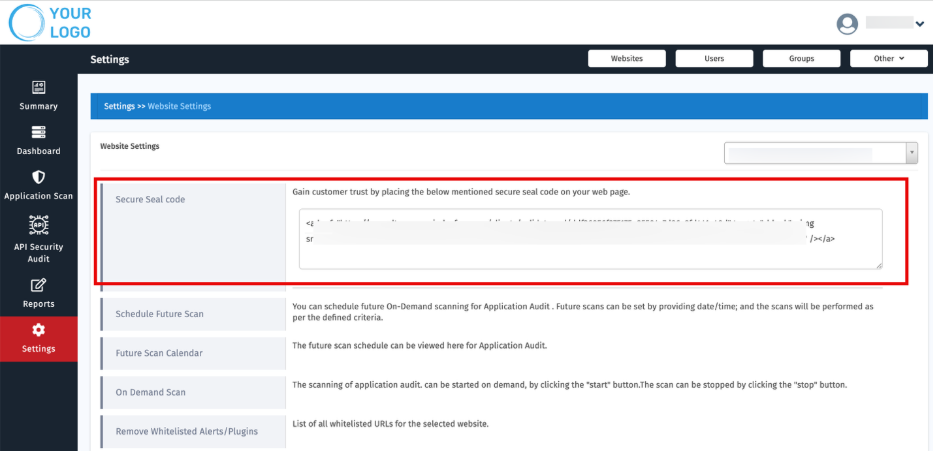
1. Secure Seal Code
- Copy the generated Secure Seal HTML code.
- MSSPs can share this with customers to embed on their website’s footer or trust badge section.
Purpose: Build customer trust with verified security status.
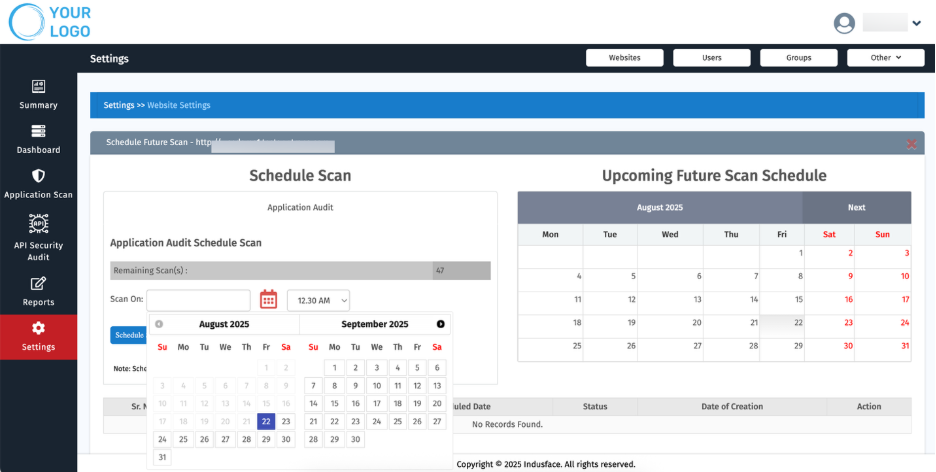
2. Schedule Future Scan
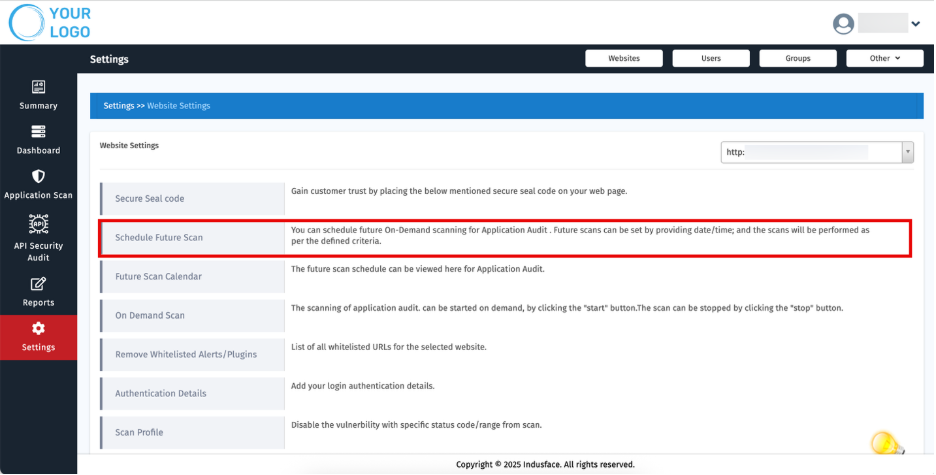
- Pre-schedule scans for Application Audit
- Provide date and time for scan execution.
- View a list of all remaining scan(s) for better tracking
The screen also displays details of any previously scheduled future scans for easy reference
3. Future Scan Calendar
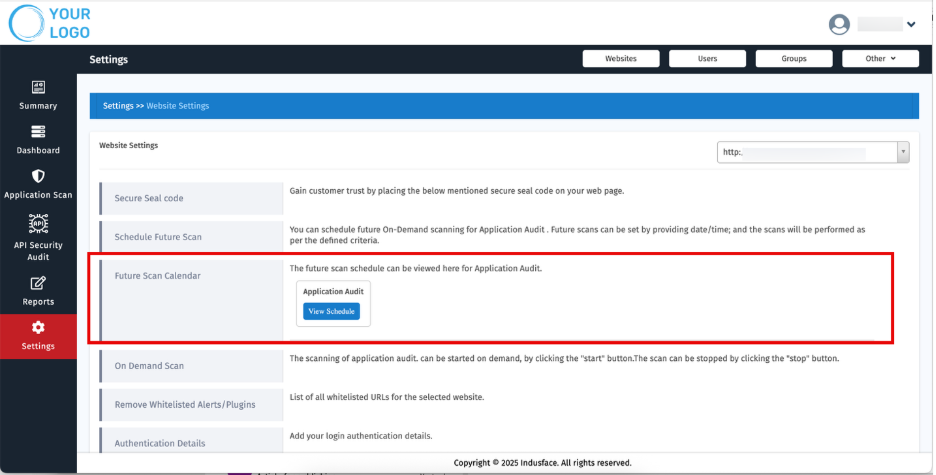
View the scheduled application audit on a calendar interface.
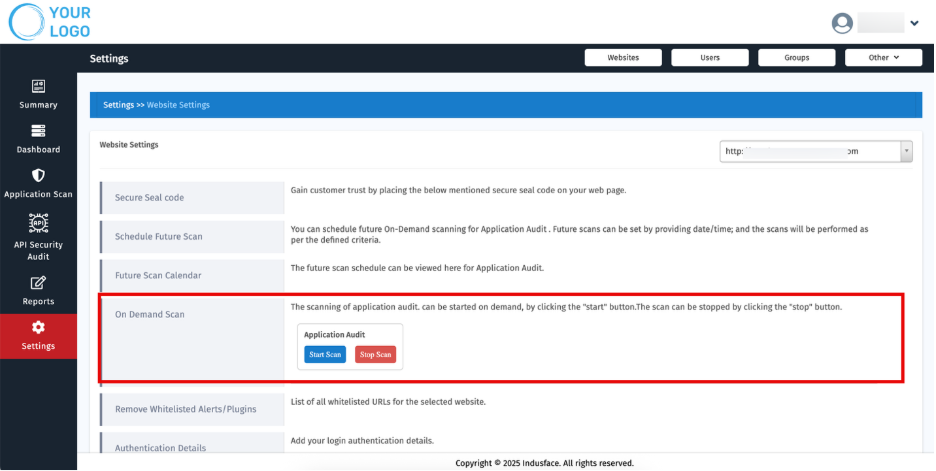
4. On-Demand Scan
- Launch scans instantly for any customer website
- Start or stop scans for Application Audit:
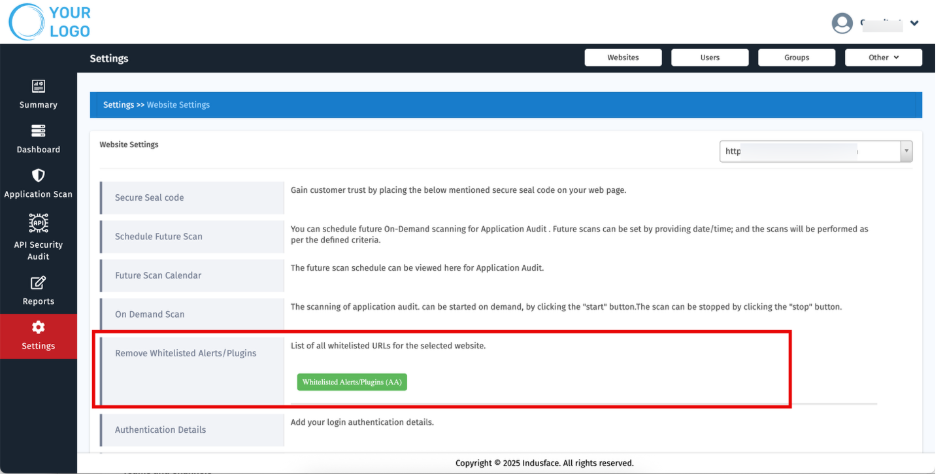
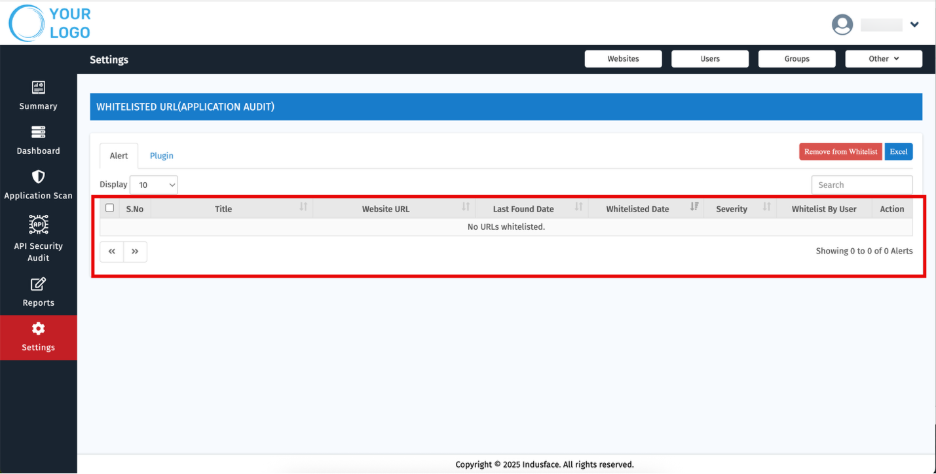
5. Remove Whitelisted Alerts/Plugins
The Remove Whitelisted Alerts/Plugins feature enables administrators and MSSPs to manage and maintain an up-to-date whitelist by removing outdated or unnecessary entries.
Alerts and Plugins Tabs:
Two dedicated tabs allow users to easily switch between viewing whitelisted alerts / plugins for a specific site, rather than at the account level.

Alerts
Whitelisted alerts refer to security events that have been marked as safe and ignored.
Displays a list of all whitelisted URLs with details including:
- S.No
- Title
- Website URL
- Last Found Date
- Whitelisted Date
- Severity
- Whitelisted By User
- Action
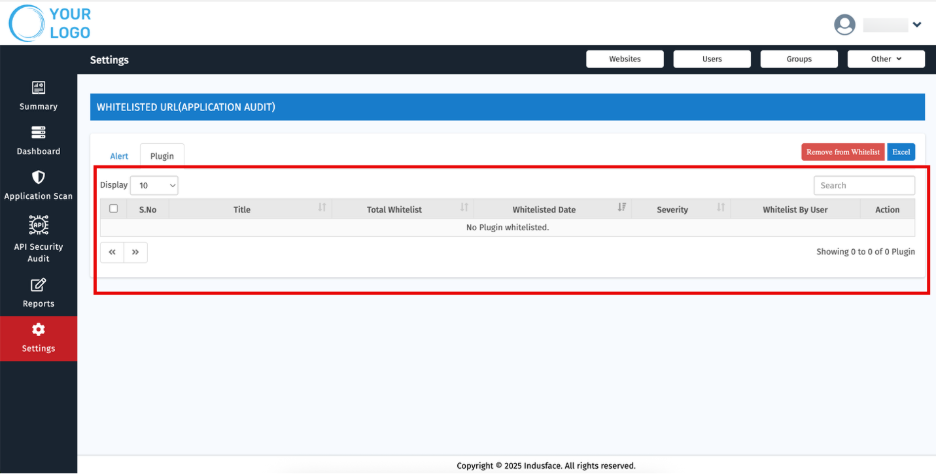
Plugins
Whitelisted plugins are specific extensions or modules allowed to run without triggering security rules.
Displays a separate tab for plugins with the following details:
- S.No
- Title
- Total Whitelist Count
- Whitelisted Date
- Severity
- Whitelisted By User
- Action
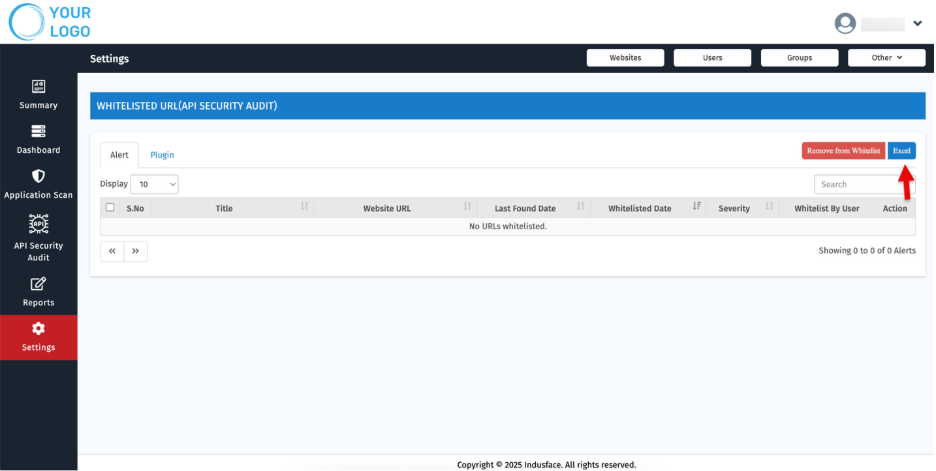
Download Whitelist
Export the entire whitelist (URLs or plugins) to an Excel file for offline review or reporting purposes.
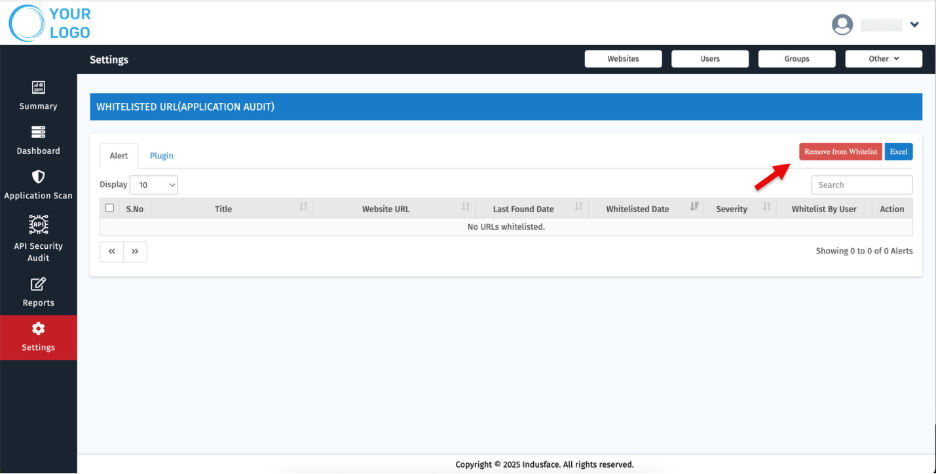
Remove URLs/Plugin
Quickly remove single or multiple entries directly from the interface using the Remove from Whitelist action.
6. Authentication Details
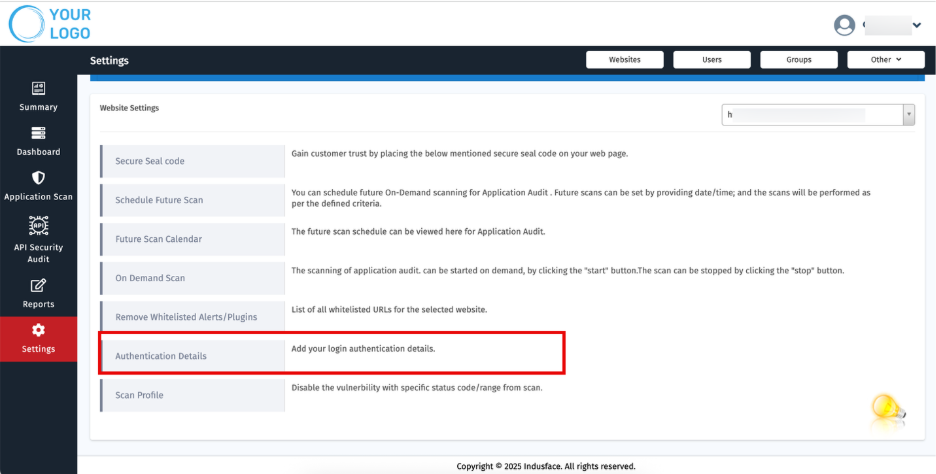
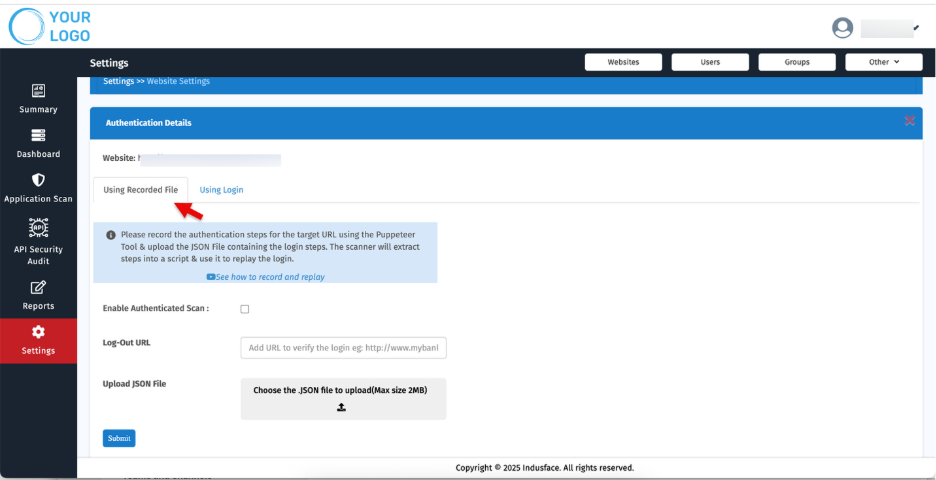
a. Using Recorded File
Steps:
- Record the login flow using the Puppeteer Tool.
- Save the steps in a JSON file.
- Upload the JSON file in the Authentication Details tab.
The scanner will extract the steps into a script and replay them during each scan to perform authenticated scanning.
| Required Fields | Description |
| Enable Authenticated Scan | Activate login-based scanning. |
| Upload JSON File | Attach the Puppeteer-generated login steps file |
| Logout URL | Helps detect session timeout and auto re-login. |
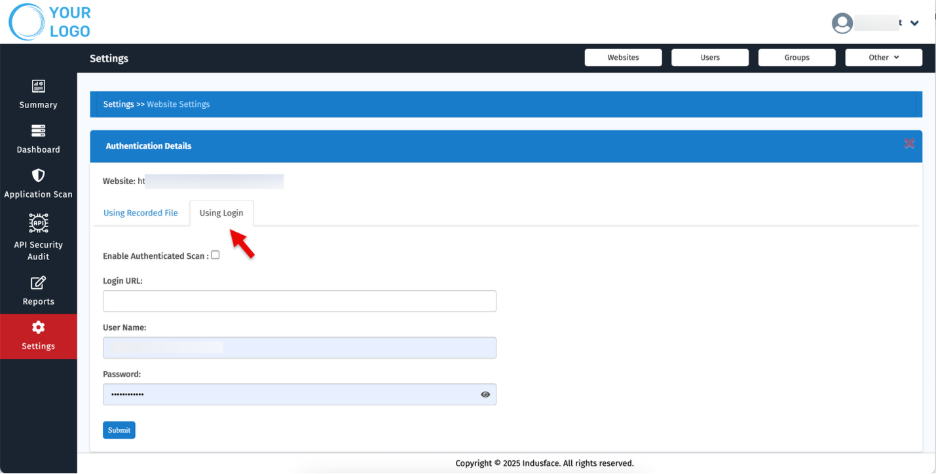
b.Using Login (for simple login forms)
Enter direct credentials to enable login-based scans.
Field | Description |
| Enable Authenticated Scan | Check the box to enable scanning behind login |
| Login URL | Enter the full URL of the login page (e.g., https://example.com/login). |
| Username | Provide the username or email used to authenticate the scan session. |
| Password | Enter the corresponding password for the above username. |
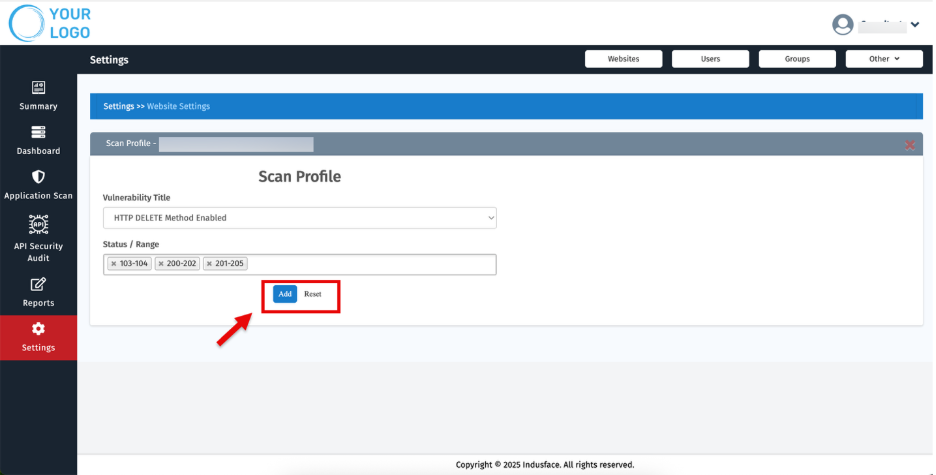
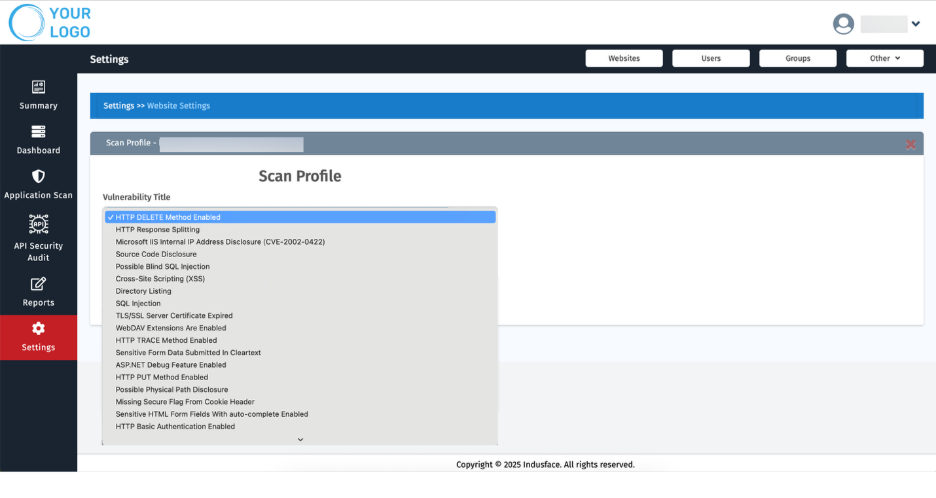
7. Scan Profile
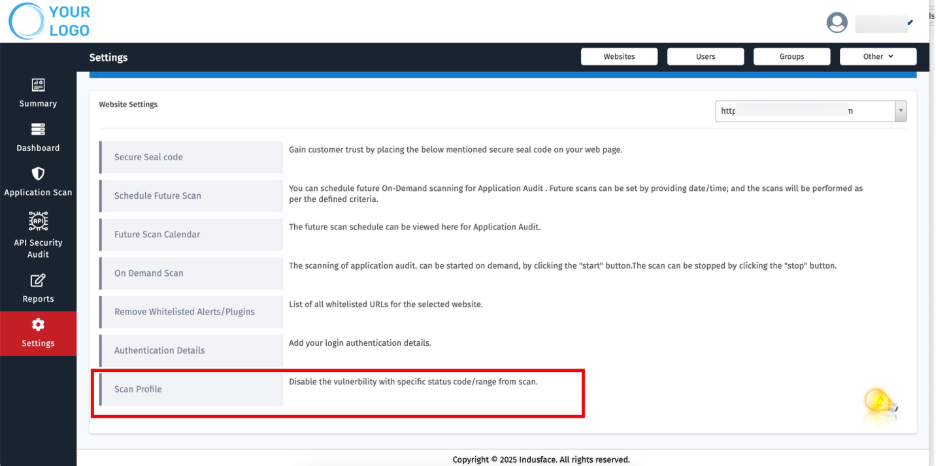
- Create tailored scan profiles for each customer:
- Exclude known or accepted vulnerabilities.
- Filter based on vulnerability types and status.
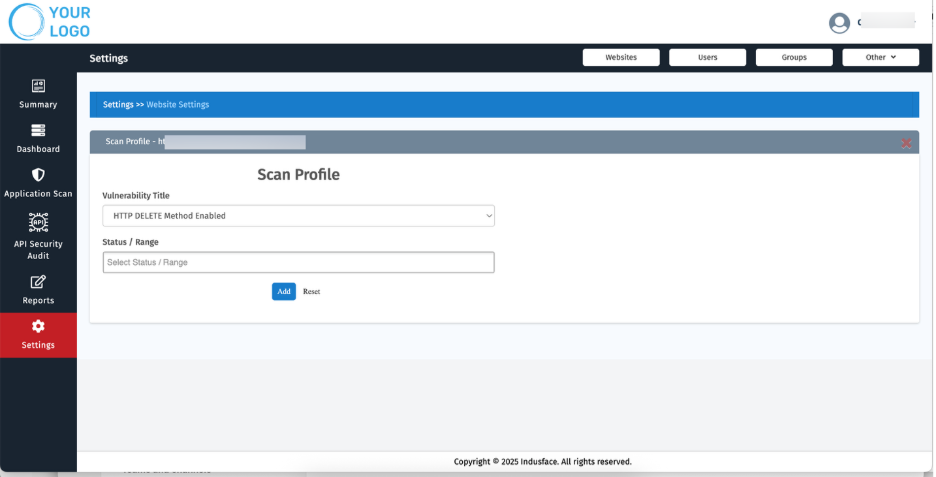
Under Vulnerability Title, choose items to exclude or prioritize (e.g., “HTTP DELETE Method Enabled”).
Use the Status/Range dropdown to filter vulnerabilities based specific status code
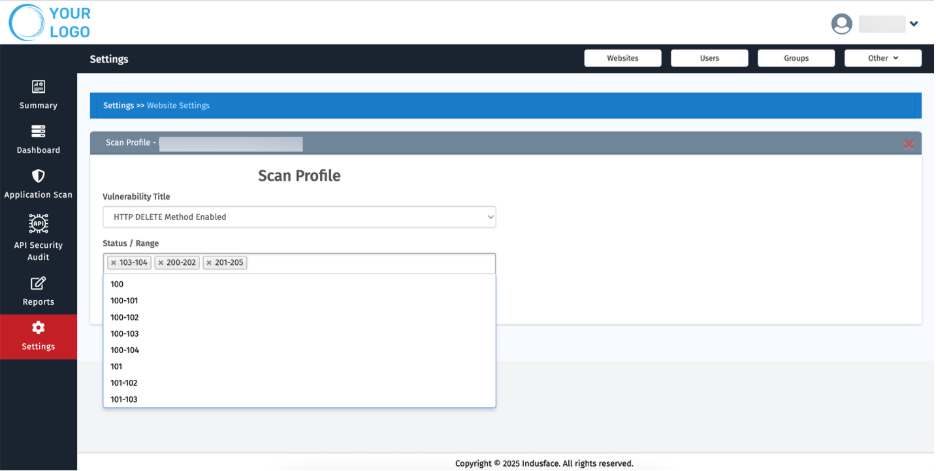
Click Add to save each selection or Reset to clear entries.