API Scanning -AppTrana WAAP
AppTrana allows users to self- onboard their APIs and initiate automated security scans directly from the portal. This streamlines the API security process by reducing manual effort and enabling faster detection of vulnerabilities throughout the API lifecycle.
How to Onboard Your APIs for Automated Scanning
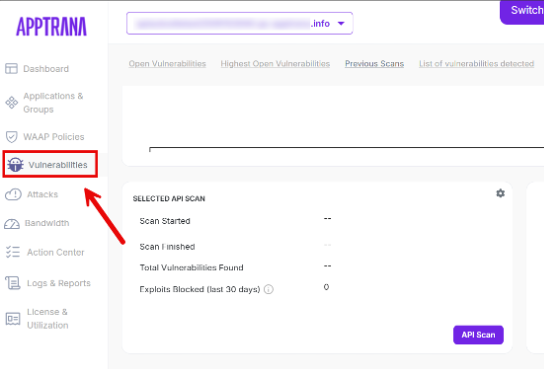
- Go to the Vulnerabilities section from the left-side navigation.
- Use the "All Domains" filter to select the API site you want to scan.
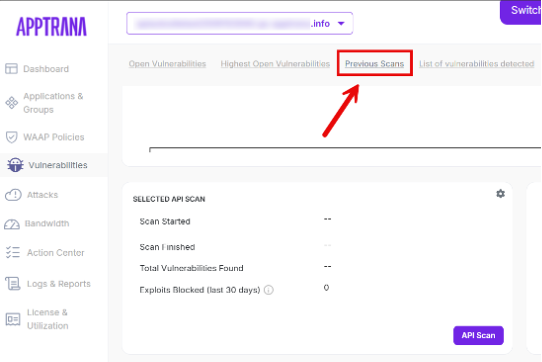
3. Click on the Previous Scans tab.
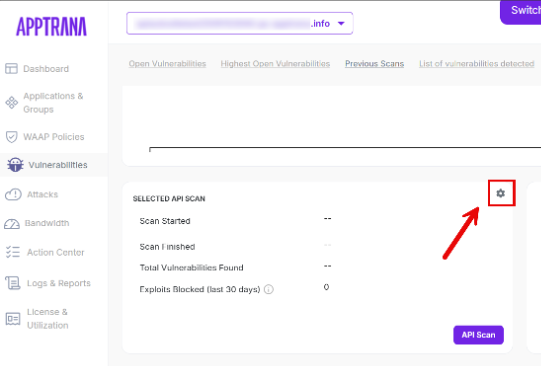
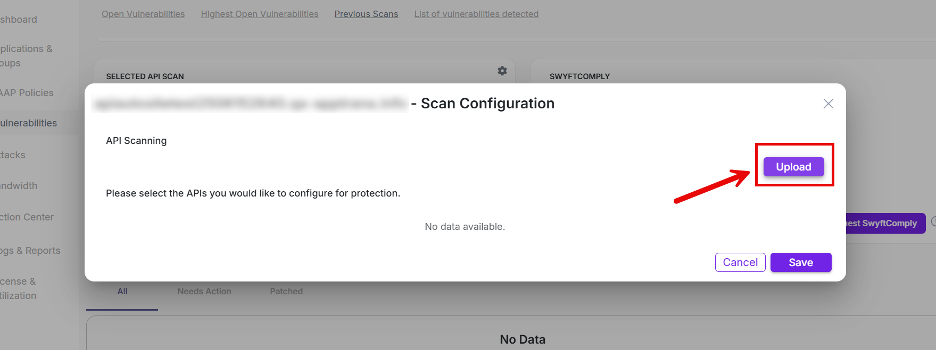
4. In the Selected API Scan panel, click the settings icon on top right corner to configure the scan.
Upload Postman File
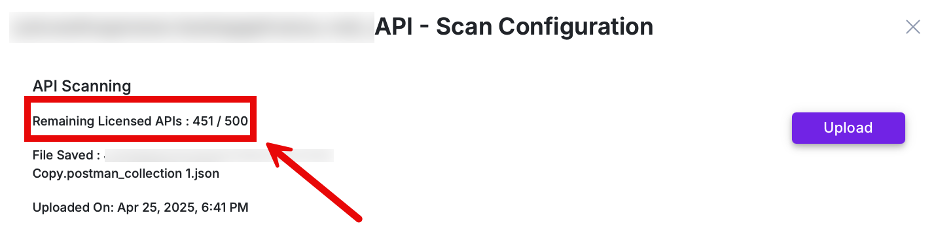
1. In the scan configuration popup, click Upload
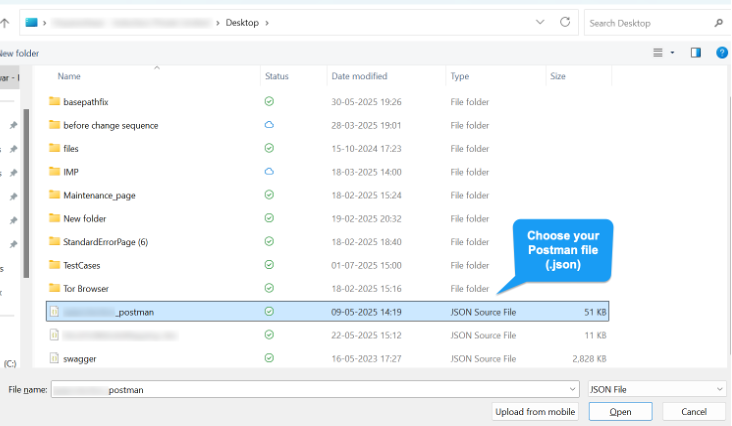
2. Click Choose File and select the .json Postman file containing your API endpoints.
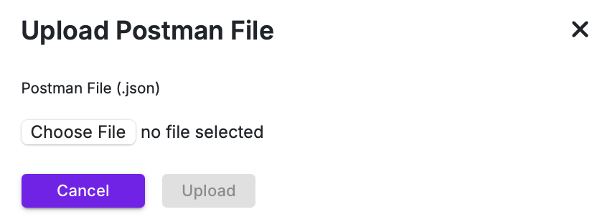
3. Click Open to proceed.
Only Postman collection files are supported. Endpoints will be extracted from the file.
Endpoints will be selectable only if their base URL matches the configured base URL of the selected API site. Mismatched URLs will be listed but cannot be selected for scanning.
Select APIs for Scanning
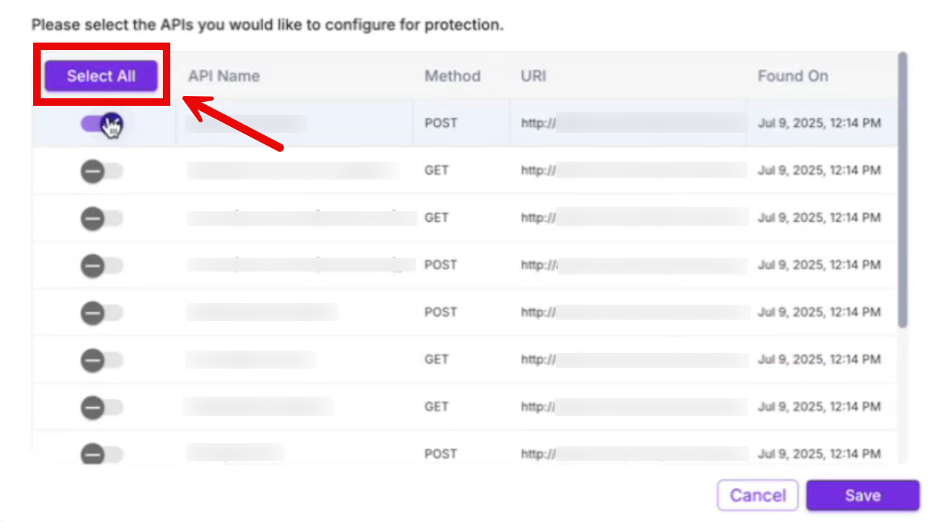
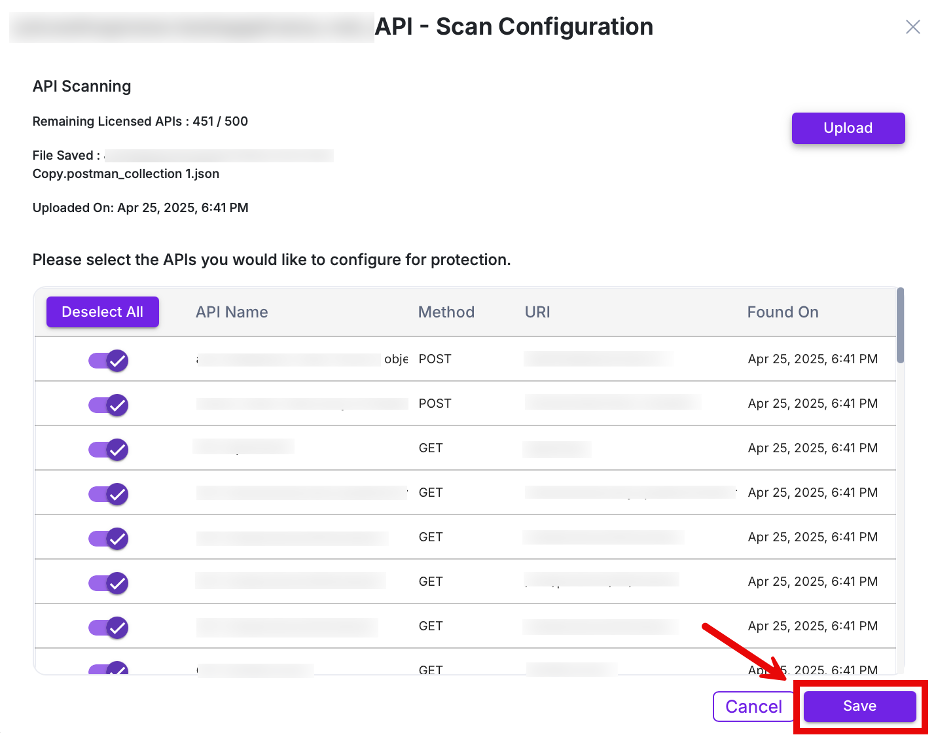
Once the file is uploaded successfully, the scan configuration screen displays a list of extracted endpoints from the Postman file.
Each endpoints includes:
Parameter | Description |
| API Name | The name or label of the API as defined in the collection. |
| Method | The HTTP method used (e.g., GET, POST, PUT). |
| URI | The full path or route of the API. |
| Found On | Timestamp when the API was extracted from the uploaded file. |

You can
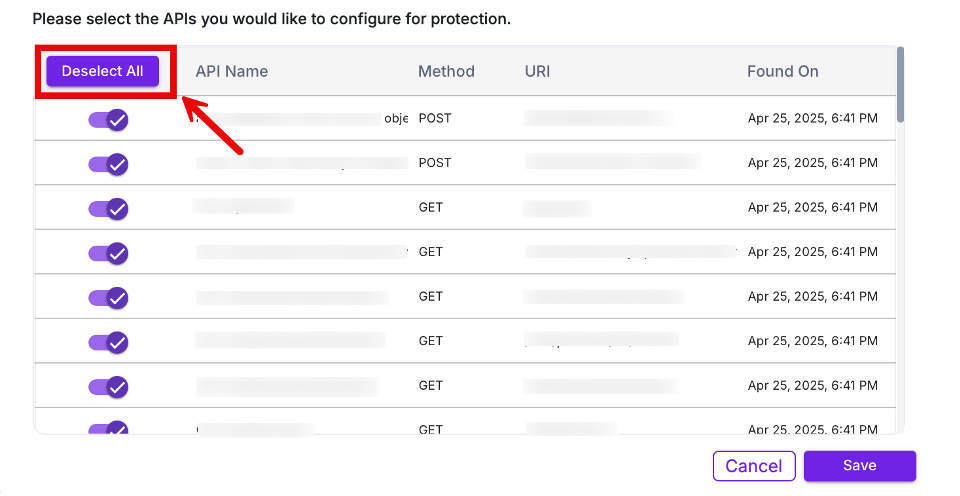
- Use toggles to select individual endpoints (default: all are deselected)
- Click Select All to choose all available endpoints
3. Click Deselect All to clear your selections
4. You will also see a tracker showing your Remaining Licensed APIs.
5. Click Save to confirm your selections and queue the APIs for scanning.
6. A confirmation popup will appear, click Yes to proceed or Cancel to go back.

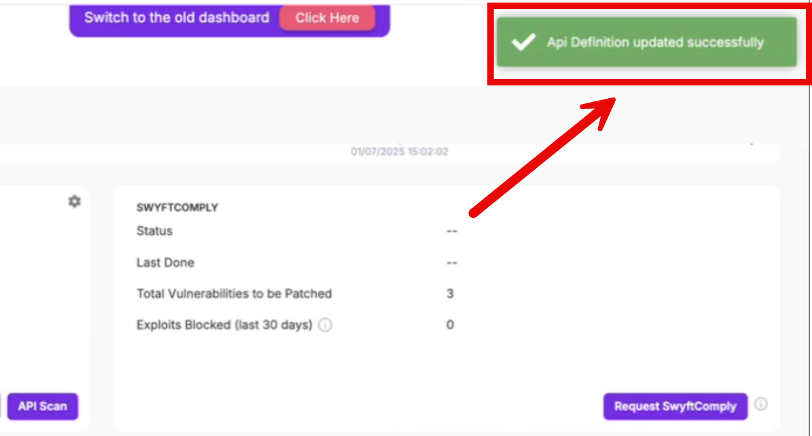
7. Upon confirmation, you’ll see the message:
“API definition updated successfully”
8. Click the "API Scan" button to initiate scanning for the selected APIs.
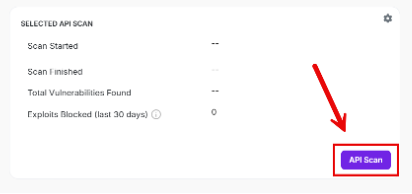
9. In the confirmation popup, click Confirm.
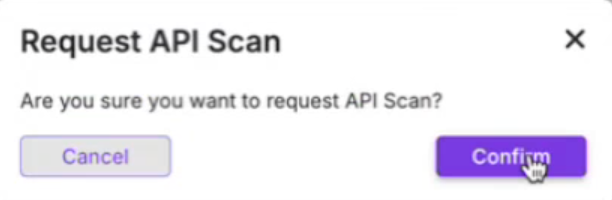
10. You will see the message:
“Scan has been scheduled successfully”

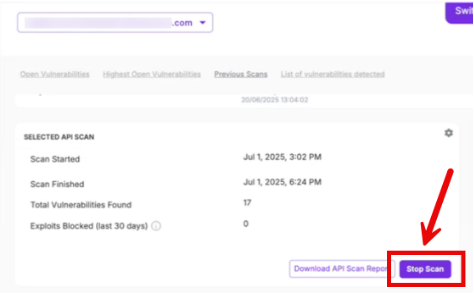
11. The button label will change to "Stop Scan", allowing you to stop the scan if needed before completion.
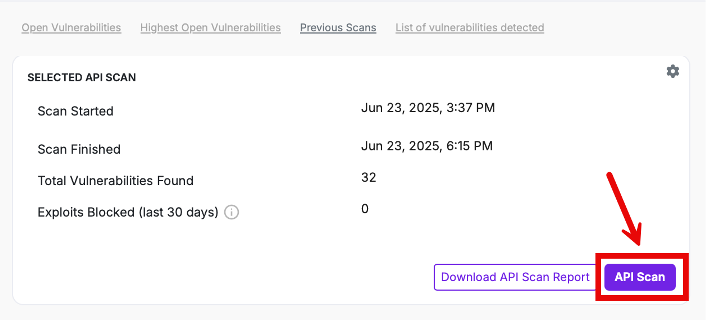
View API Scan Results
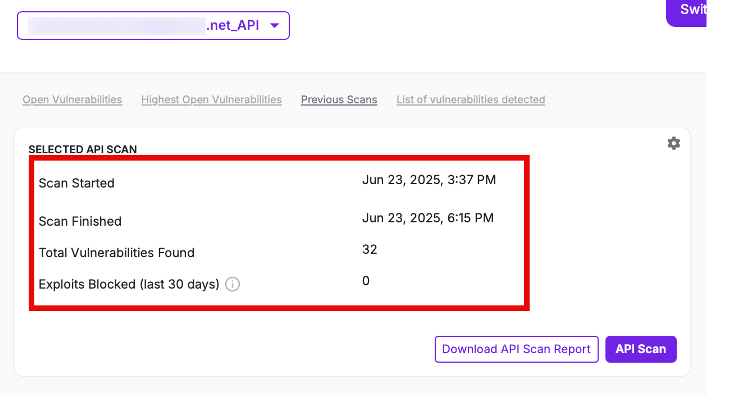
- After the scan is completed, results will be available under the Previous Scans tab in the Selected API Scan section.
Parameter | Description |
|---|---|
| Scan Started | Date and time the API scan was initiated. |
| Scan Finished | Date and time the scan was completed. |
| Total Vulnerabilities Found | Total number of issues discovered in selected API endpoints. |
| Exploits Blocked (last 30 days) | Number of exploitation attempts blocked in the last 30 days for those APIs
|
Available Actions Post-Scan
1. Download API Scan Report: Generate a detailed scan report in PDF format.
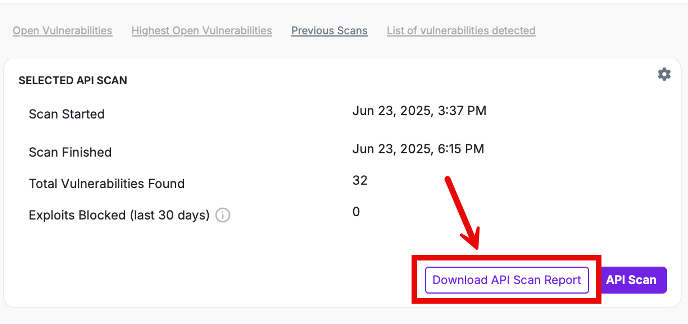
2. API Scan: Trigger a new scan using the previously selected endpoints.