Table of Contents
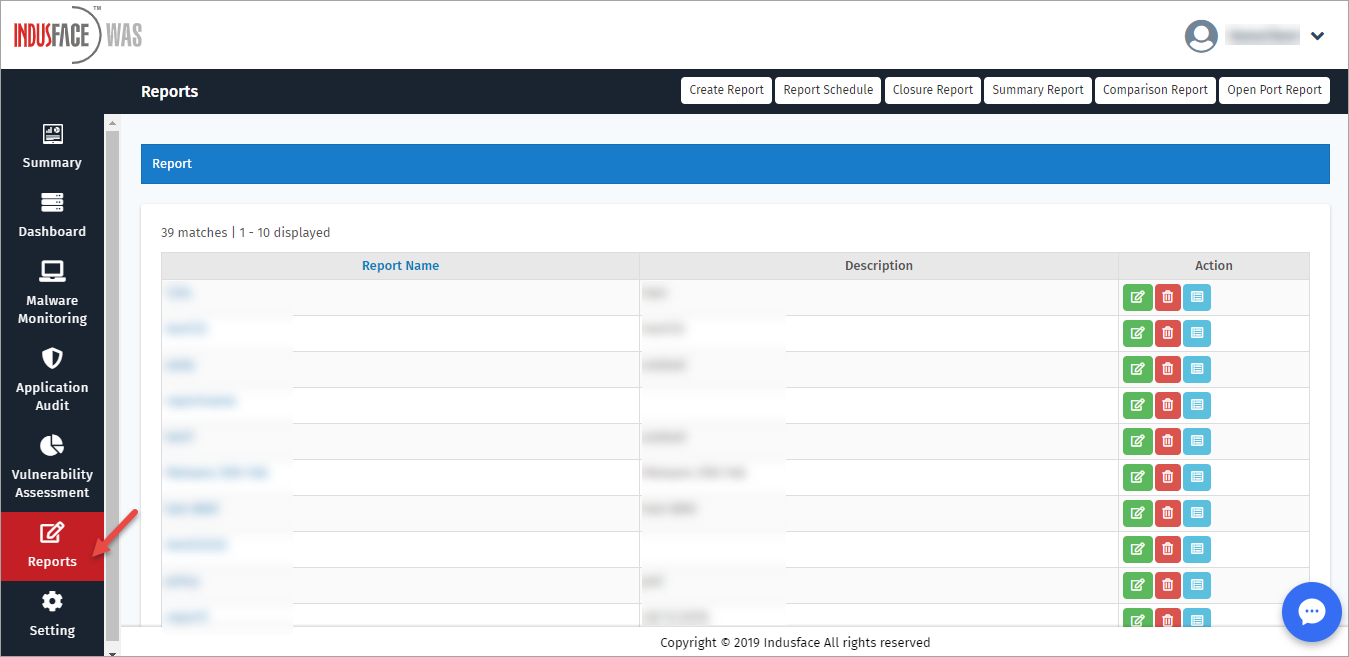
Reports

The Reports page displays the existing reports with Name, Description, and Action. Edit, Delete, and/or Run a report with the help of the options provided in this page.
Edit Record
This option helps a user to edit a record.
Click Edit option of a specific record. Create Reports page appears with report's name and description. 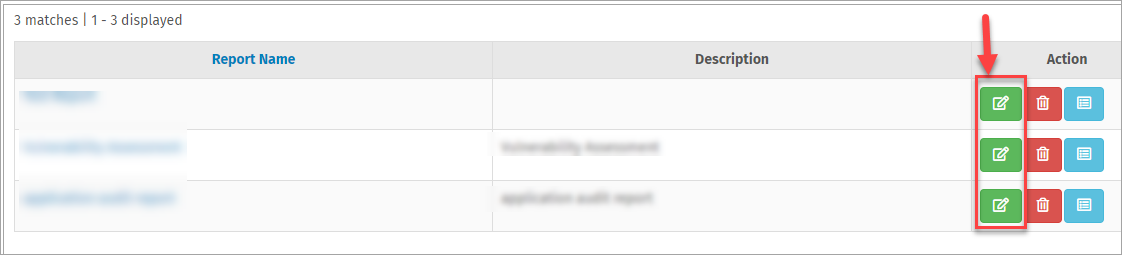
General
Click Name and/or Description boxes in General tab and click Save button to update. 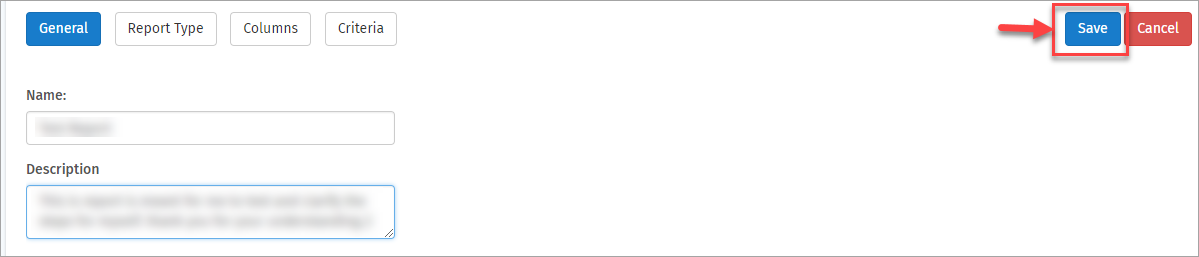
Report Type
This option allows user to select report type of their choice.
Click Report Type tab, click to update the existing report type and click Save button.For example, click Summary Report option and click Save button. 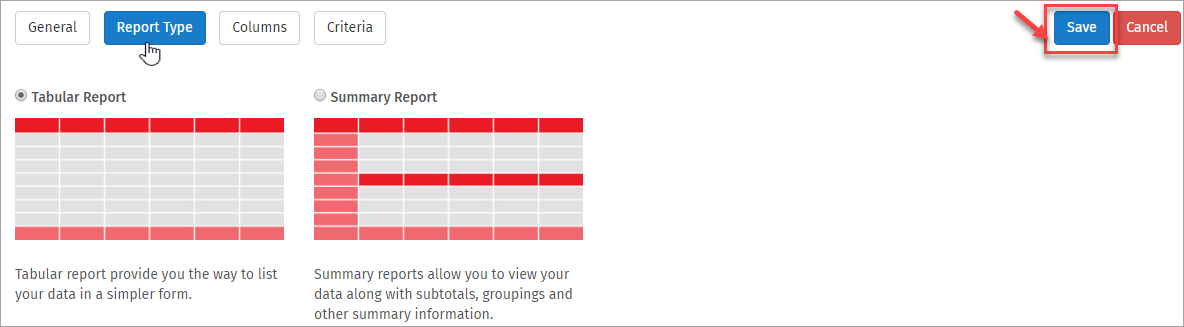
Columns
This option displays the columns available and selected for a specific report. Do the following to update the columns:
Click to select a specific available option, click  to move it from Available column to Selected column.
Click  to move all the options from Available column to Selected column.
Click  to move all the options from Selected to Available column.
Click an option and click  to move it from Selected column to Available column.
Click Save button to update the changes. 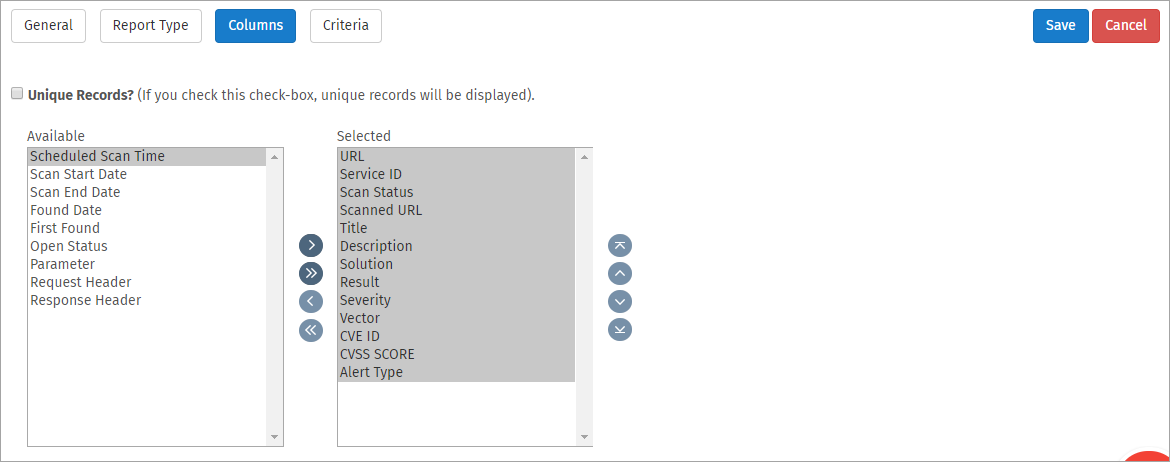
Criteria
The existing criteria is displayed with Edit, Delete, and Add Criteria options.
Update or Edit Criteria
Click Select Fields drop down, click the field(s) you want to update and click Save button to update the criteria. 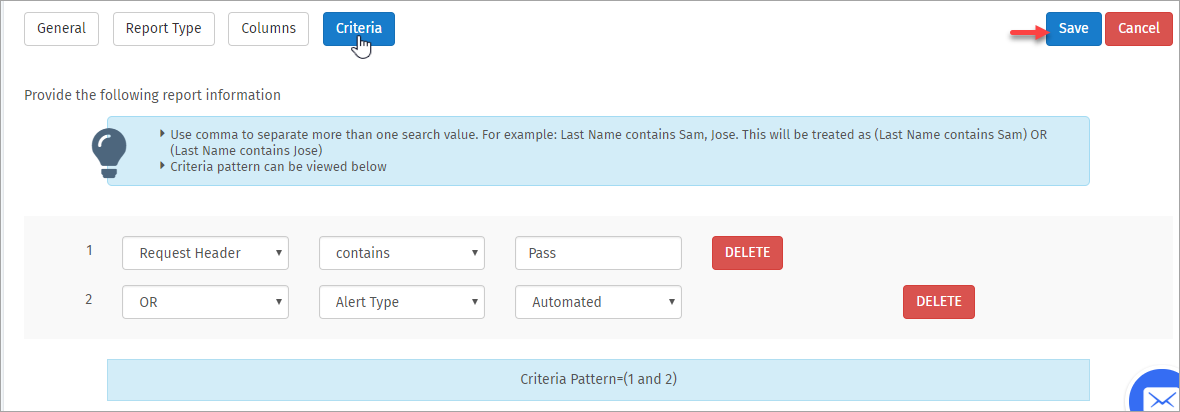
Delete Criteria
Delete option is visible only when there is more than 1 criteria and a customer can always edit the criterion to update the existing criterion.
Click DELETE button to delete a criterion. 
A Confirmation pop-up appears as Are you sure you want to delete selected criteria?, click OK button if yes otherwise click Cancel button. 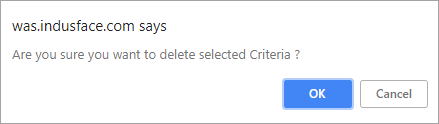
Click Save button to save the update. 
Report updated Successfully message is displayed. 
Add Criteria
Click Add Criteria button. 
Click to select AND or OR options from the drop-down, click Select Fields drop-down and click the respective fields. 
Click Save button to update the new criteria. 
With the successful update of criteria, Report Updated Successfully message is displayed on the top. 
Delete Record
Click Delete Record option in Action column of a specific report. 
Click OK button to confirm the action or click Cancel button.
Run Report
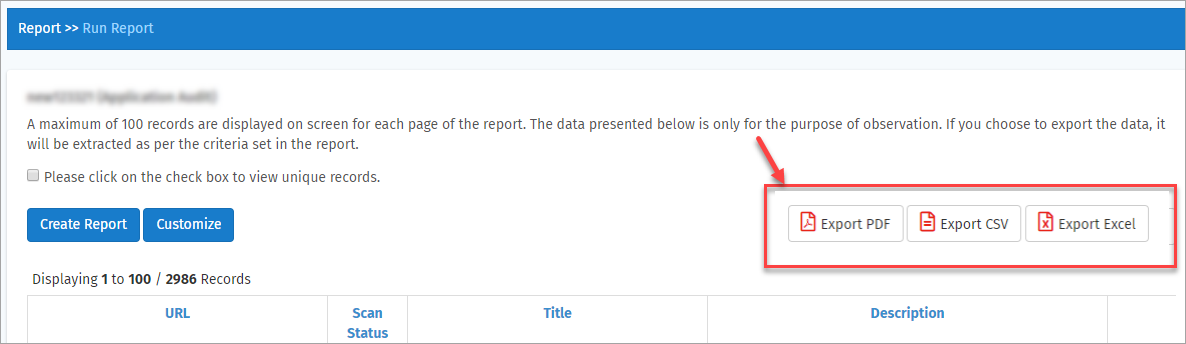
This option is used to view the reports as per the criteria. These reports can be fetched in PDF, CSV, and Excel formats.
Click Run Report option in Action column of a specific report. Run Reports page appears. 
The Run Report functionality helps a user to view reports as per the criteria chosen for a report.
Click to select the unique records option to display unique records of a specific record. 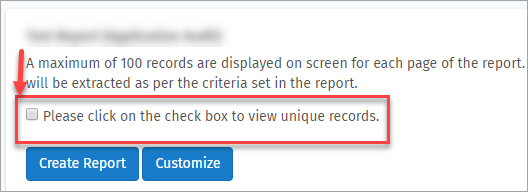
Click any one of the options on the top-right side to export the report in CSV and Excel format. 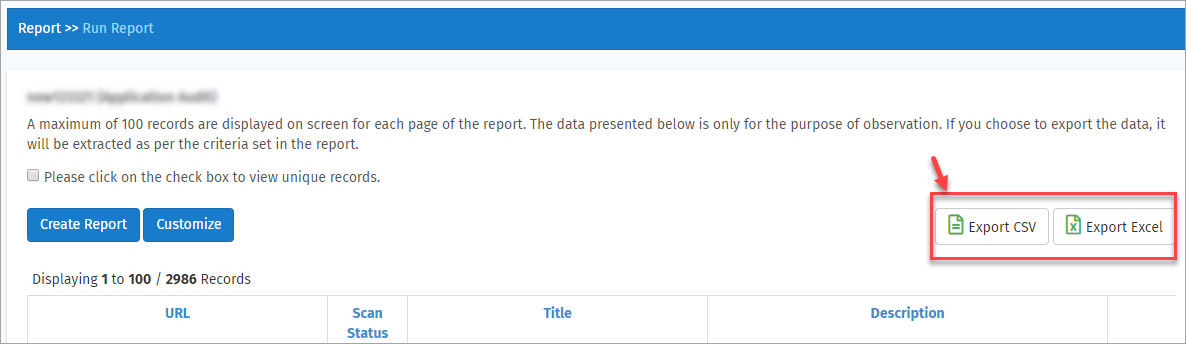
Click Create Report button or Customize button to create a new report or to edit an existing file in Run reports page itself. 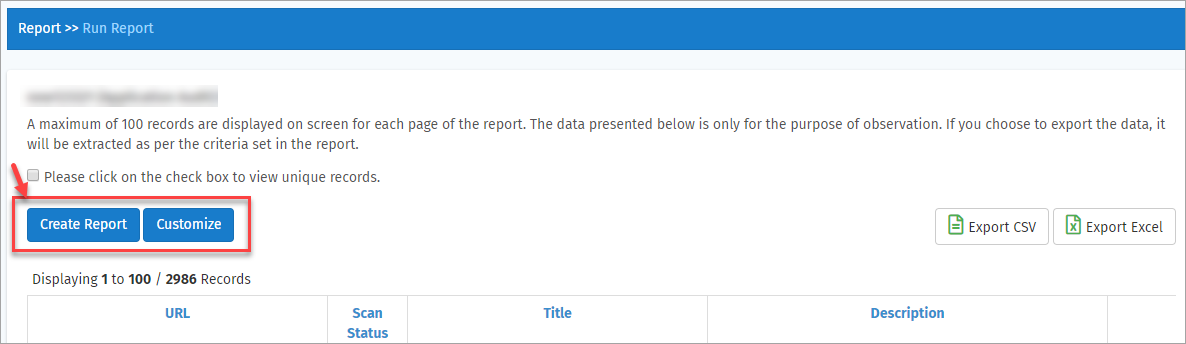
Click Customise Report or Create Report for further steps.
Create Report
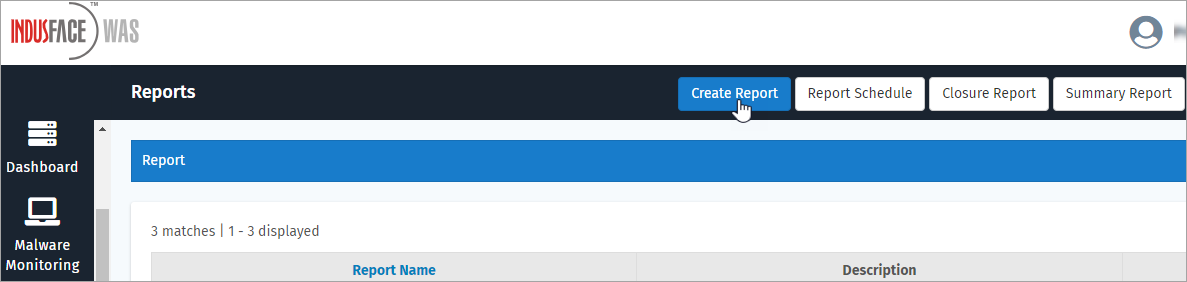
Click Create Report tab in Reports page. Create Report page appears.
Click Service drop down, click to select the scan type and click Continue button. 
Enter Name, Description and click Save button. 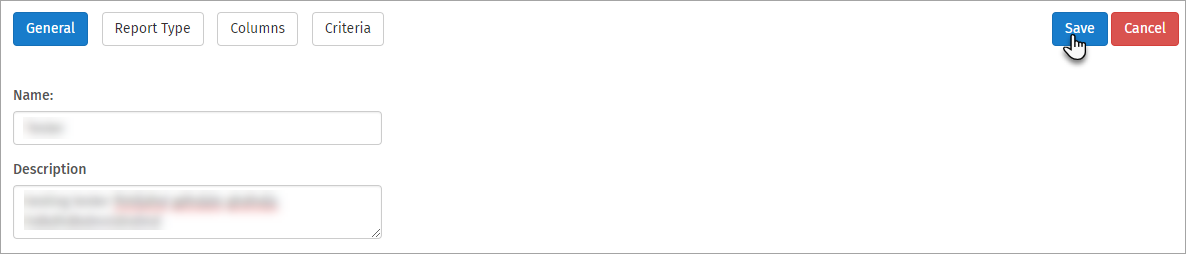
An error message is displayed as Please select at lease one column, click OK button. Columns option appears. 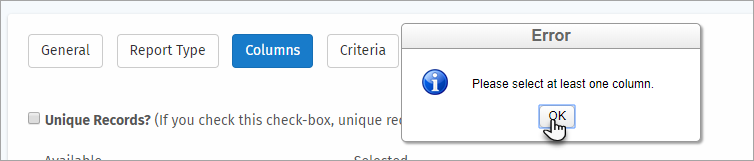
Click to select a specific available option, click to move it from Available column to Selected column and click Save button
Click to move all the options from Available column to Selected column and click Save button. 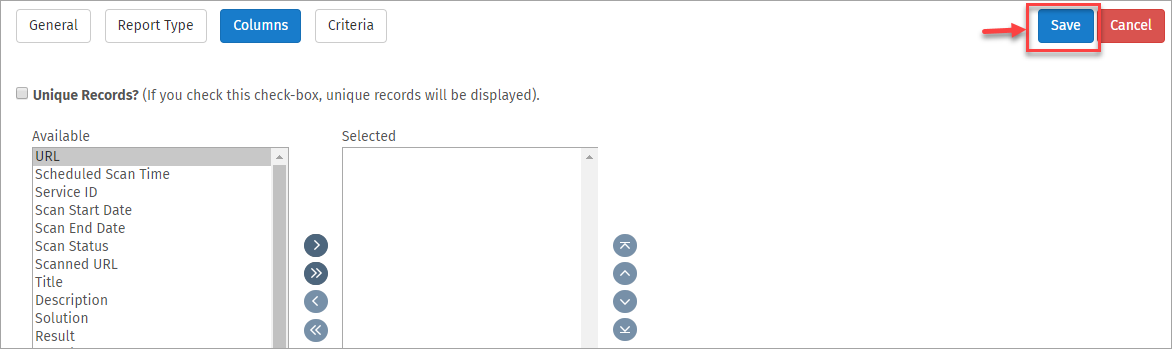
An error pop-up appears displaying "Please Select Criteria".
Click OK button. Select Criteria option appears. 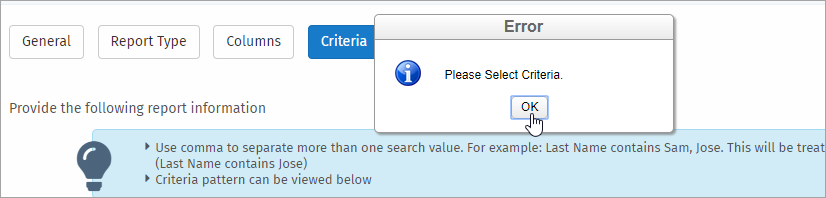
Click Select Fields drop-down, click the fields to form a criteria and click Save button to update the criteria. Report page appears. 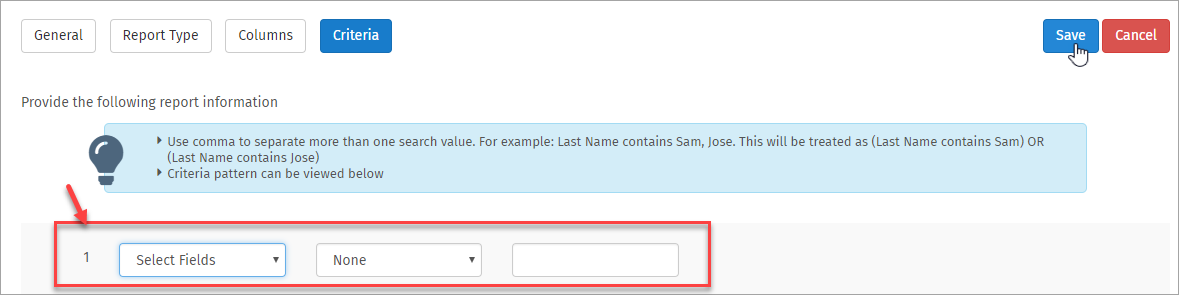
A success message is displayed as "Report Created Successfully". The created report is displayed with the existing reports. 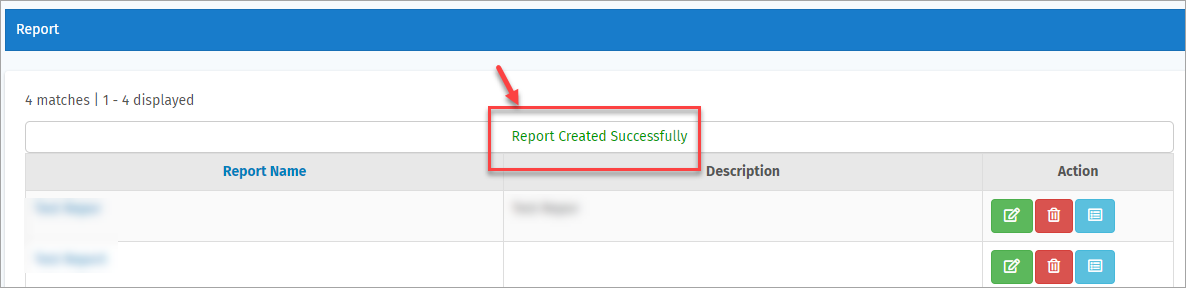
Schedule Reports
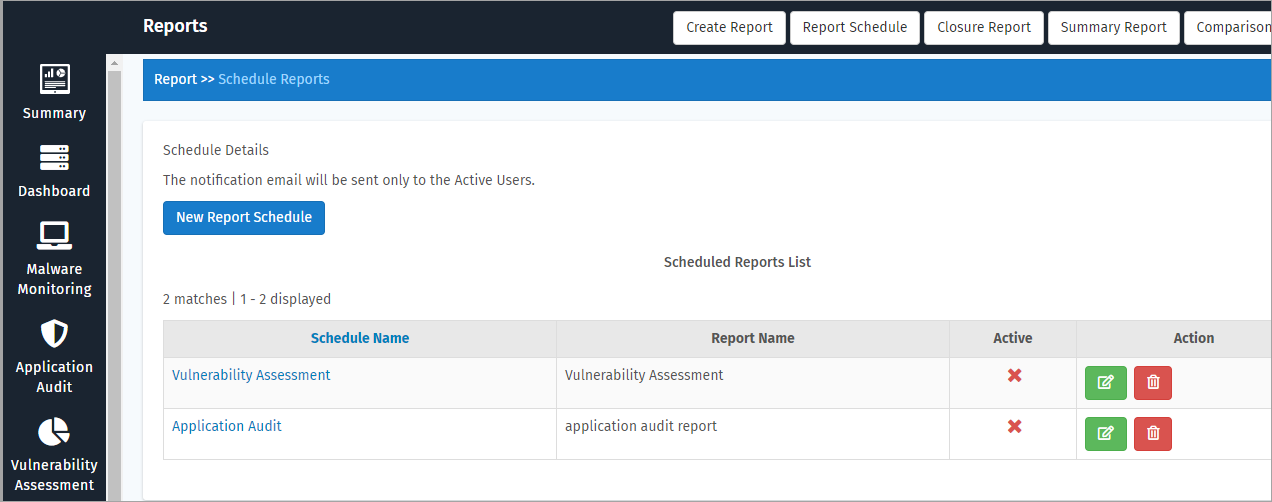
Click Report Schedule tab in the Reports page. Report Schedule page appears.

The Scheduled Report list is shown with Schedule Name, Report Name, Active status, and Action options.
Click a Schedule Name to view the Schedule Configuration Details with Recipient Details. Schedule Details page appears. 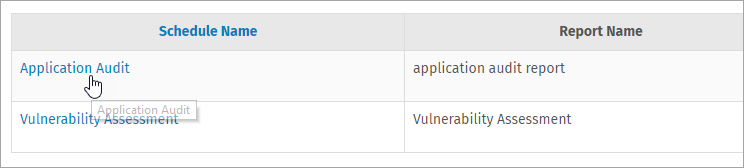
Click Go To scheduled Reports List button to go back to Schedule Reports page. 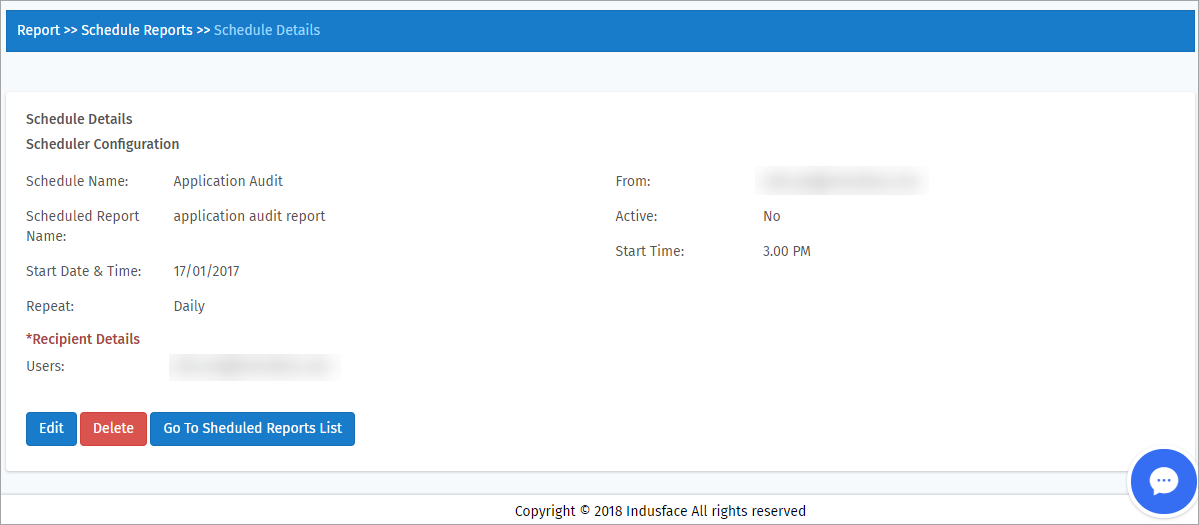
Edit Schedule Report
Click Edit button in Action column. Edit Report Schedule page appears. 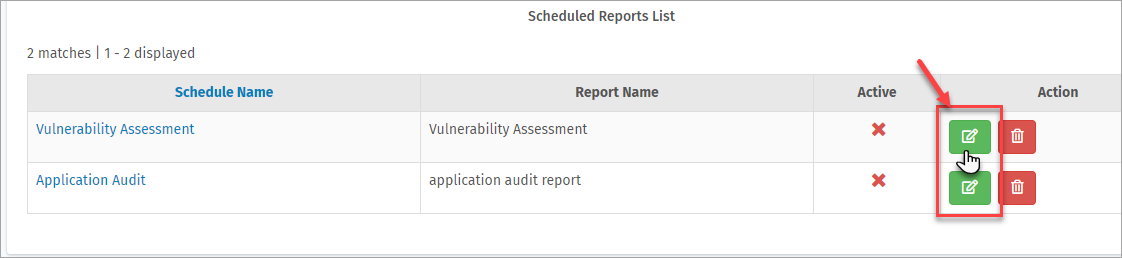
Update the required fields and click Save button.
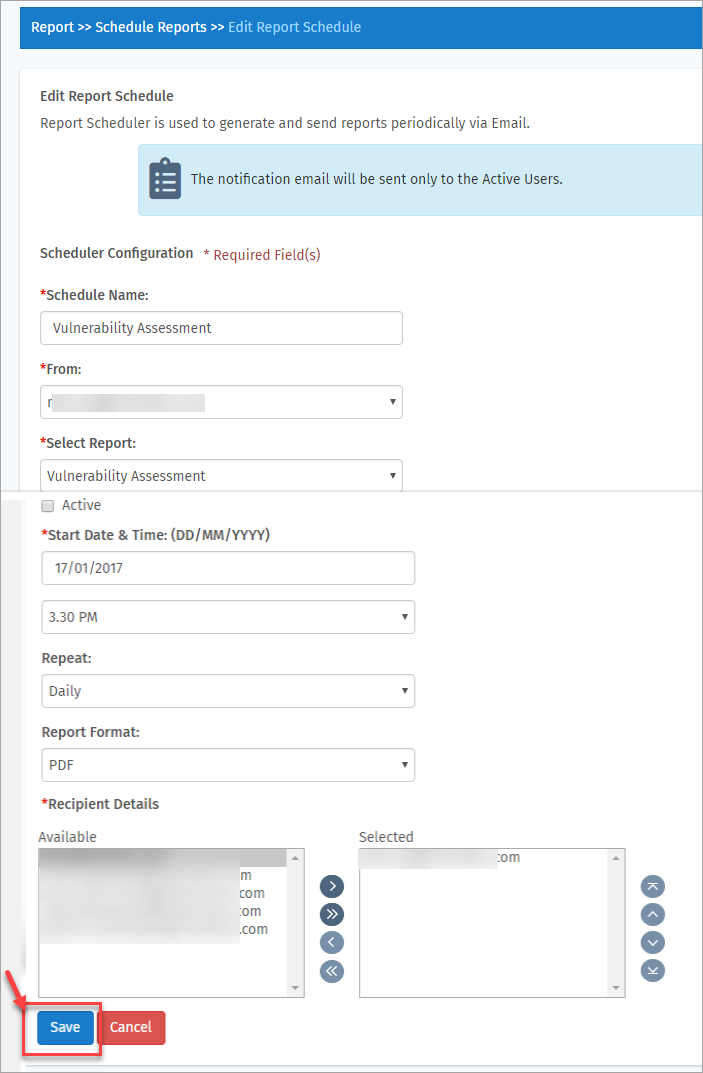
Parameter | Description |
Schedule Name | This option displays the Created Schedule Name. Click to update Schedule Name. |
From | This option displays the Email Address of the recipient generated this Schedule. Click the drop-down to update the recipient status. |
Select Report | The Report type for the schedule is displayed in this option. Click Select Report drop-down to change the Scan Type. |
Active | This option displays if the Schedule Report is Active or not. |
Start Date | This option displays the Date since when a schedule has begun. |
Start Time | This column displays the Time when a schedule has begun. |
Repeat | This column displays how often a schedule report need to run. Click Repeat drop-down to modify the duration. |
Report Format | The selected Report Format is displayed in this column. Click Report Format drop-down to update. |
Recipient Details | The Available and Selected recipient details are displayed. Click to select a recipient, click the respective arrow to move it to selected field and vice versa and then click Save button to make the changes. |
Delete Report Schedule
Click Delete button in Action column of a specific Schedule Report. Confirmation pop-up message appears.
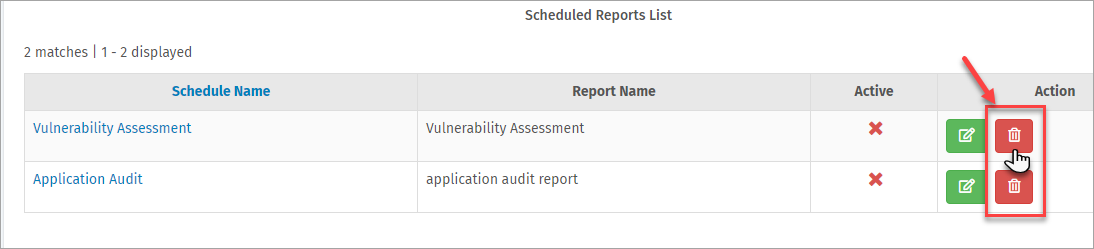
Click OK button to confirm.
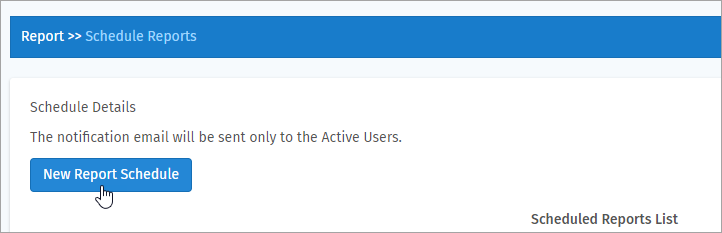
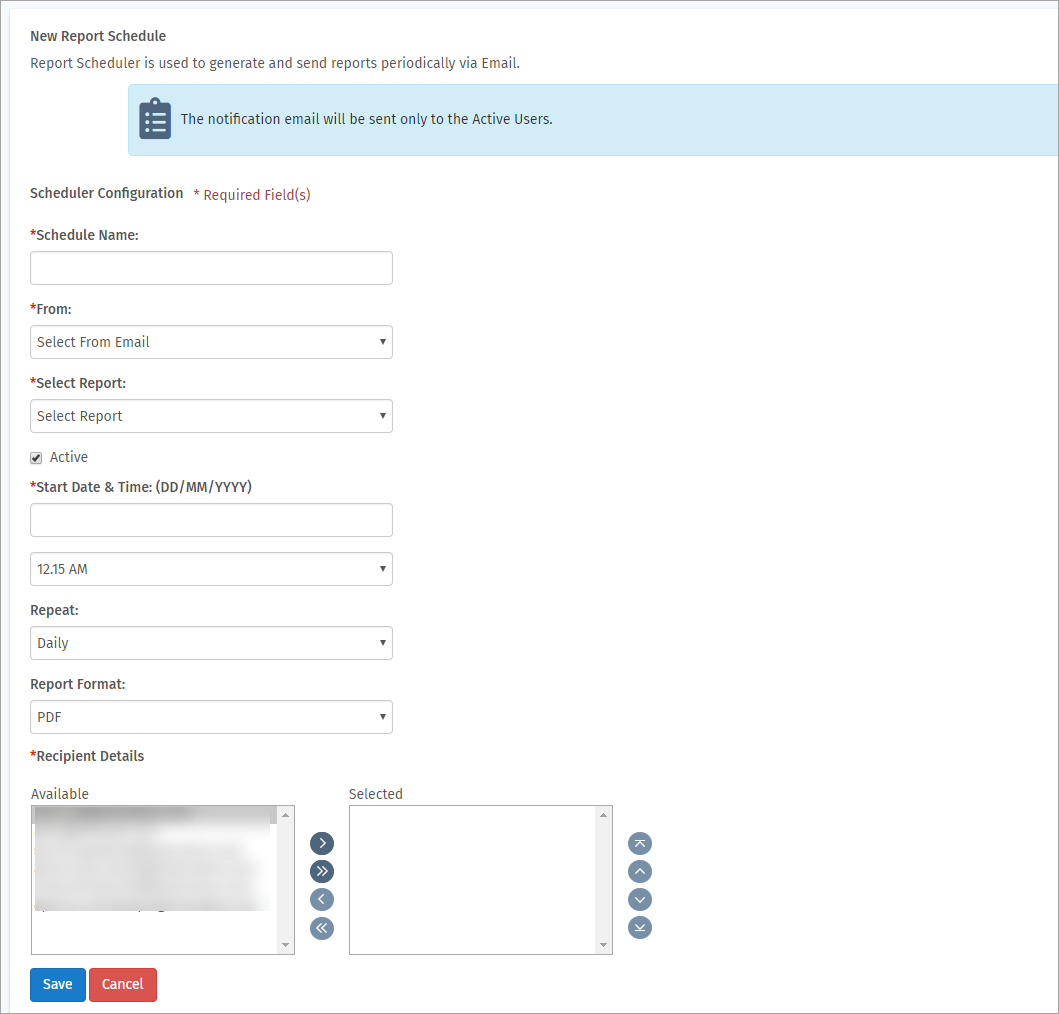
New Report Schedule
Click New Report Schedule button to create a new one.
Enter information in the fields and click Save button.
Closure Report
A Closure report identifies the vulnerabilities that are no longer found in any websites.
Click Closure Report tab on the top.
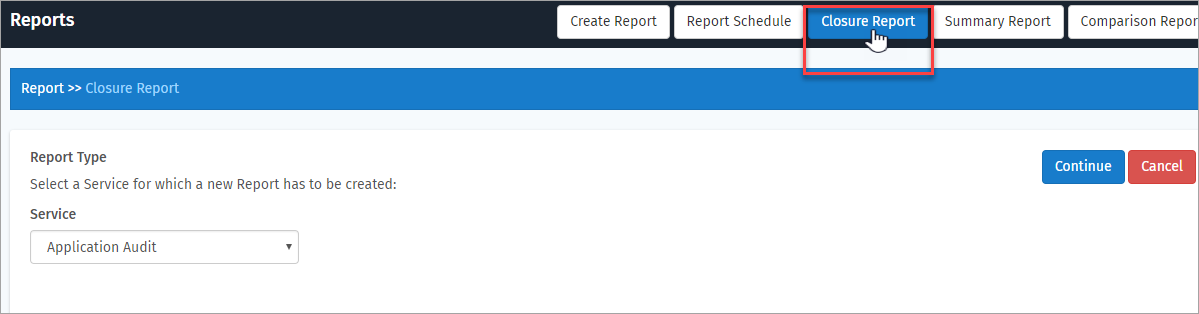
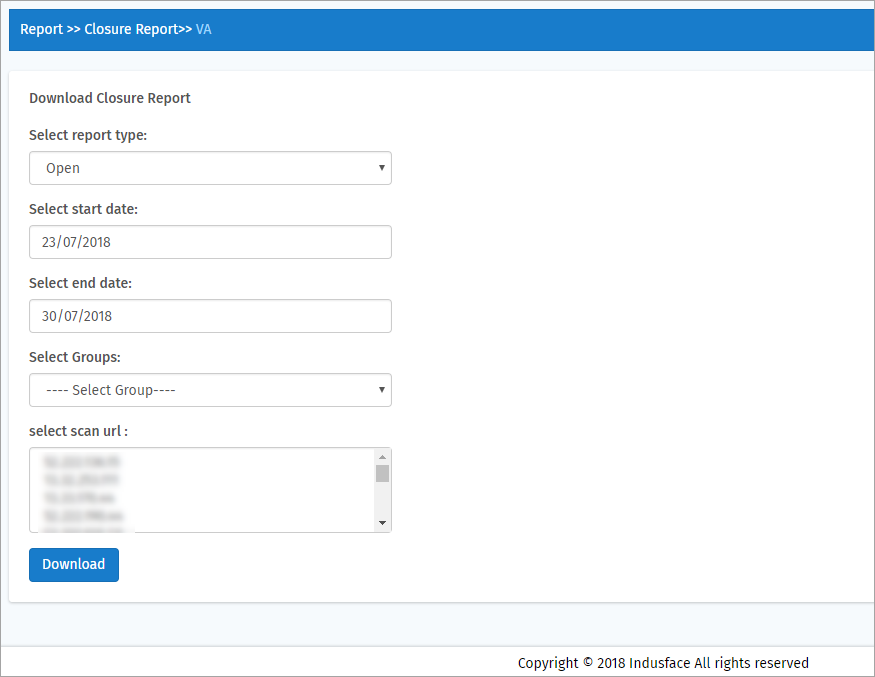
Click Service drop down, select a service and click Continue button. Download Closure Report page appears.

Choose the appropriate options from the fields and click Download button.
Parameter | Description |
Select report type | This option displays if the report should contain Open vulnerabilities or Closed. Click Select report type drop-down and click to select the required option. |
Select start date | By default, it displays the present day. Click to choose any date from the future to consider the closure report data. |
Select end date | By default, end of the present month is displayed. Click Select end date option, click the date in the calendar as per your requirement. |
Select Groups | Click Select Group drop-down and click to choose a group of your choice |
Select scan url | List of URLs existing are displayed. Click to select any URL from the list and click Download button. |
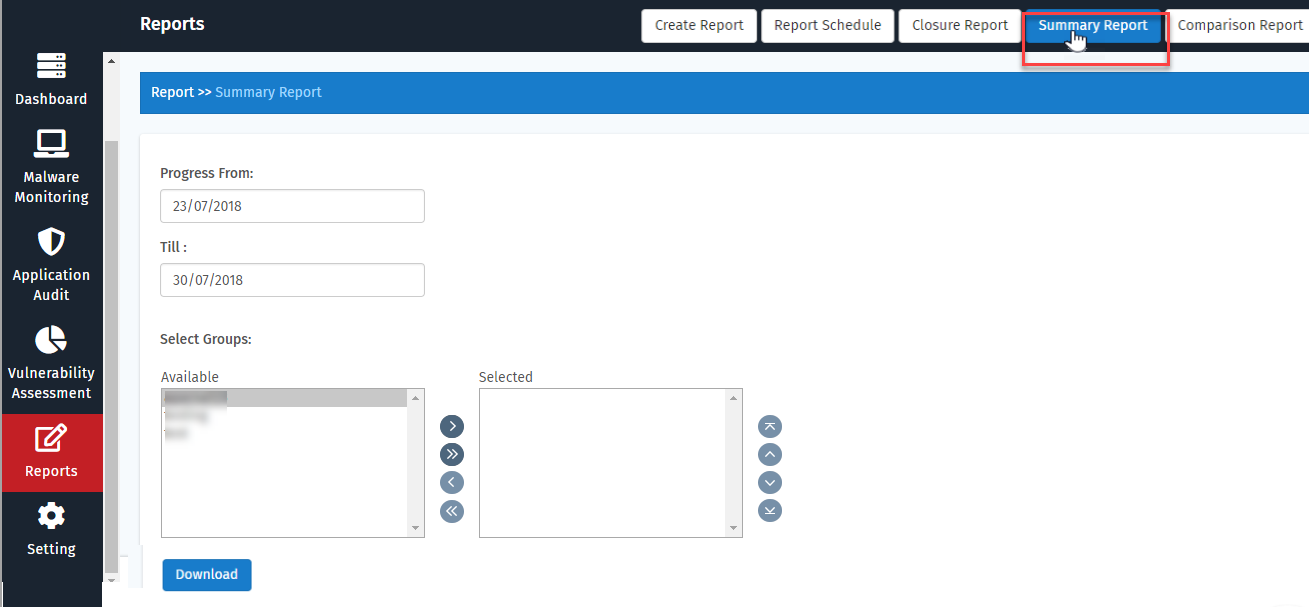
Summary Report
Click Summary Report tab in Reports page. Summary Report page appears.
Click to enter required information and click Download button.
Parameter | Description |
Progress From | This option displays the scan details from a specific date. Click to select a date of your choice. |
Till | This option displays the end date till when the details should be displayed. |
Select Groups | This option displays Available and Selected Groups. Click any specific group and click Greater-than symbol to Select one or multiple groups. |
Comparison Report
This option helps in comparing the last two scans for selected groups.
This option is only for Groups. Kindly create a group for scan comparison. Click here to know more about creating a group.
Click a specific group from Available option, click the respective arrow to move the group to Selected field and then click Download button. An Excel sheet gets downloaded.
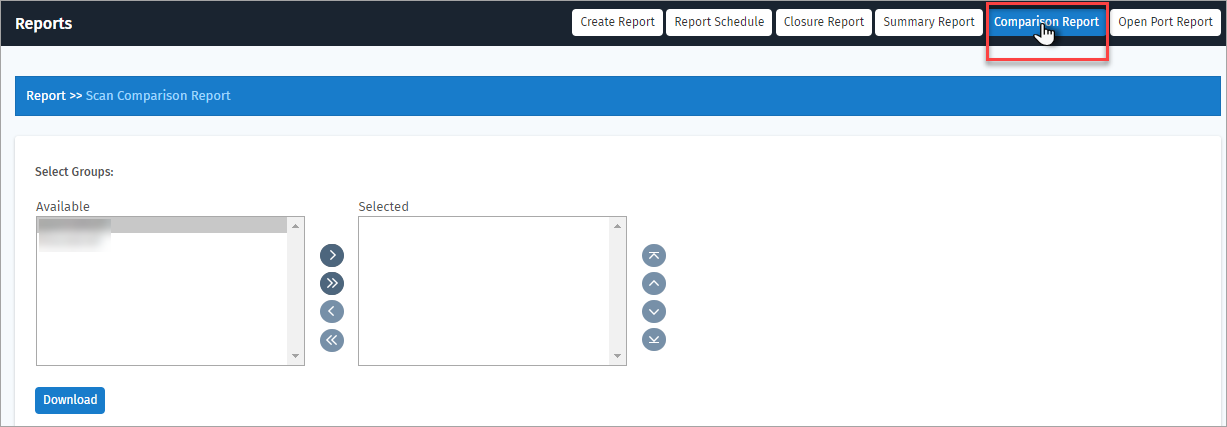
Open the excel sheet to view the comparison report between 2 or more websites existing in the respective group(s). The current VA and AA scan results, Previous AA and VA scan results are displayed according to the severity level.

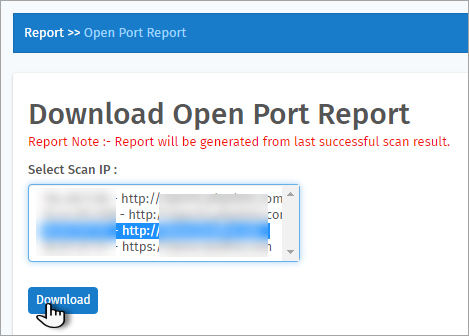
Open Port Report
The ports that are open during the last scan on the scanned IP address can be downloaded in this option. Open service details like Protocol, Port, Service Name, and Product Name are displayed in the downloaded CSV report.
Click Open Port Report button in the top right corner.

Click to select any specific scan IP address in Select Scan IP option and click Download button. CSV report is downloaded.