Access Total Application Security on AWS Marketplace
Access Total Application Security on AWS Marketplace
Updated
by Author
Find out the prerequisites for Marketplace deployment.
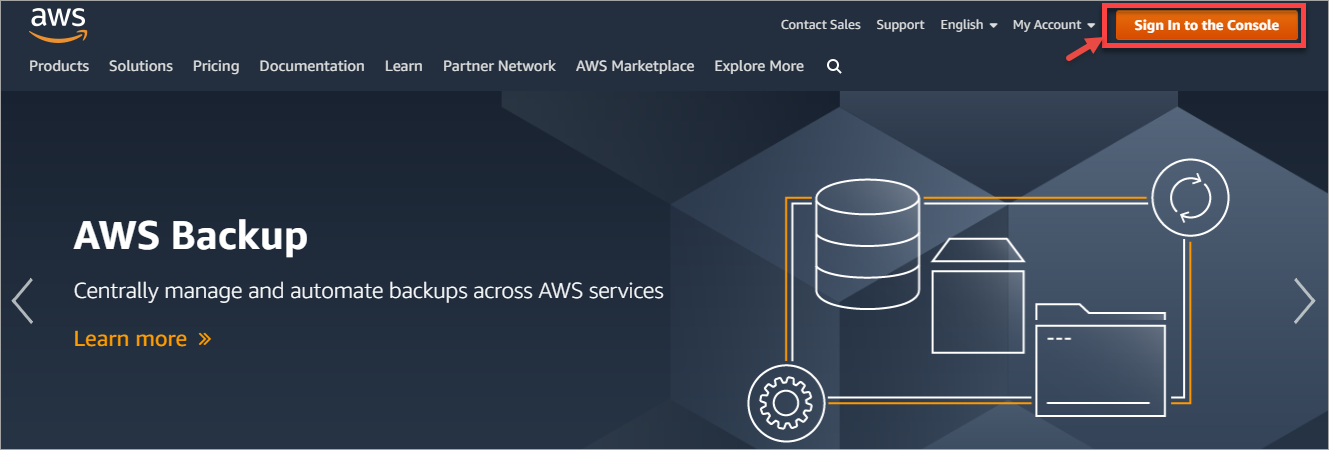
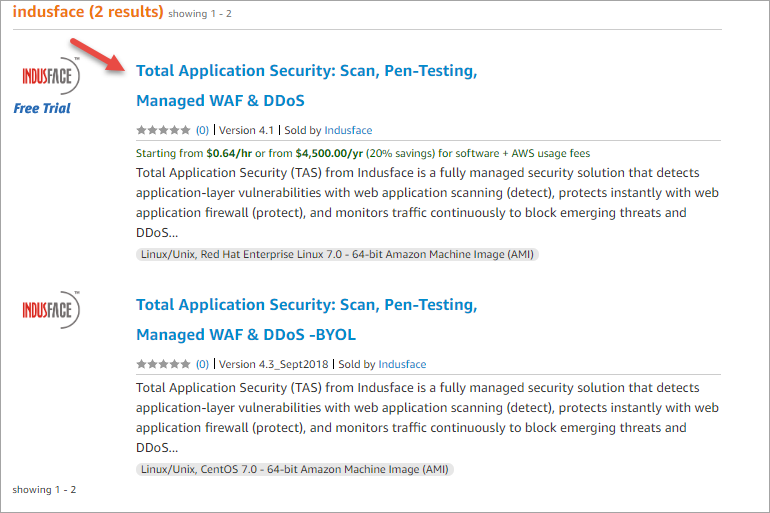
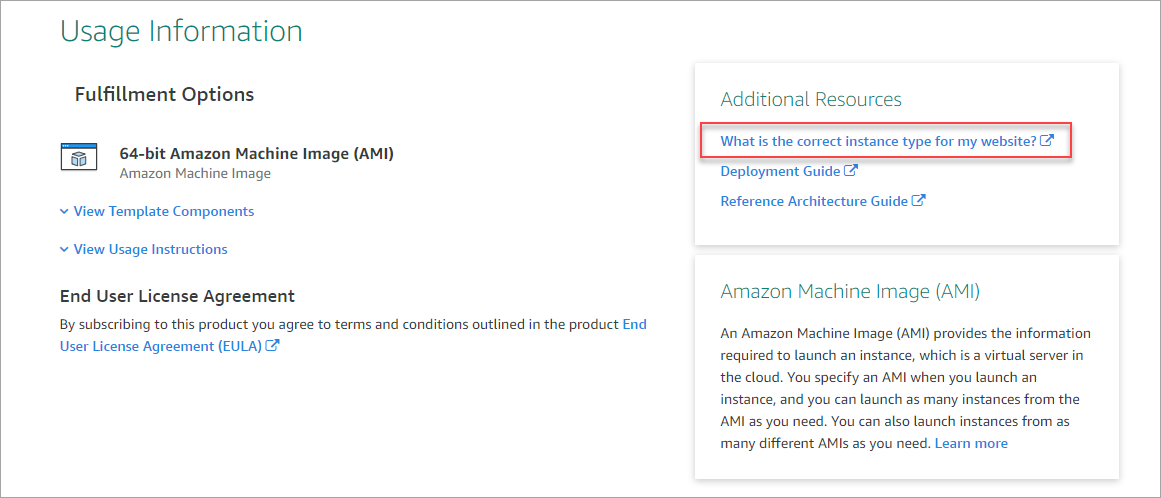
Login to your AWS account if you are an existing user, otherwise Sign In to the Console.Type in Indusface in search bar and click Total Application Security: Scan, Pen-Testing, Managed WAF & DDoS displayed options.[OR] Click here to access Total Application Security on AWS Marketplace after login. Subscription page appears. To estimate your costs, click Region Option drop-down and click a specific region. Similarly, click Fulfilment drop-down, click a specific option and Estimated Infrastructure Cost is displayed. As per the Estimated Infrastructure Cost, a table shows current software and infrastructure pricing for services hosted in the selected region.Go through What is the correct instance type for my website? link in AdditionalResources option to determine the right instance for your website.
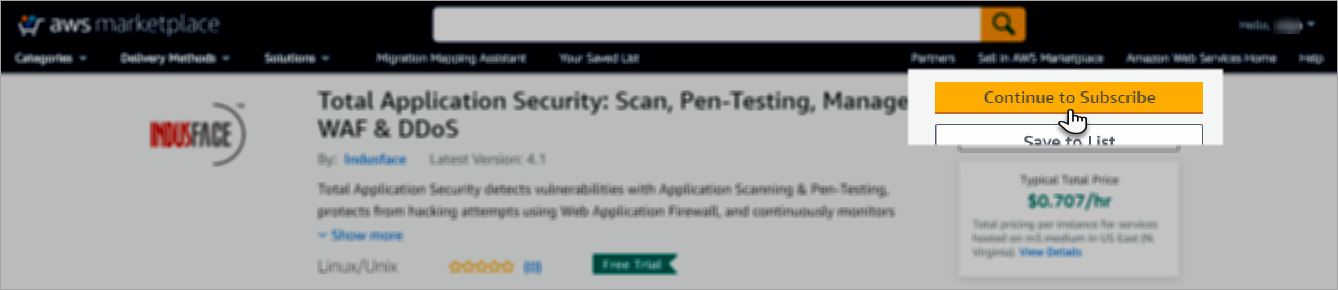
Click Continue to Subscribe button to continue. Configuration page appears.
Indusface Subscription button is disabled, unless Terms and Conditions are agreed. Click Accept terms and conditions button to enable subscription.
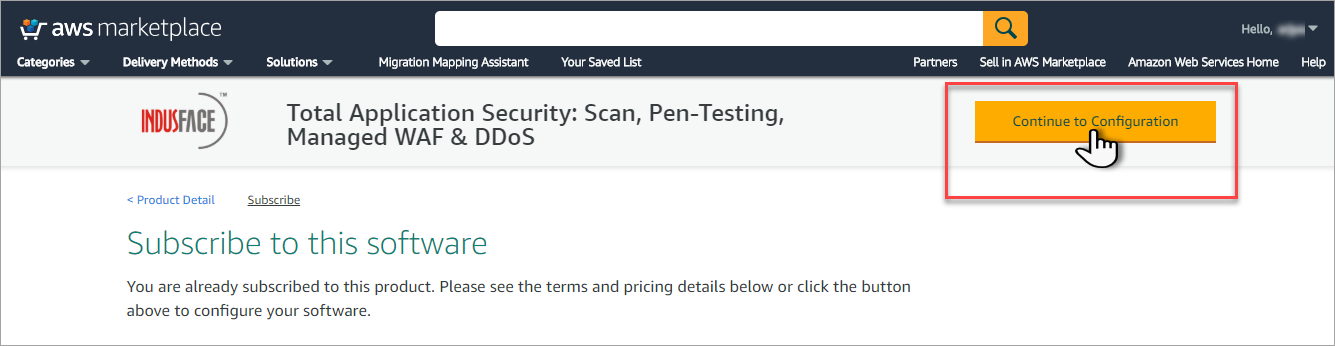
You have already subscribed to the Indusface Software, kindly go through the Terms and Conditions before configuring the software. Click Show Details link in Indusface Offer option to view the detailed offer.
Save money by purchasing an Annual subscription. Further information is displayed in Configuration page.
This table shows pricing information for the listed software components. The use of each component will be charged separately. Click End User License Agreement link given in the end to view Indusface Terms of Service.
Click Continue to Configuration button. Configure page appears.
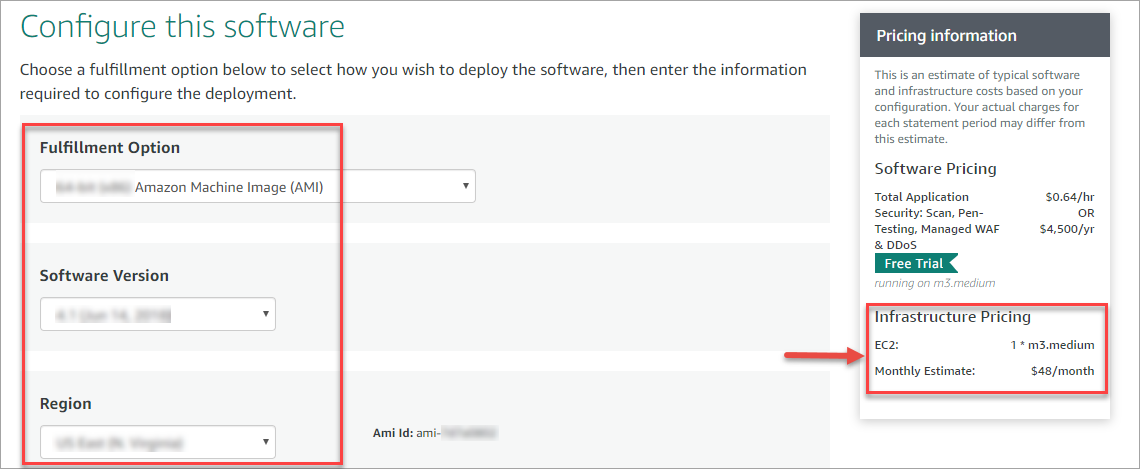
Click Fulfilment Option drop-down and click a specific fulfilment. In the similar way, click and choose Software Version and Region options from the respective drop-downs. Pricing Information displays the software pricing and infrastructure pricing for the selected region.
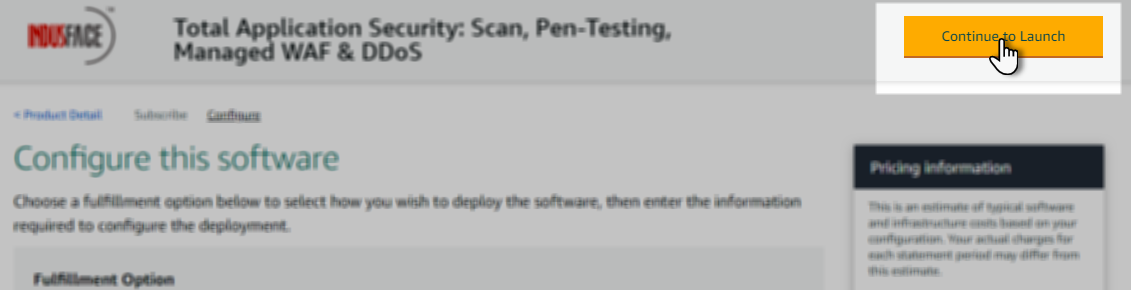
Click Continue to Launch button. Launch page appears.
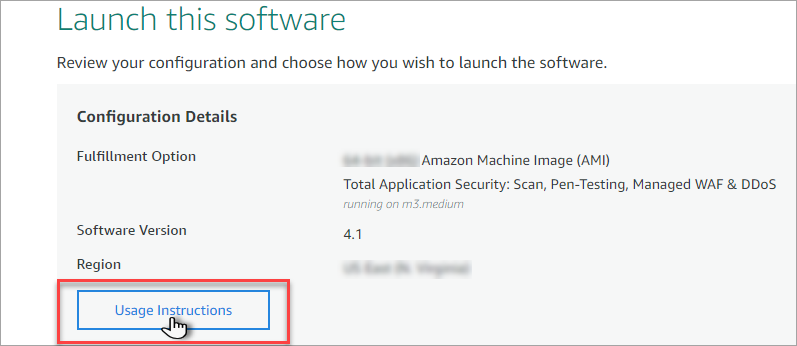
Review your configuration details like Fulfilment Option, Software Version etc.
Click Usage Instructions to view usage details.
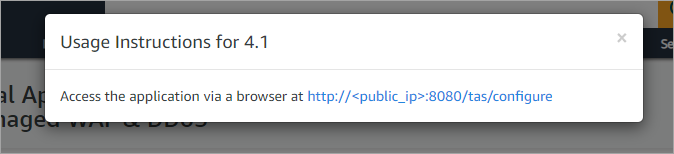
The usage instructions for the selected software version is given in the pop-up.
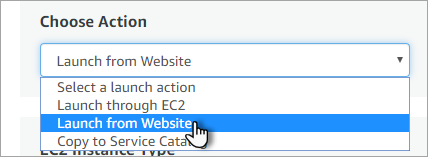
Click ChooseAction drop-down and click to select a specific launch option.
Launch from Website is chosen by default.
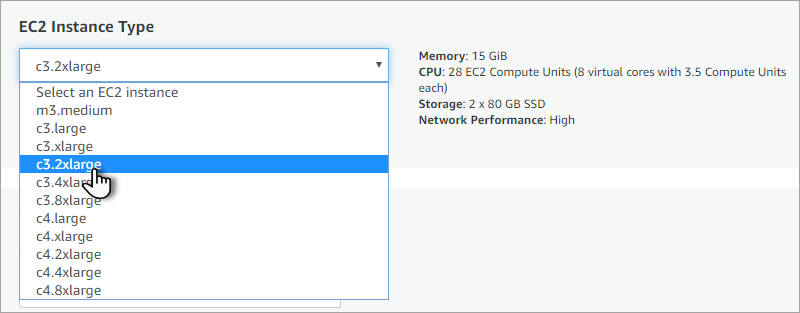
Click EC2 Instance Type drop-down and click a specific instance. Selected Instance details like Memory, CPU, Storage etc., are displayed on the side.
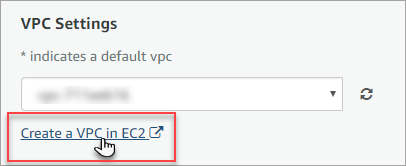
Click Select a VPC drop-down in VPC Settings option and click to select a specific VPC.To create a new VPC, click Create VPC in EC2 link below the drop-down.
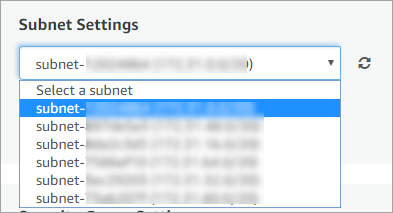
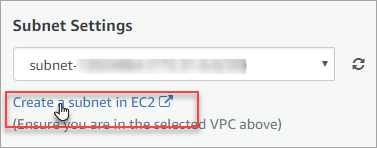
Click Select a subnet drop-down in Subnet Settings option and click a specific subnet.To create a new subnet, click Create a subnet in EC2 link below the drop-down.
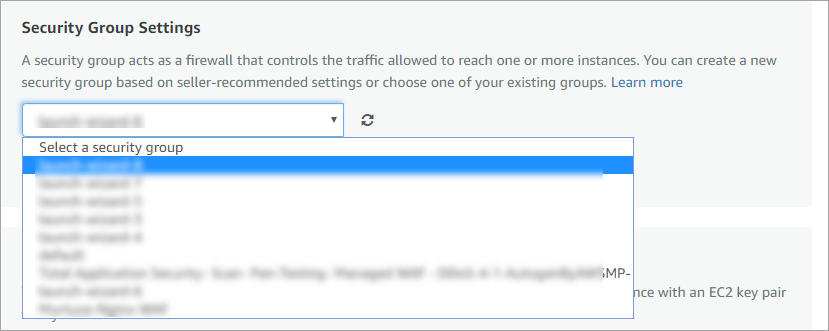
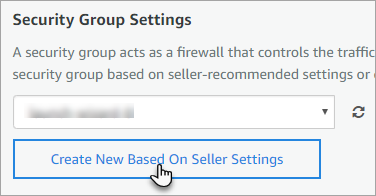
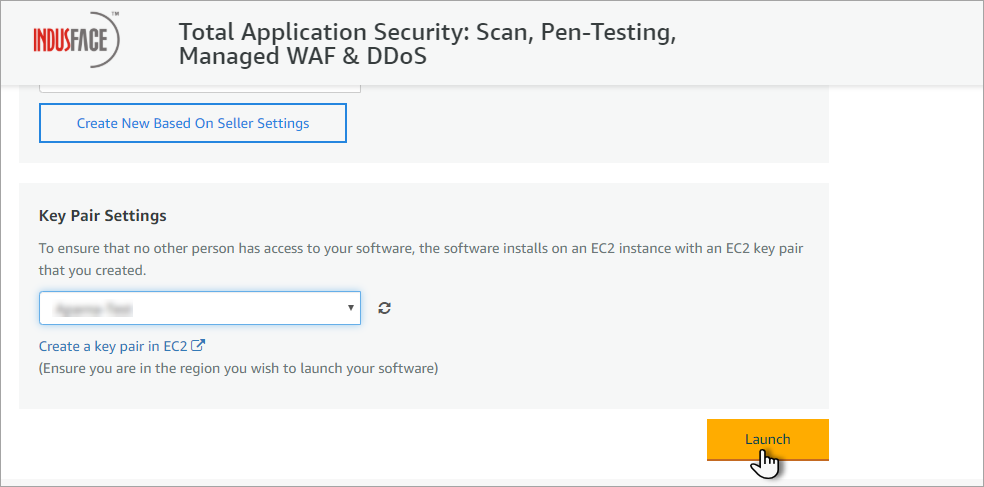
Click Select a Security Group drop-down and click a specific option.To create new security group, click Create New Based On Seller Settings button.
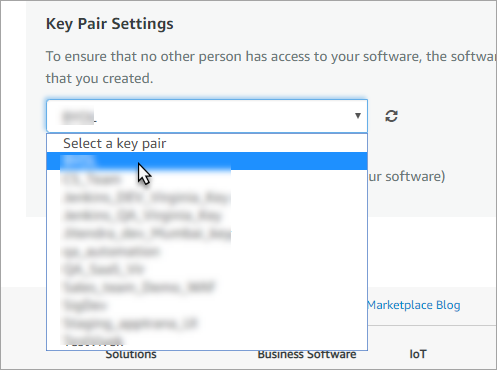
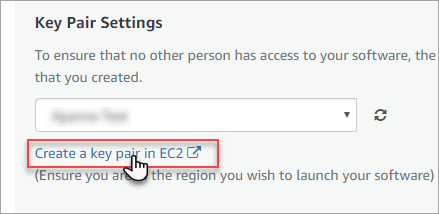
Click Select a key pair drop-down in Key Pair Settings option, click a specific key pair.To create a new key pair, click Create a key pair in EC2 option.
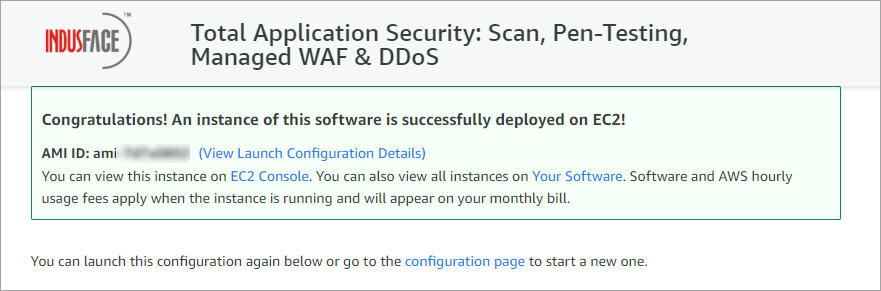
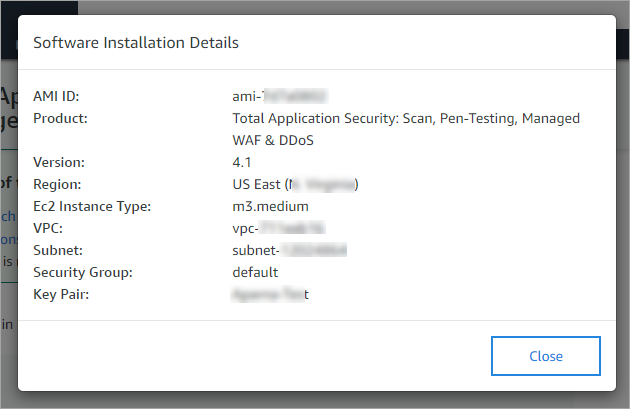
Click Launch button to launch the instance. Success message is displayed.Congratulations! An instance of this software is successfully deployed on EC2! Click View Launch Configuration Details link to display the details. Software InstallationDetails pop-upInstallation details like AMI ID, Product, Version, Key Pair etc., are displayed.
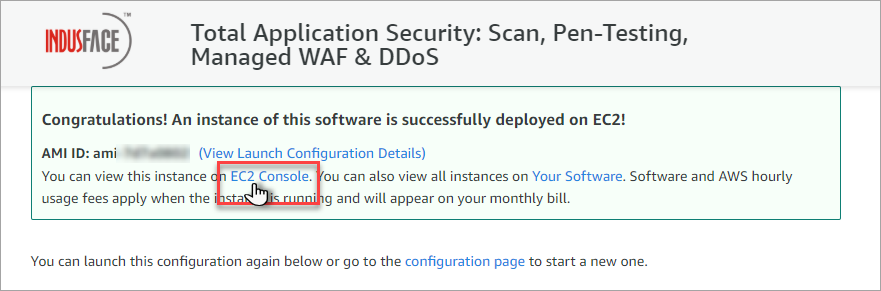
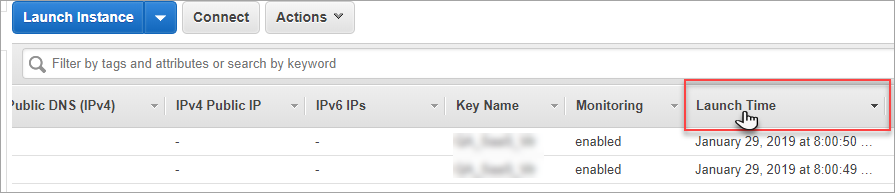
Click EC2 Console link to view the created instance in the console. Instances page appears.Click Launch Time sort option to view most recently launched instances.
Click to select the instance, click Name column, enter a name and then click tick symbol.Make a note of launched Instance ID as it is required for completing Apptranaregistration.
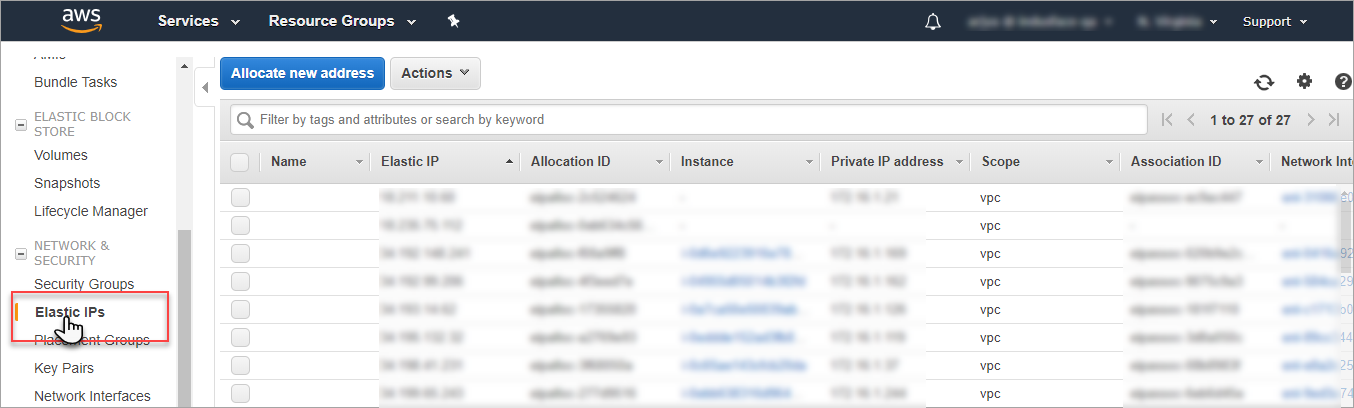
Click NETWORK & SECURITY in the left navigation plane,click Elastic IPs to create one static IP for your instance. Elastic IP page appears.
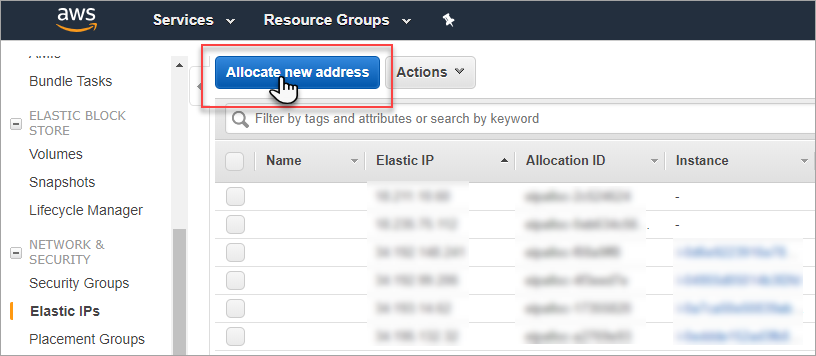
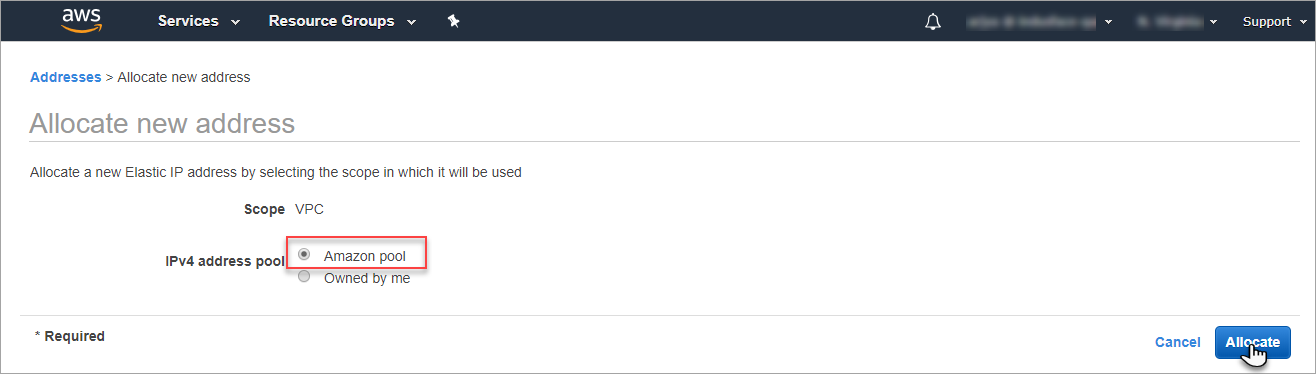
Click Allocate New Address tab. Allocate New Address window appears.By default, Amazon pool option is selected, click Owned by me button if you have own IP address associated in aws.
Click Allocate button. Success message is displayed.New address request succeeded message is displayed.
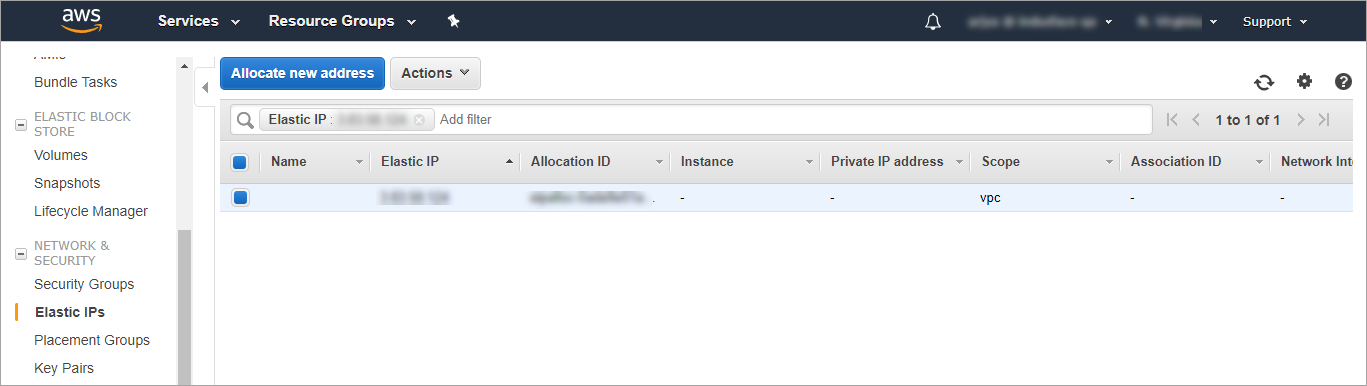
Click Elastic IP address to display the details. Elastic IP page appears.The created IP address is displayed with details like Elastic IP, Application ID etc.
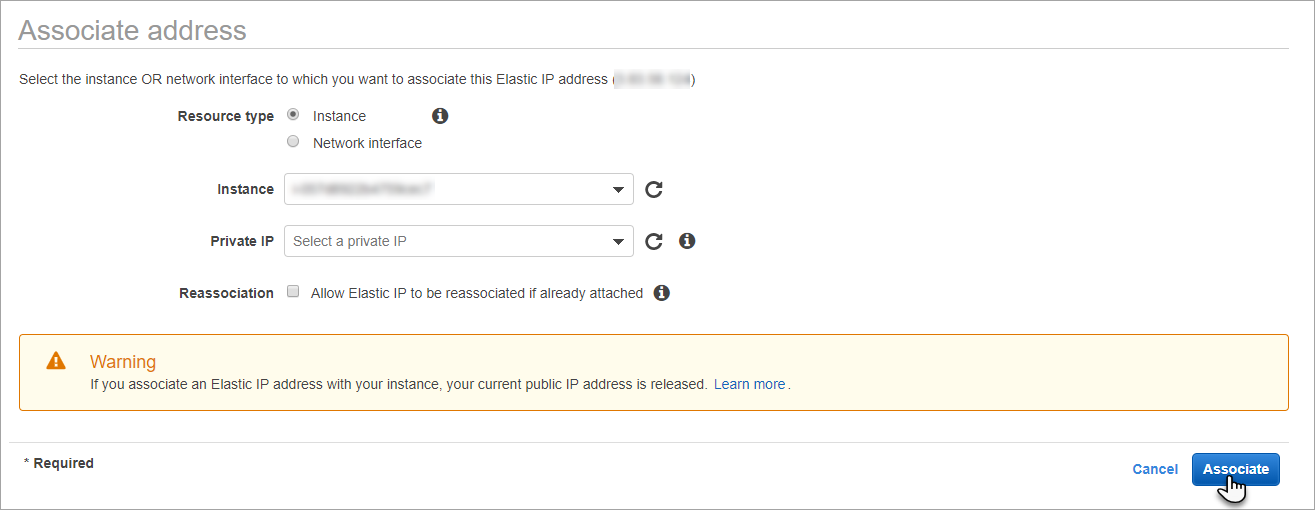
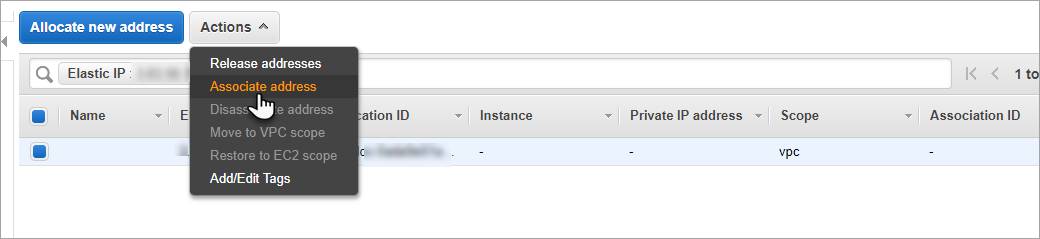
Click Actions drop-down, click Associate address option to link your IP to the created elastic IP. Associate address page appears.
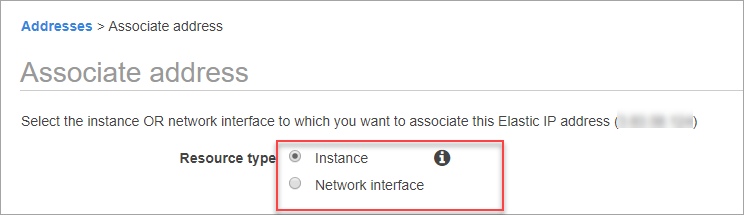
Click to select the Instance or Network Interface in Resource Type option to which you want to associate your Elastic IP address.
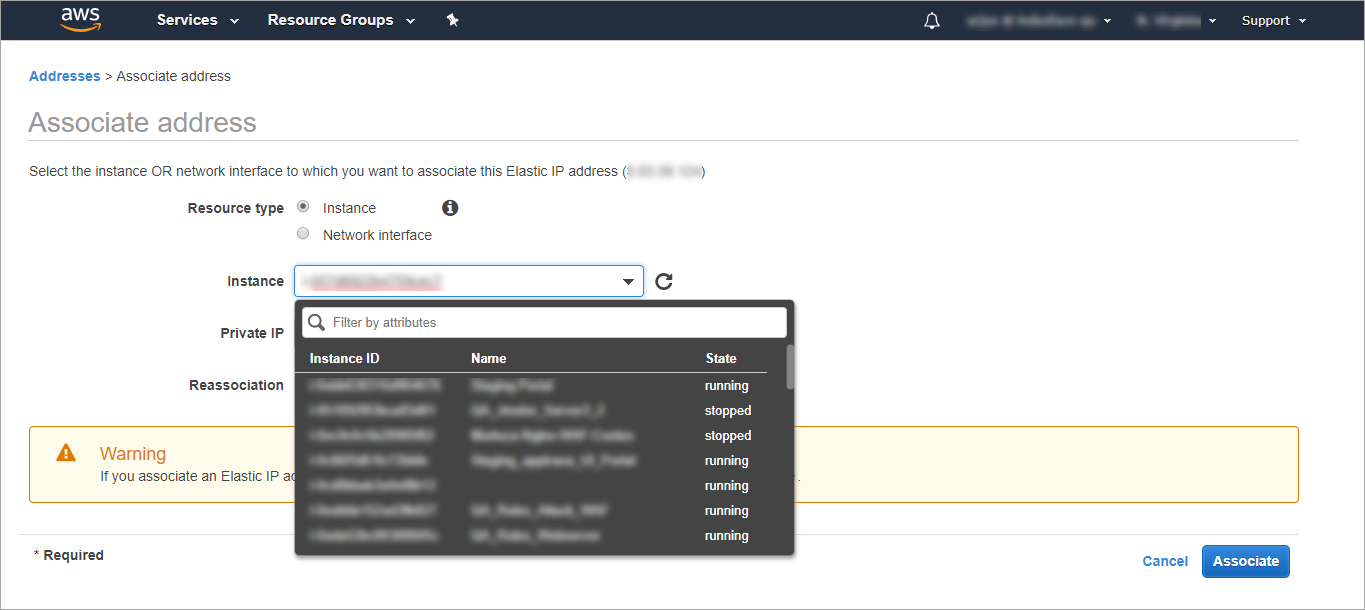
Click Instance drop-down, click to select your instance and Private IP is pre-populated by default.
Usually Re-association option is suggested to avoid. In case chosen IP address is wrong, the existing machine is affected.
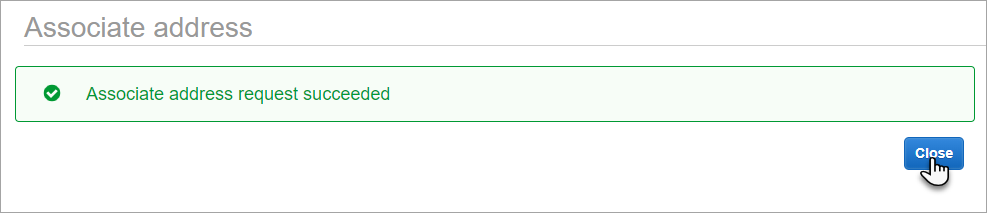
Click Associate button. Success message is displayed.
Associate address request succeeded message is displayed.
Click Close button. Elastic IP page appears.
Elastic IP address details, Associated address details and Instance is displayed.
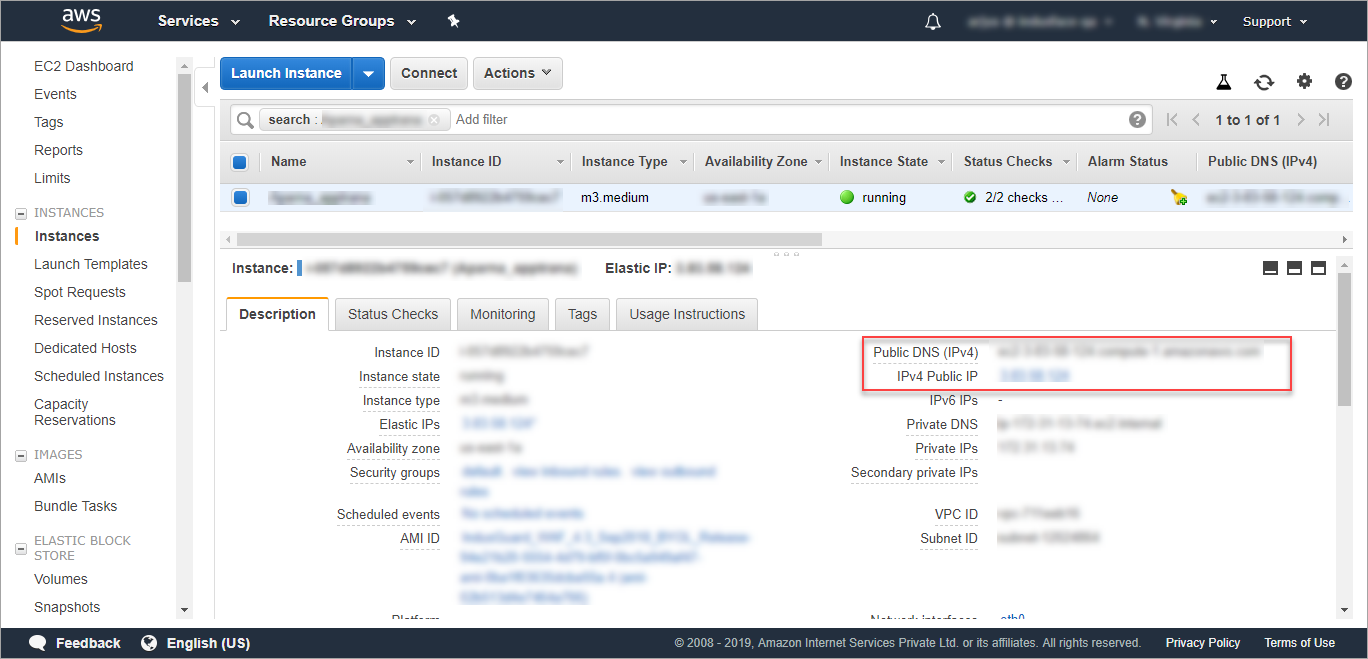
Click Instances option in the left navigation plane, click the instance which is associated with Private IP. Instance details like Public IP Address is displayed.
Your AMI has been launched successfully and configured with the Public IP address.


 Indusface Subscription button is disabled, unless Terms and Conditions are agreed. Click Accept terms and conditions button to enable subscription.You have already subscribed to the Indusface Software, kindly go through the Terms and Conditions before configuring the software.
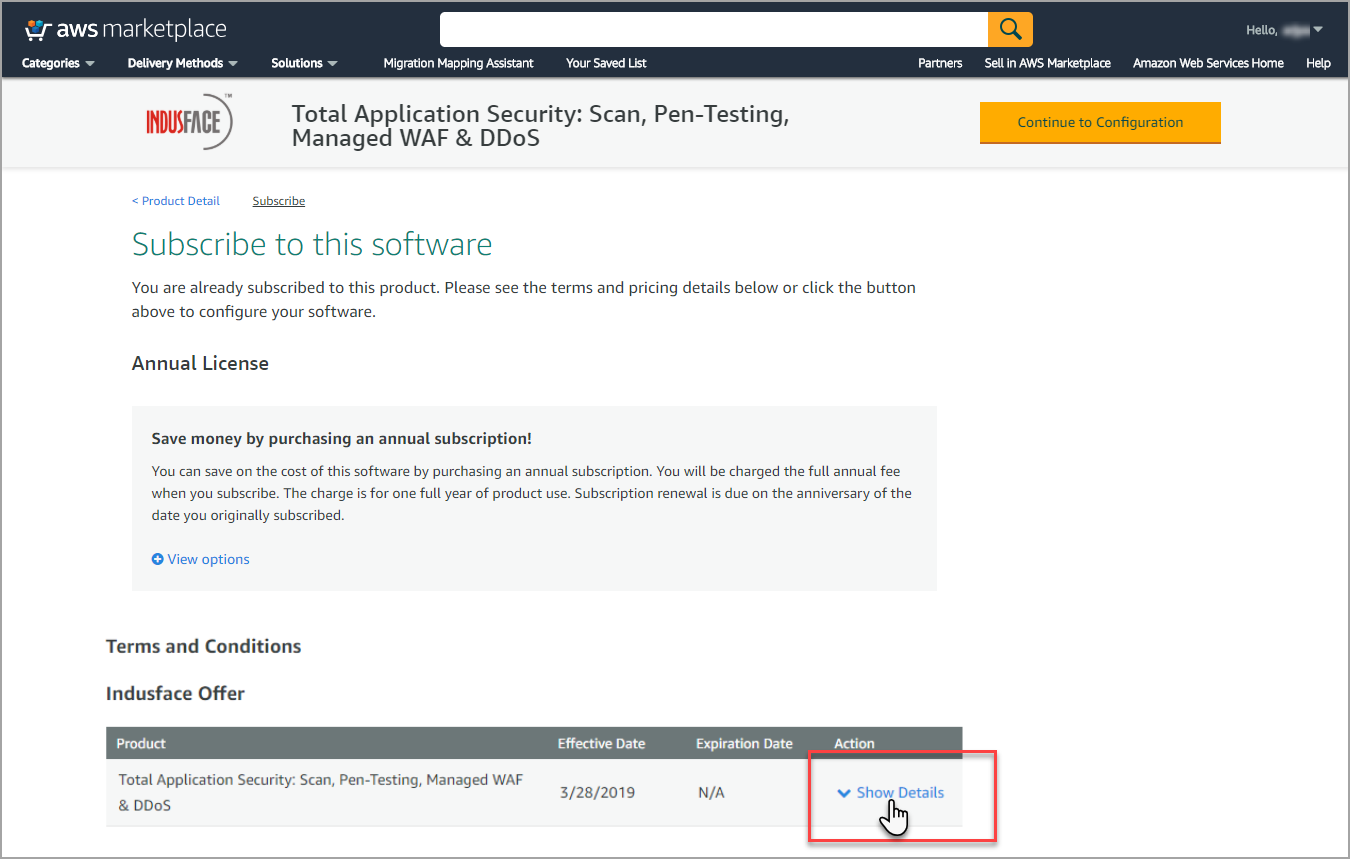 Save money by purchasing an Annual subscription. Further information is displayed in Configuration page.This table shows pricing information for the listed software components. The use of each component will be charged separately.
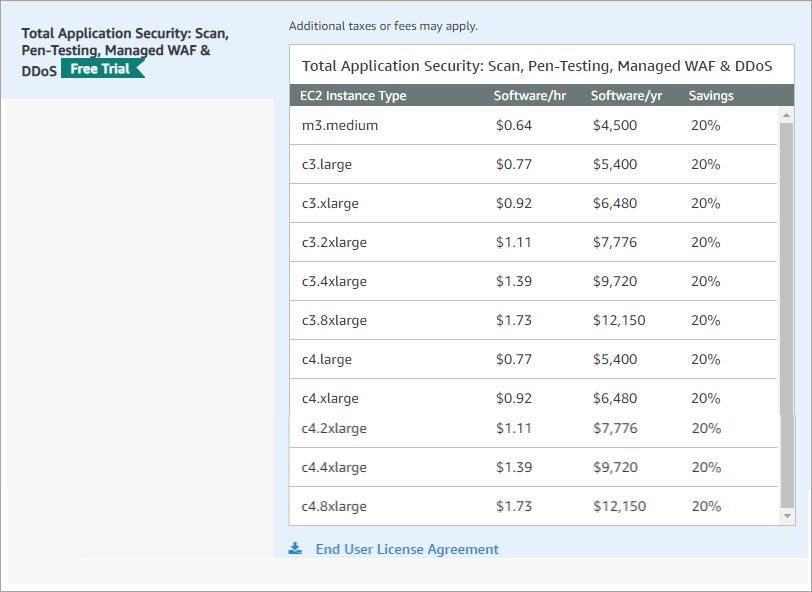
 Not sure of which instance type to select? We have made an Instance Selection Guide too.
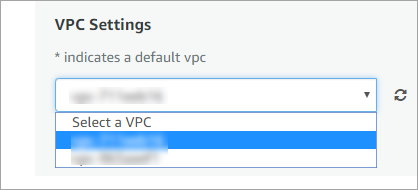


 Usually Re-association option is suggested to avoid. In case chosen IP address is wrong, the existing machine is affected.