Table of Contents
Manage

This page describes the basic information of a user such as Account, Payment, License, API Key, Users, and Groups.
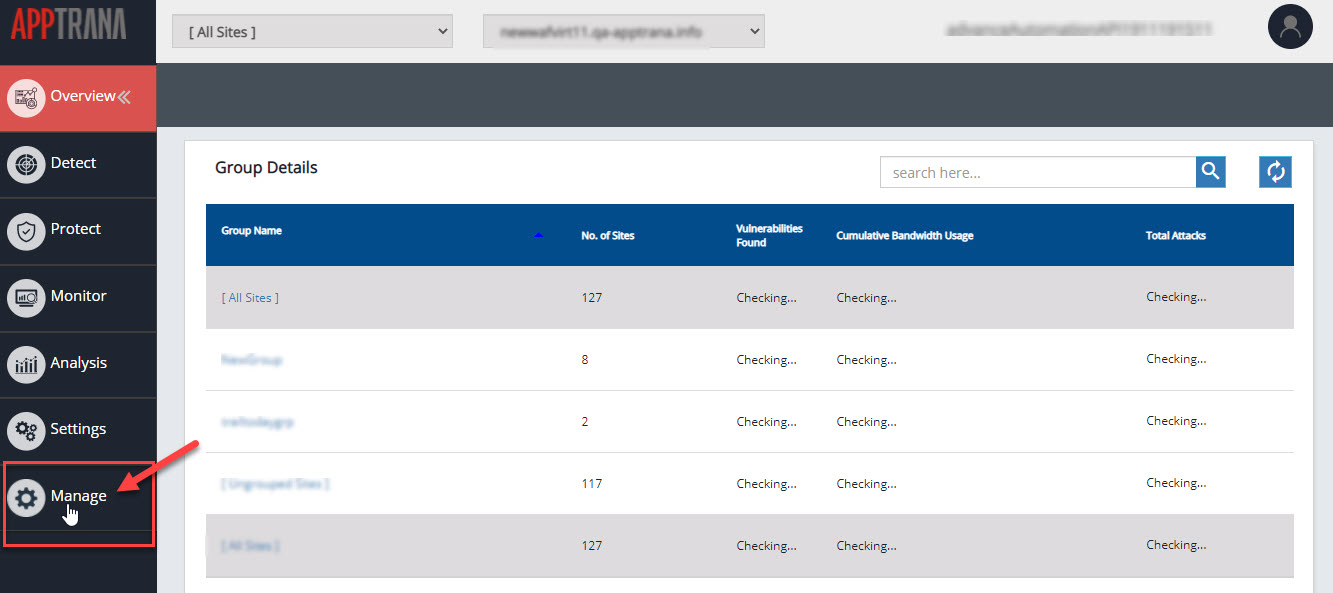
Account
- Select Manage > Account.
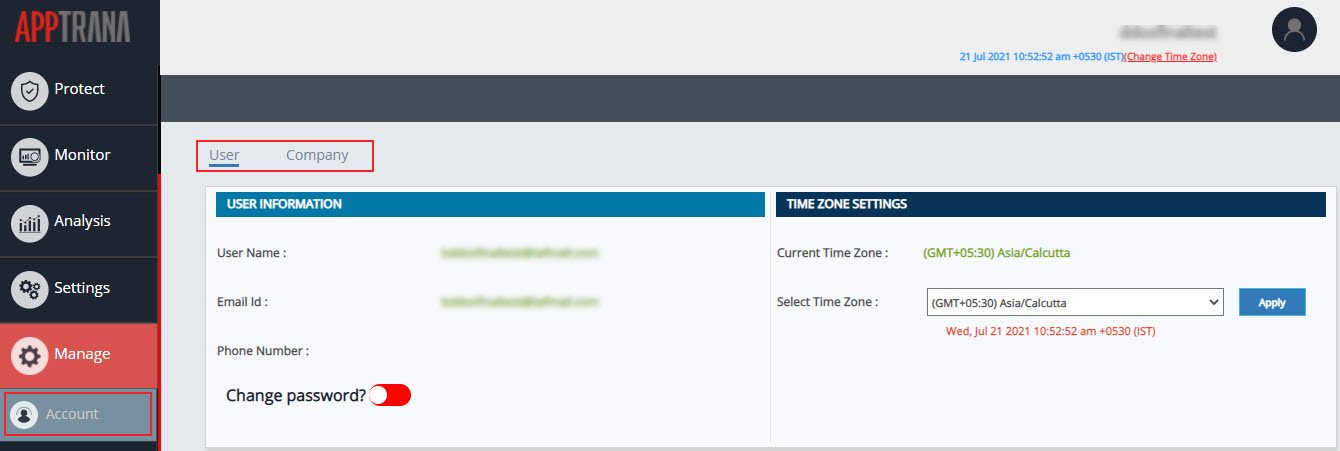
- Account details are classified into User and Company. By default, User option is selected.
User
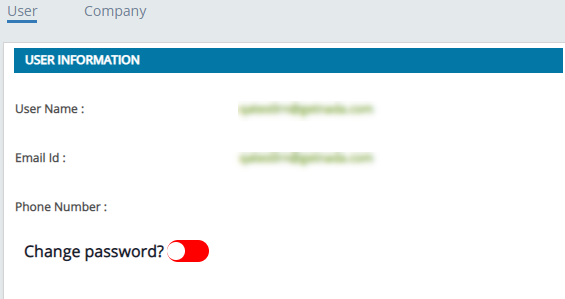
User Information
General user information like User Name, Email Id, and Phone Number are displayed. Also, Change password? option is displayed.
Change Password
- Enable Change password toggle button to set a new password for the account.
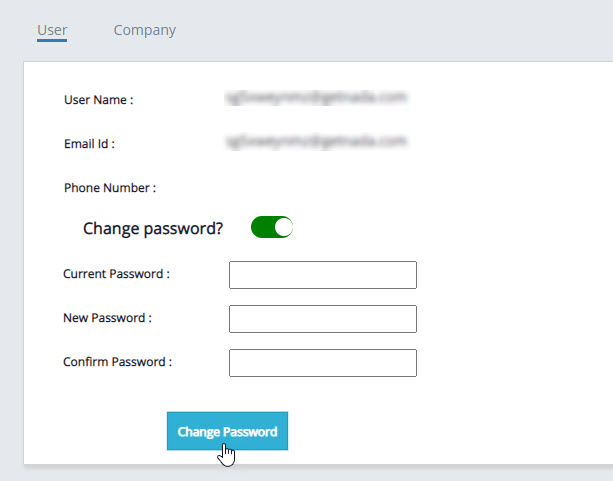
- Enter the password information requested and click Change Password.
- With a successful update, Password changed successfully message is displayed.

Reset Password
This section helps to reset your password in case the password is expired or forgotten the password.
- Click on the Username field to enter your username and then click on the Submit button.

- A pop-up message is displayed saying Reset password mail is sent to the registered email.
- Click on the OK button to close the pop-up.

- Click on the reset password link to reset AppTrana portal password. Reset Password page appears.

- Click on the New Password field and enter your updated password.
- Click on the New Password field and enter a strong password, re-enter the same password in Confirm New Password field, and click CHANGE PASSWORD button. Success message is displayed.

- Password changed successfully message is displayed with successful update.

- If the password reset link is expired, a pop-up message will be displayed saying Invalid Request.

- Click OK to close the pop-up and re-create the password.
- An error message is displayed with password instructions, if the updated password doesn't match with Indusface Password Policy.

Password Policy
Improve your account security with a strong password protection.
Set a strong password based on the following requirements:
1. Password must use at least 8 characters long.
2. Password must have at least one numeric, one alphabet, one uppercase and one special character.
3. Age- 40 days for login expiration.
4. Time out Attempts- 5 times if the user enters incorrect password then the account will be blocked.
5. Password can not be same as the last 5 passwords.
Time Zone Settings
Customers can find the time zone details under the profile name. Also, customers have the facility to change their time zone accordingly.
Change Time Zone
- Current Time Zone and Change Time Zone is displayed on the top right corner.

- Click Change Time Zone to change your current time zone.
- You’ll be redirected to Manage > Account > User > Time Zone Settings page.
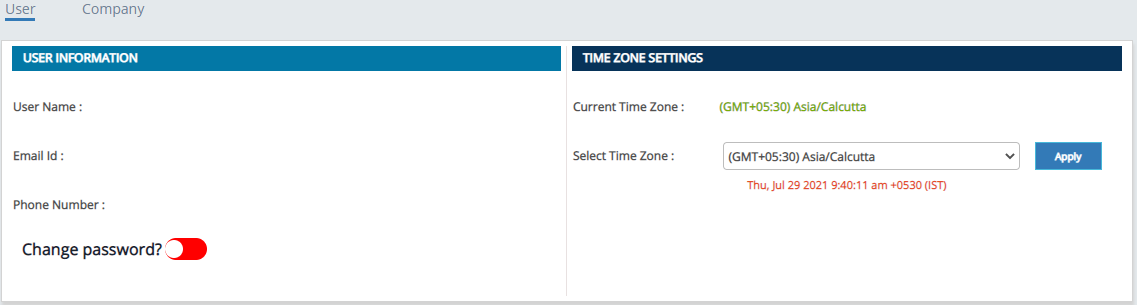
- Current Time Zone and Select Time Zone fields appear.
- On Select Time Zone field, a drop-down menu has been given to pick the time zone.
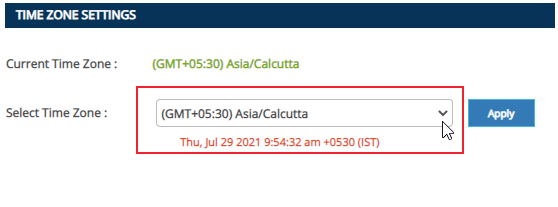
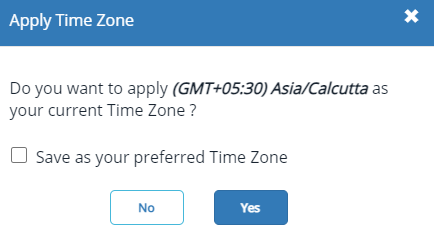
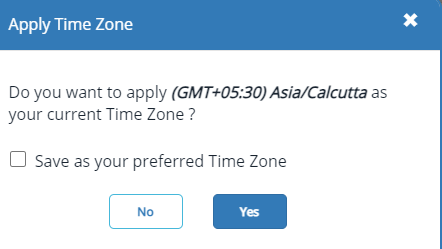
- Click Apply to set the new time zone. A confirmation pop-up will appear.
- The confirmation pop-up consists of a dialog box for updating the selected time zone as preferred time zone.
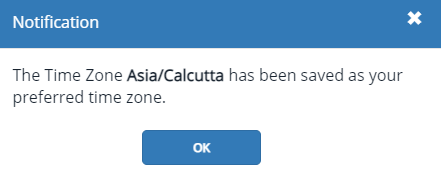
Case 1: Tick the dialog box and then click Yes to set the selected zone as preferred time zone.
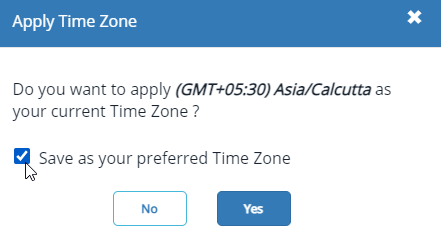
A success notification will appear. Click OK to close the pop-up.
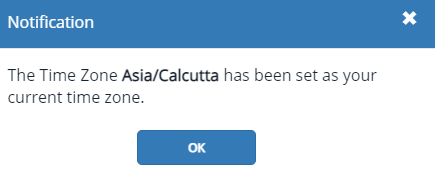
Case 2: Leave the dialog box as it is (untick) and then click Yes to set time zone only for the current session.
A success notification will appear. Click OK to close the pop-up.
When customers change their time zone, the following areas will be affected.
Time Zone Affected Areas | Applicable |
Access Logs date & Time | √ |
Action date & Time | √ |
Attack Trend | √ |
Attack Logs & Time | √ |
Last 24 hours, Last 7 Days, Last 30 Days | √ |
Bandwidth Usage Summary | √ |
Plan Expiry Date | √ |
Scan date & time | √ |
Vulnerability found date | √ |
Vulnerability close date | √ |
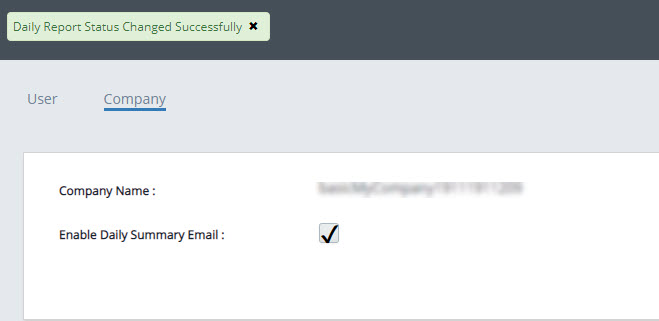
Company
This page displays registered company name along with Daily Summary Email enable option.
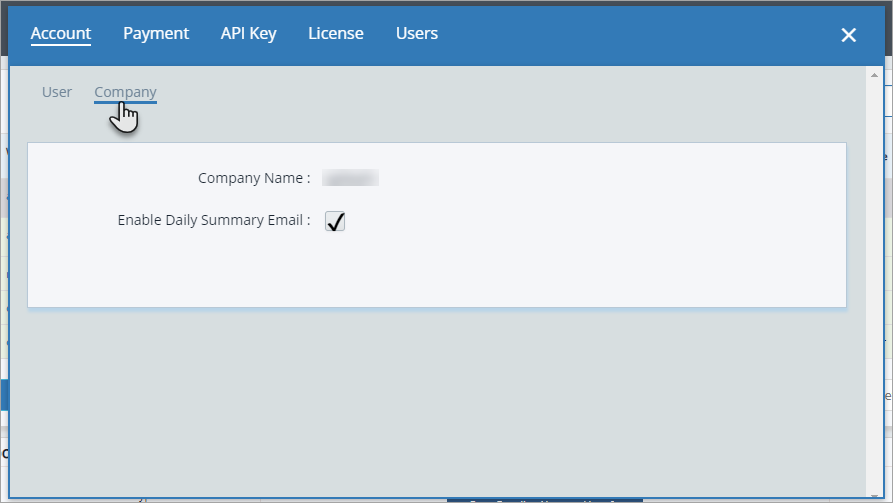
Daily Summary Email
- Click Enable Daily Summary Email check box to get the information of daily attacks and protection summary of the verified websites on daily basis.
- A success pop-up appears for daily report status.
Payment
- Select Manage > Payment.
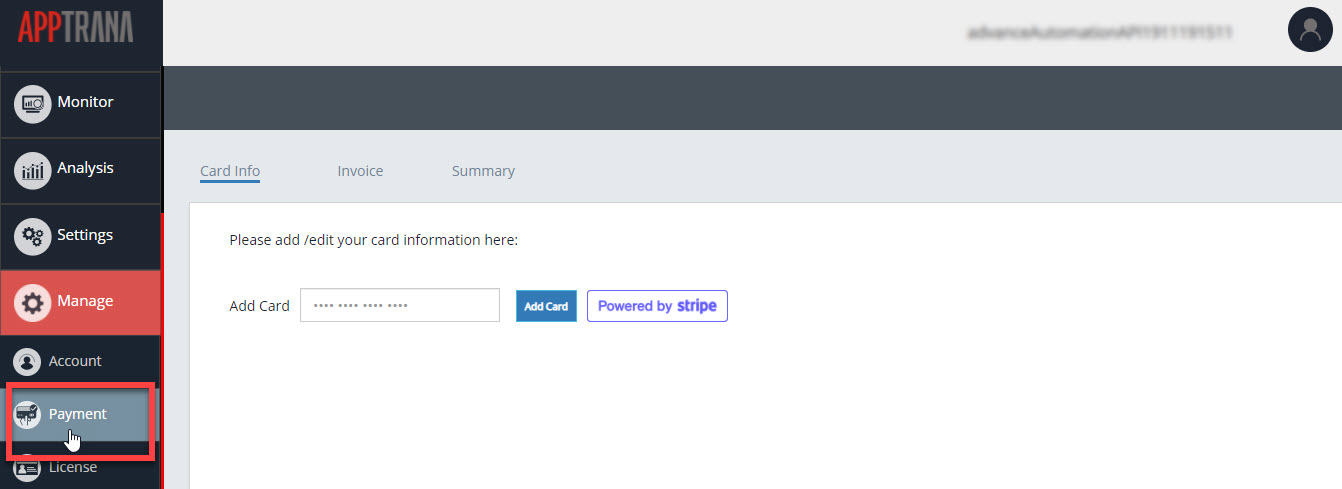
Card info, invoice, and summary details are displayed. By default, Card Info is selected.
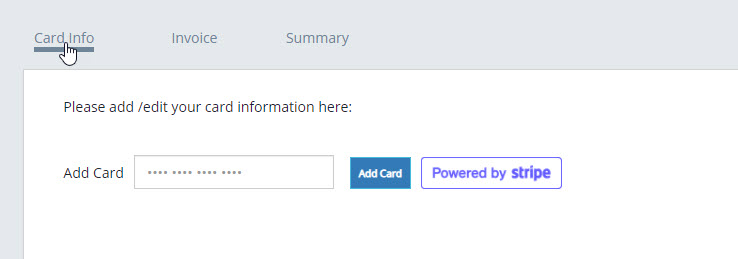
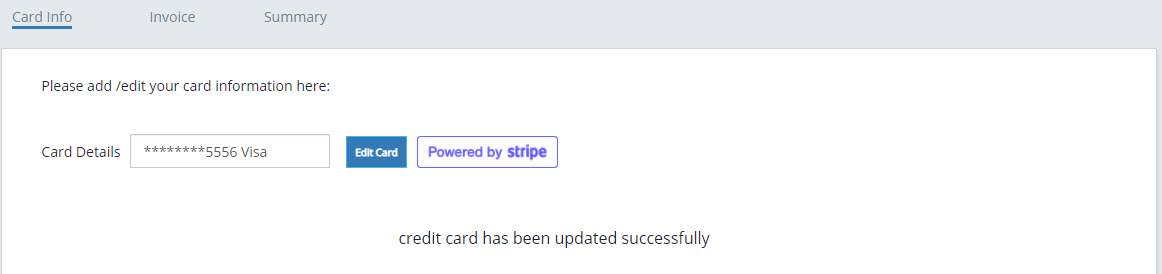
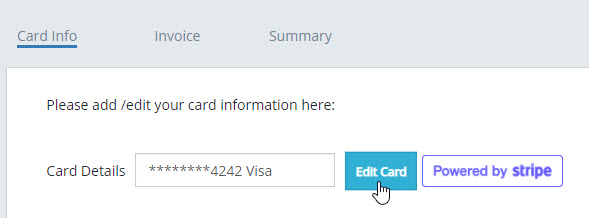
Card Info
- Select Card Info to add or edit card information.
- Click Add Card to enter your credit card details.
- Click Card Number field to enter valid credit card number, click Expiry date field to enter the month and year of expiry, and finally click CVC field to enter three digit CVC number and then click Subscribe.
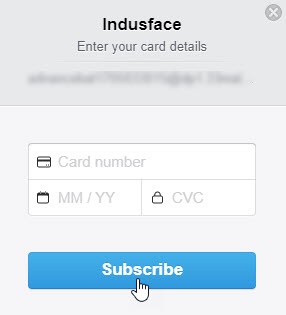
- A message will appear with successful entry.
[or]
- Click Edit Card to change the credit card details.
- Click Expiry date field, enter the month and year of expiry, click CVC field and enter your three digit CVC number and then click Done button.
- A success message will appear after successful entry.
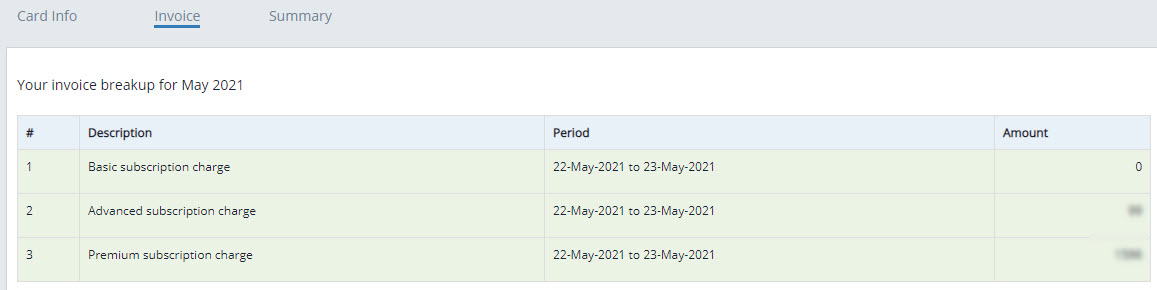
Invoice
- Click Invoice tab to display all the details of invoices for various payments.

- The description of the charge, period of charge , and the amount charged is displayed in the invoice table.
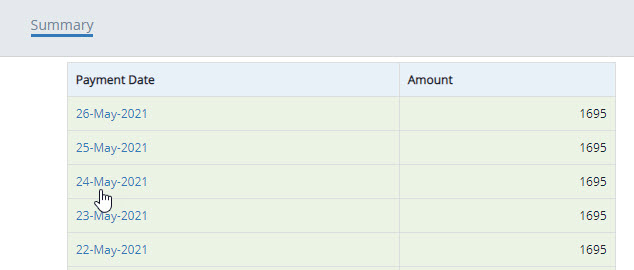
Summary
Click Summary to view the payment history.
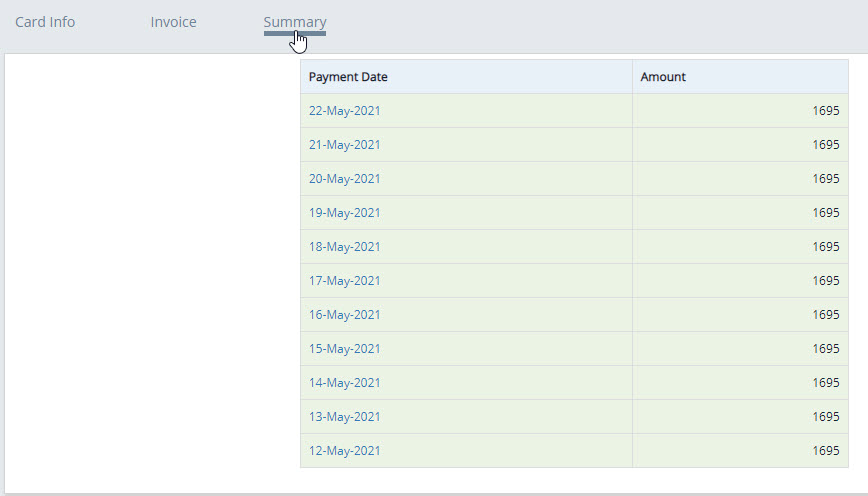
To view the further details of a payment, click Payment Date. Invoice of the payment for scheduled date is displayed.
License
- Select Manage > License.
- Total number of licenses available for a user is displayed on the top. The detailed information of a specific license like No. of URLs Licensed, URL Used, Deployment Type etc., are displayed.
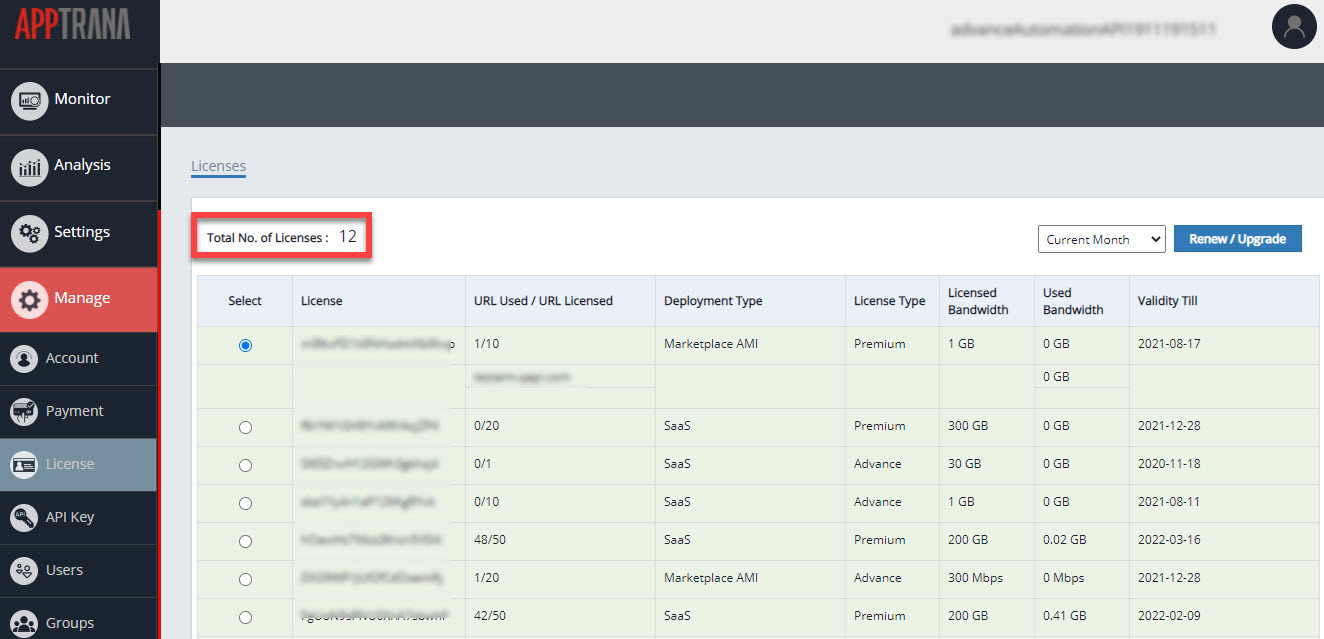
Parameter | Description |
License | The unique License Code is displayed in this column. |
URL Used/URL Licensed | This column displays the number of URL(s) used in fraction to the total number of URL(s) licensed. |
Deployment Type | The Deployment Type of a license is displayed. |
License Type | This option displays the license type i.e., Advance or Premium. |
Licensed Bandwidth | Total bandwidth given for a license is given. |
Used Bandwidth | Bandwidth consumed is displayed in this column. |
Validity Till | The License Expiry is displayed in this column. |
- Click radio button to select any specific license to display complete URL(s), Bandwidth used by a specific URL.
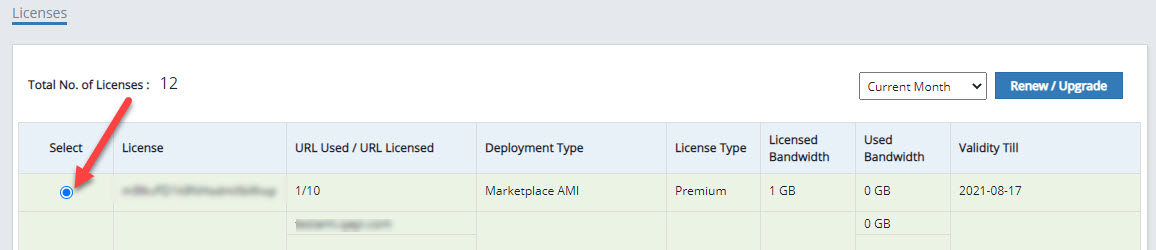
- Click Previous Month option from the drop-down to display the license details for last month. By default, current month details is displayed.

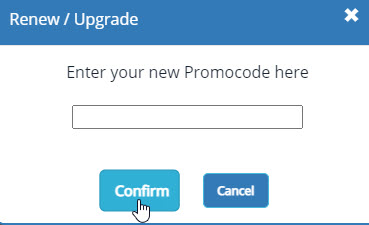
- Click Renew/Upgrade to upgrade your license. Renew/Upgrade license pop-up appears.

- Click New Promo Code field, enter new promo code, and click Confirm. Success message is displayed.
API Key
- Select Manage > API Key.

- Enter the details requested and click Save.
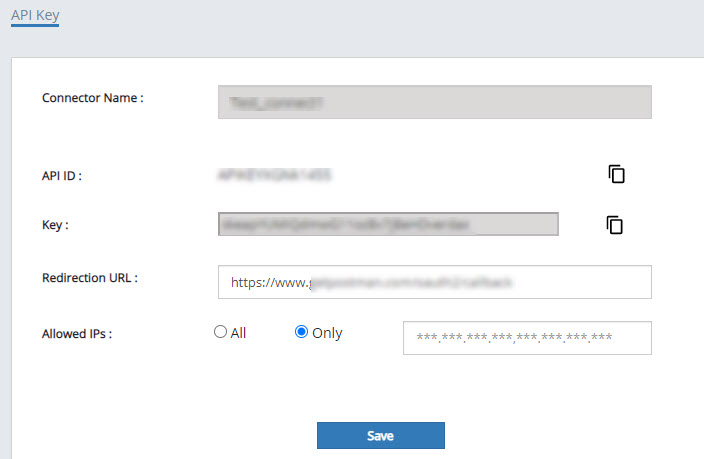
Parameter | Description |
Connector Name | Click and enter a name of your choice. |
API ID | By default, API ID is auto-generated which is a unique ID. |
Key | The unique API key is displayed. |
Redirection URL | Enter the URL whose traffic need to be redirected. |
Allowed IPs | Click All option to choose all IP addresses registered by a user [or] click Only option, click IPs field and enter specific IP address(s). Separate each IP with a comma. |
- Key field appears with an unique key. Click copy icon on the side of API ID and Key options in order to copy and paste the information locally in your system for future reference.
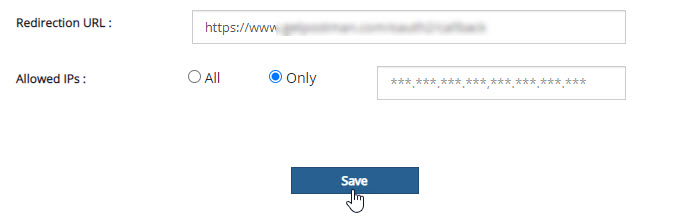
- The redirection URL is displayed in this field. To update the existing URL, click URL field, enter the updated URL and then click Save button. Success message is displayed.
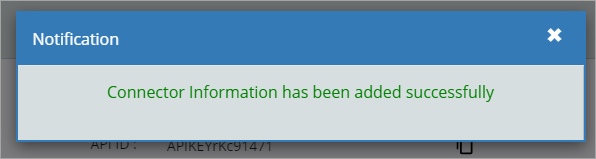
- The message is displayed as "Connector Information has been added successfully", click cross symbol to close the pop up page.

- To change the Allowed IPs option, click All from Only option to select the radio button.
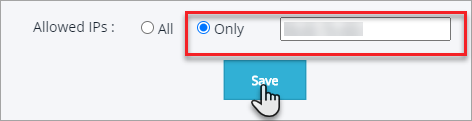
- To change IP addresses in Only option, Click IP address field, enter valid IP address, and then click Save button. Success message is displayed.
- The message is displayed as "Connector Information has been added successfully", click cross symbol to close the pop up page.
Users
- Select Manage > Users.
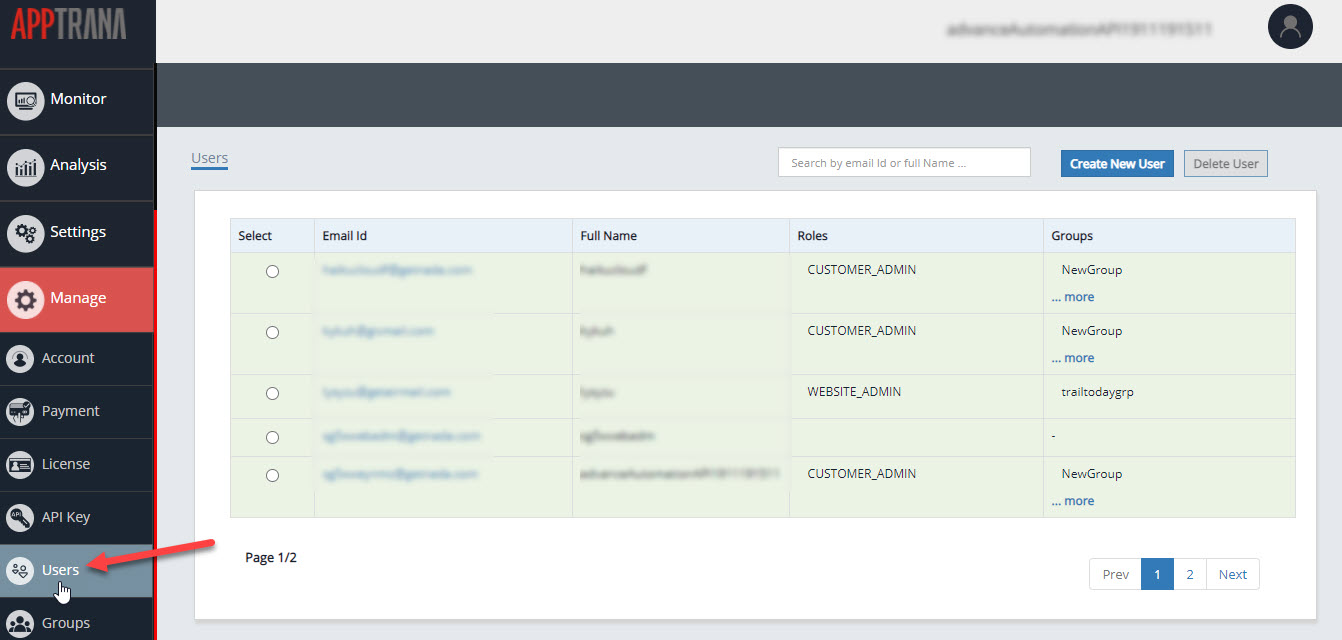
- This page describes details of users and user roles. Also discusses how to a Create New User, Delete User, and Edit user.
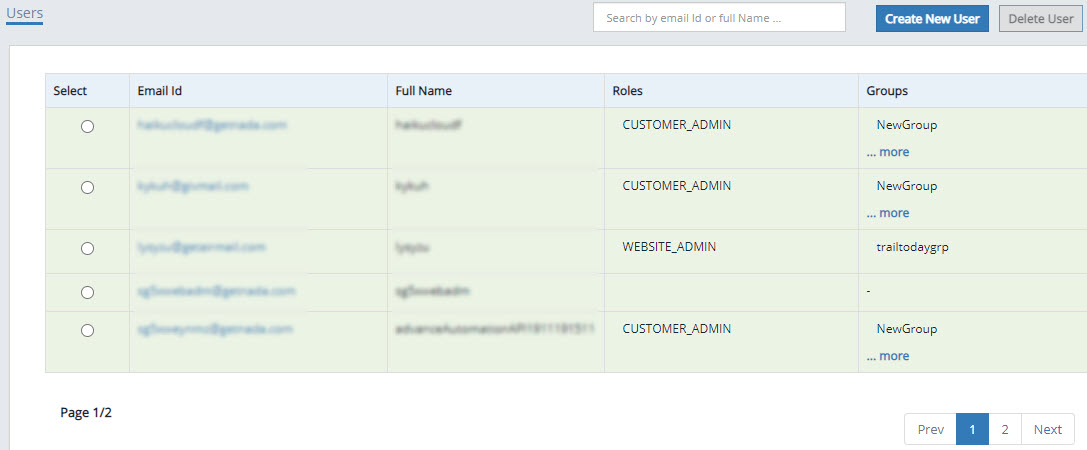
Parameter | Description |
Email ID | The Email Address of the user is displayed in this column. |
Full Name | The full name of the user given is displayed in this column. |
Roles | The role assigned to a specific user is displayed in this column. |
Groups | The list of groups associated with the user. |
User Roles
Three different roles such as Super Admin, Website administrator, and website read only roles are available for users to perform actions.
Role | Description |
Super Admin | This role gives a user all the rights or permissions such as upgrade license, upgrade credit card, and so on. |
Website Administrator | This role allows a user to perform any action on selected websites except upgrading license and adding credit card information. |
Website Read Only | This role allows the user to view the scan details and download reports. |
Create New User
- Click Create New User.
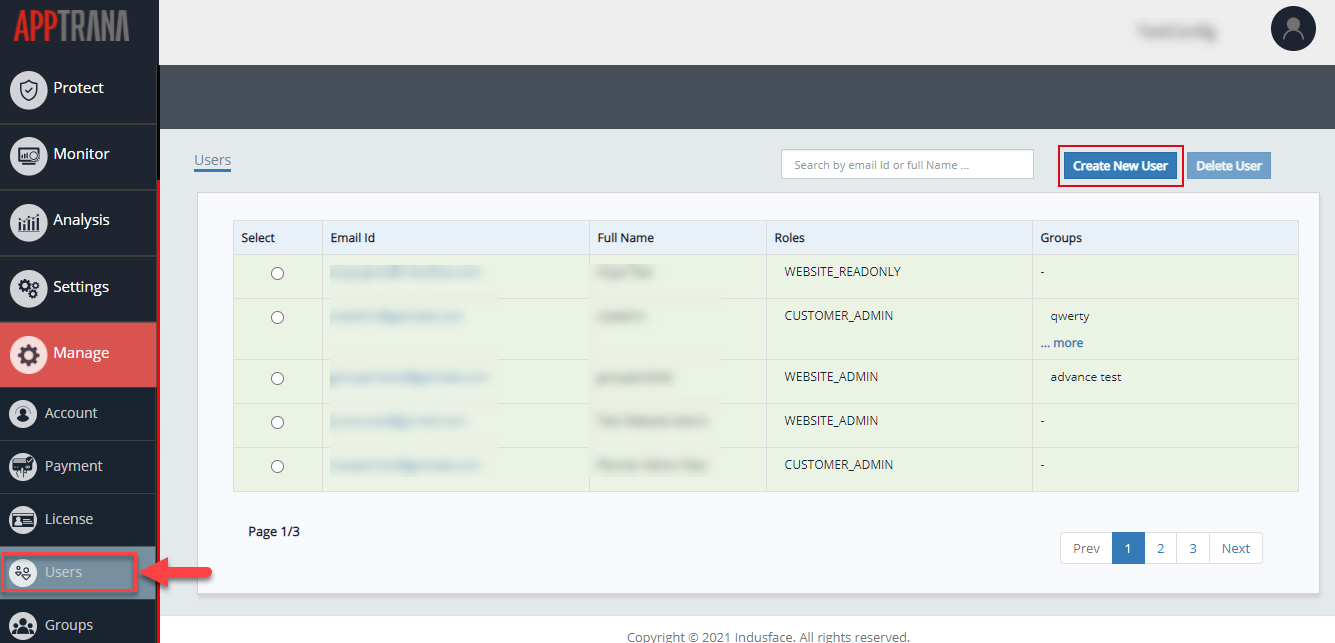
- A new window will appear to enter user information. Enter valid information in requested fields.
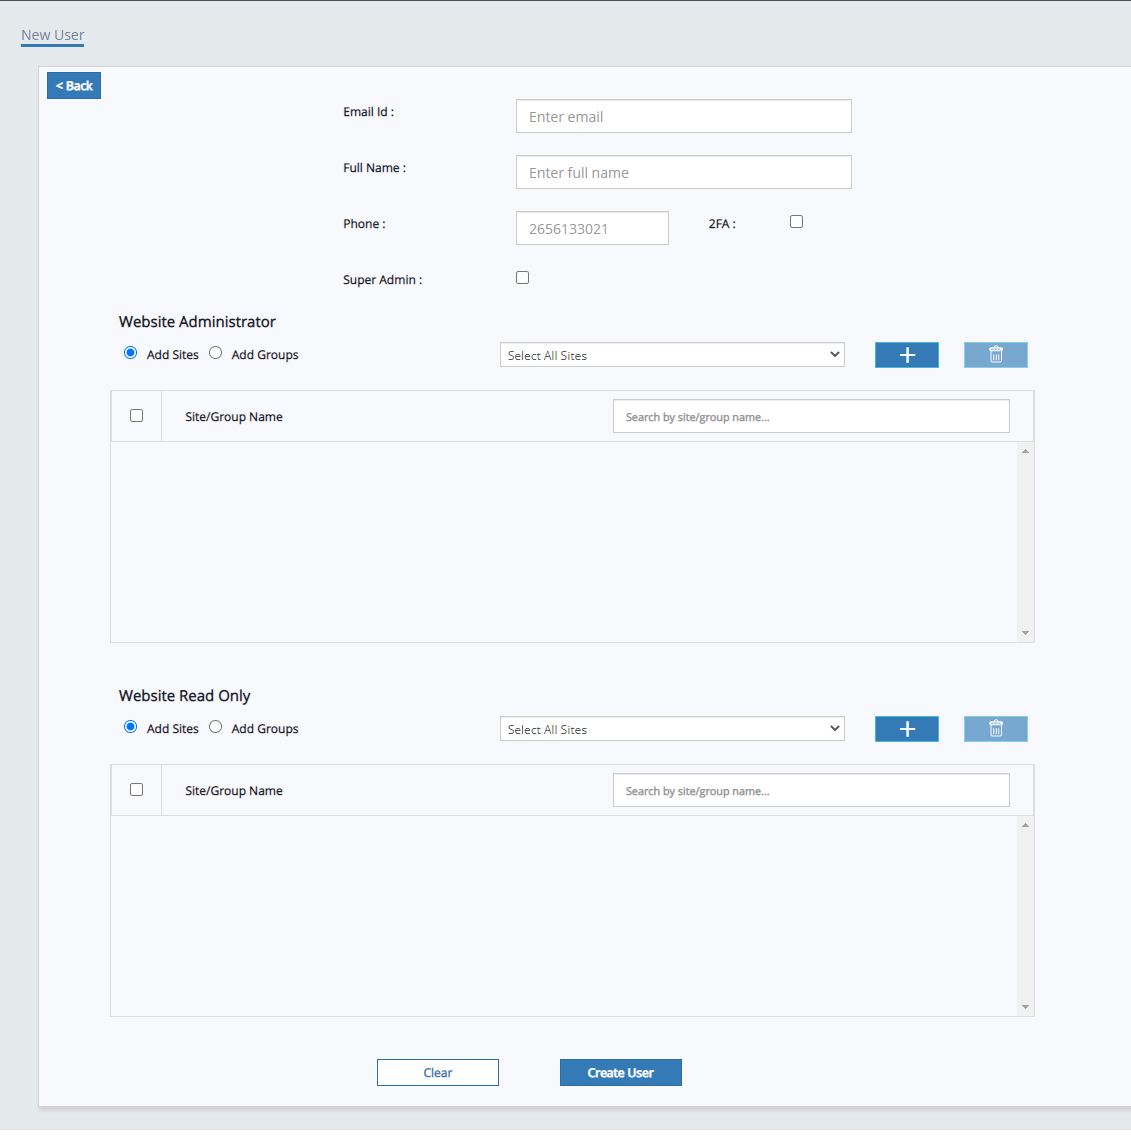
Parameter | Description |
Email ID | Enter your email ID in this field. If an email Id is already used, an error message is displayed while saving the details. |
Full Name | Enter your complete(first and last) name in this field. |
Phone | Enter a valid 10-digit phone number. |
Enable 2FA | The 2 factor authentication allows a user to login to the AppTrana Portal in a more secure environment. Select the check box to enable this option. An email will be sent to the user with instructions to enable 2FA authentication. |
Role | Select any one of the user role depending on the permissions to be assigned. Super Admin, Website Administrator, and website read only are the roles available for customer to assign when creating a user. List of assigned websites are displayed only for Website Admin and View Only. |
- Super Admin
- Super Admin role helps to get edit access to all the websites associated with account.
- Select Super Admin role and Click Create User button.
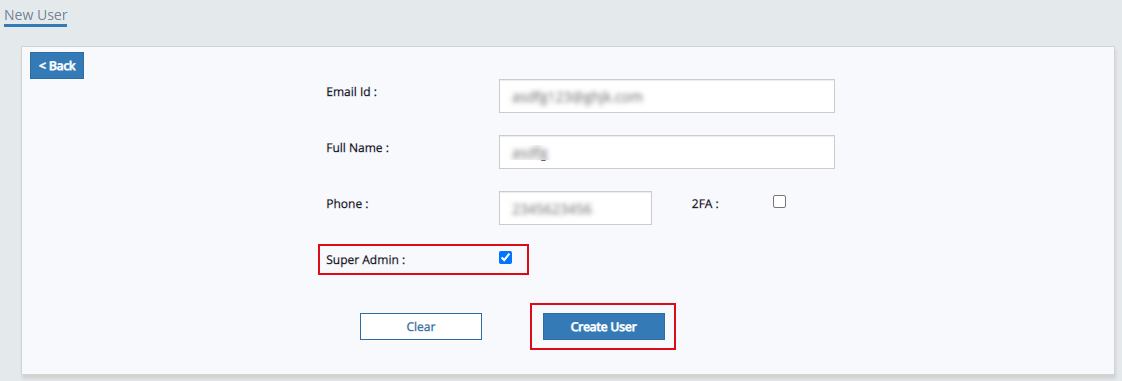
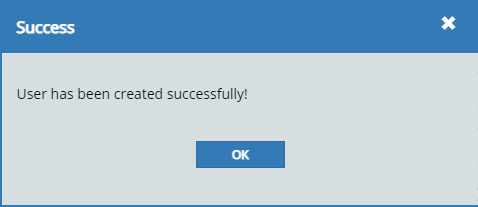
- A new user will be created with super admin role. A success pop-up will appear.
- Click Ok to close the pop-up.
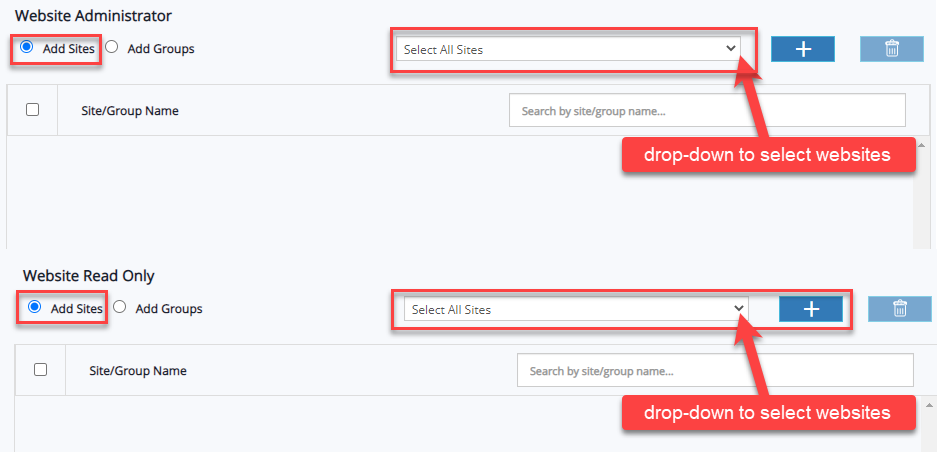
- Website Administrator and Web Read Only
- Website administrator role helps to assign edit access for websites or groups. Through Website Read Only role users can get only view access to the sites or groups.
- Select Add Sites radio button, click drop-down menu to select websites from list, and click Plus (+) button to add sites.
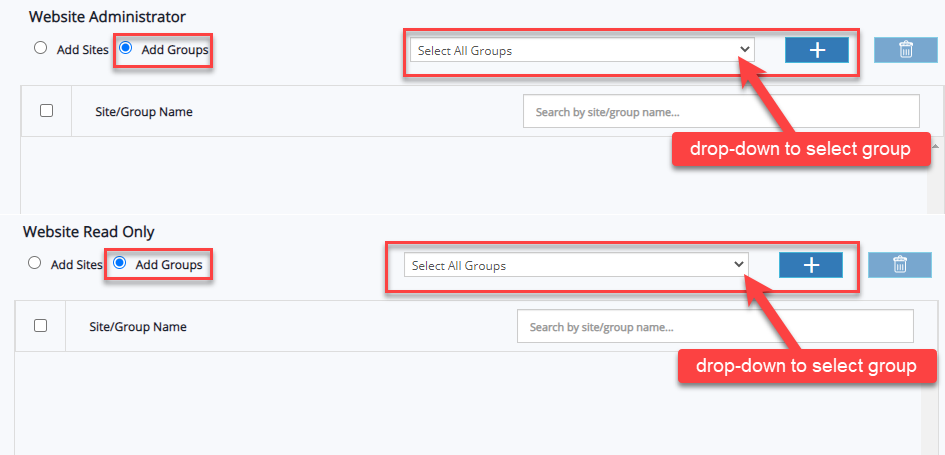
- Select Add Groups radio button, click drop-down menu to select the groups from list, and click Plus(+) button to add groups.
- When customer select Add Groups radio button, user will automatically get access to all the websites associated with group.
- Select the websites and groups to respective table and click Create user button.
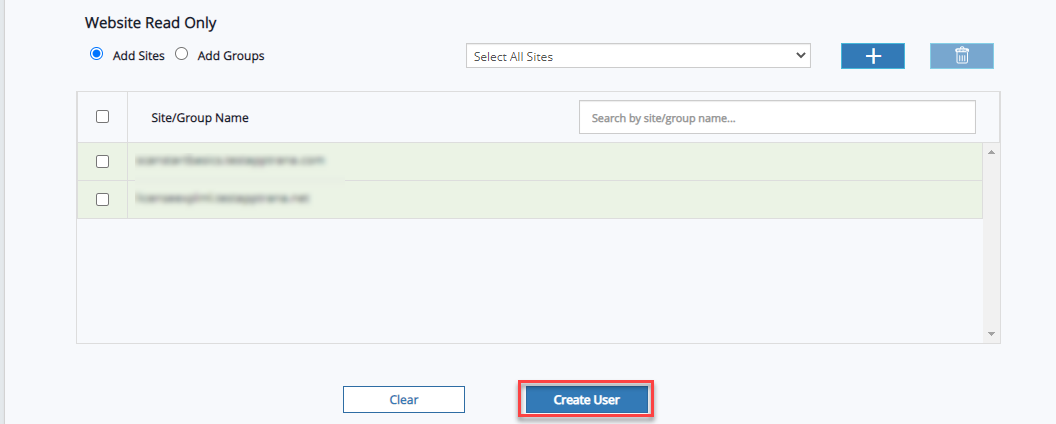
- A success pop-up will appear.

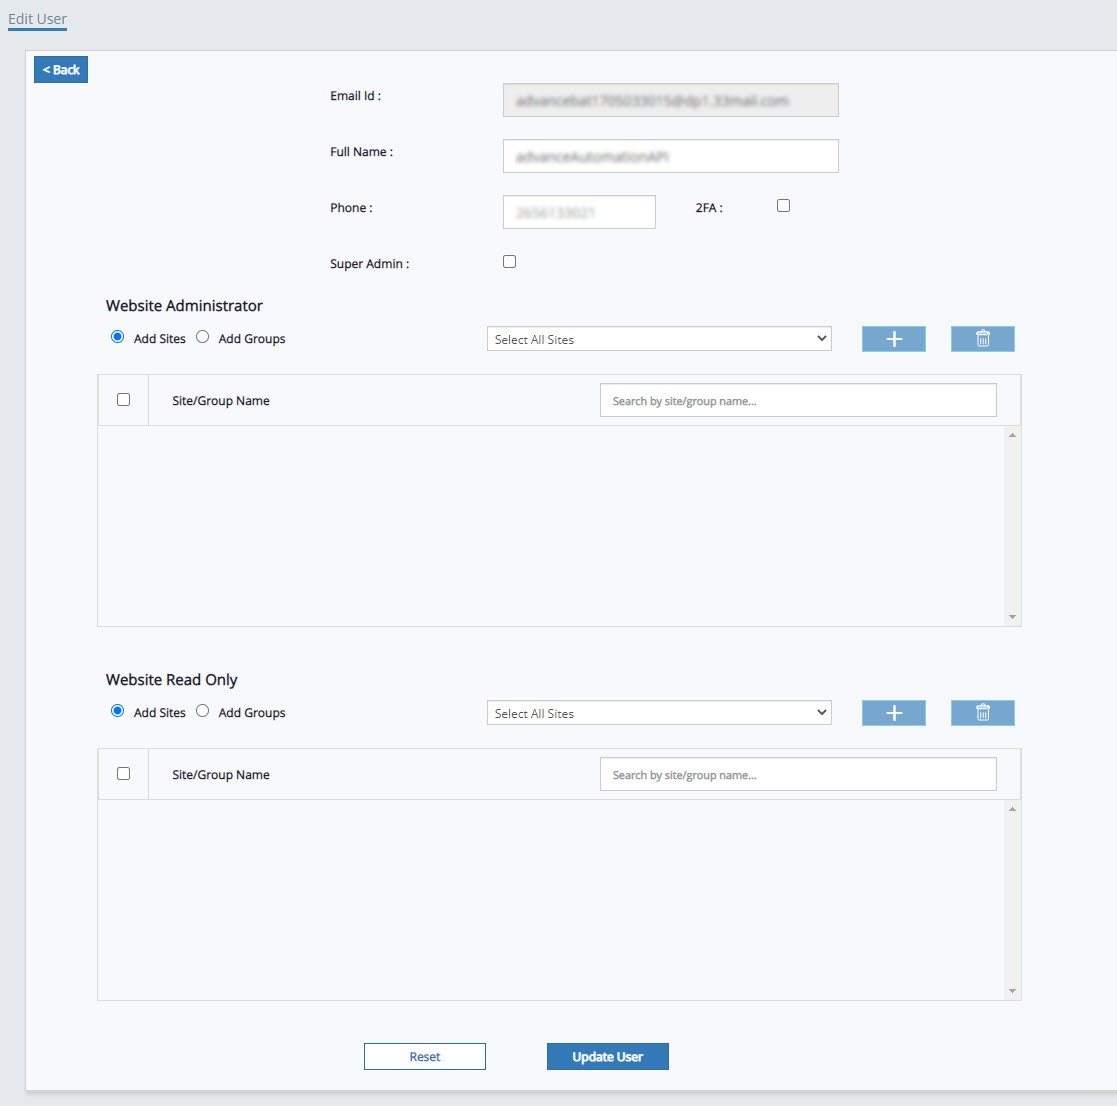
Edit User Details
- select radio button of the email id and click on email id to edit the user information.

- Click respective fields to update the information and click Update User.
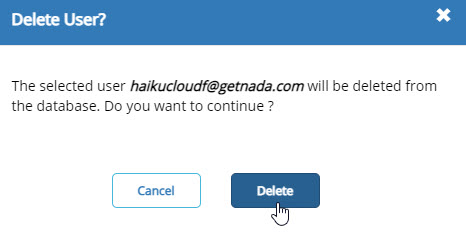
Delete a User
- Select the user email Id of a specific user and click Delete.

- A confirmation pop-up appears. Click Delete to continue deleting user from database.
Groups
Group's feature simplifies the work process for customers with multiple websites. Websites typically have multiple characteristics and properties. Group's feature helps to club the websites that have the same properties and characteristics.

- Select Manage Tab and click Group's button.
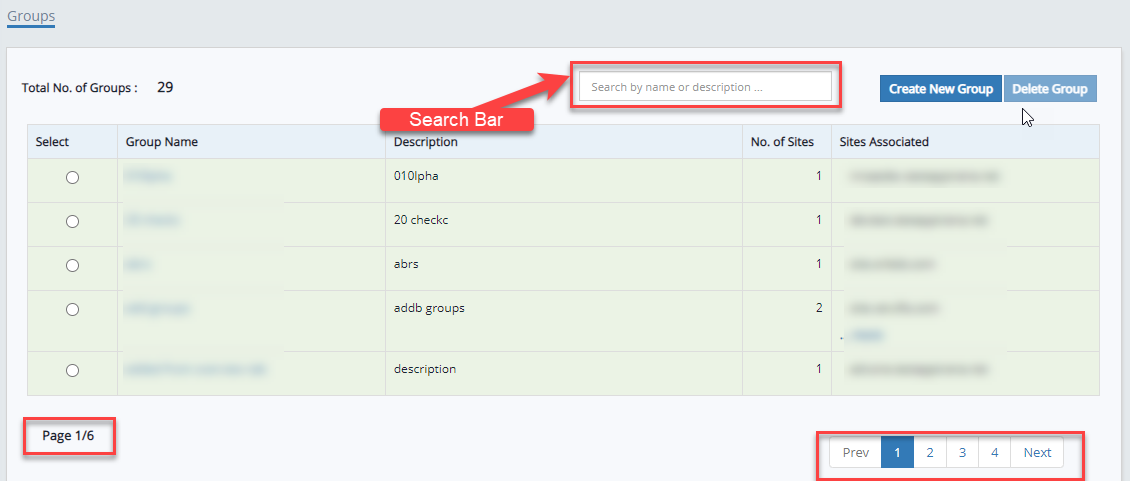
- On Group’s page, customers can find the total number of groups present, how to create a group and delete a group, and a filter option is given to identify the group easily.
- When there is more than one site in any group, click more button to view all sites added to the group.
How to Create a New Group?
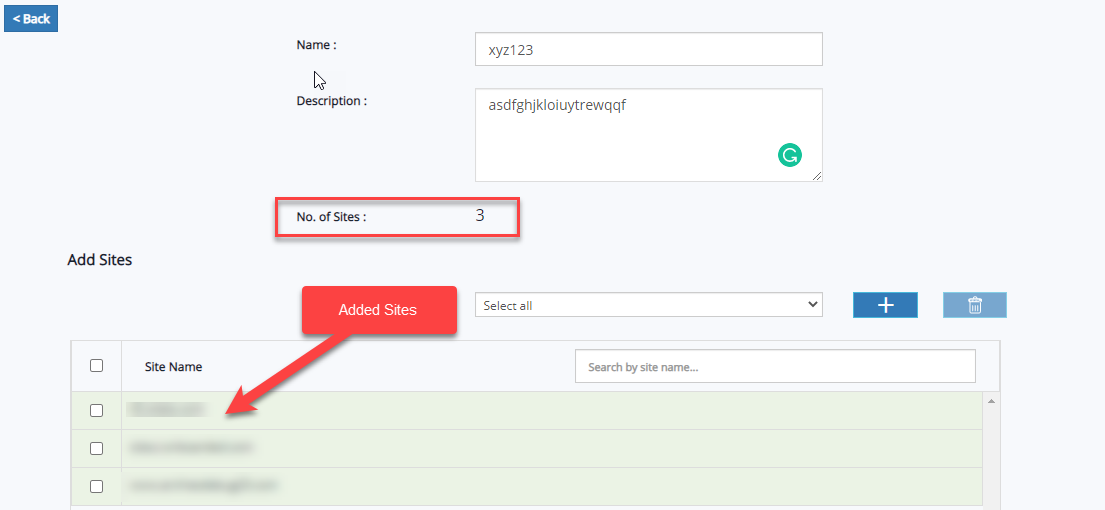
- Click Create New Group button and enter the required details in respective fields.
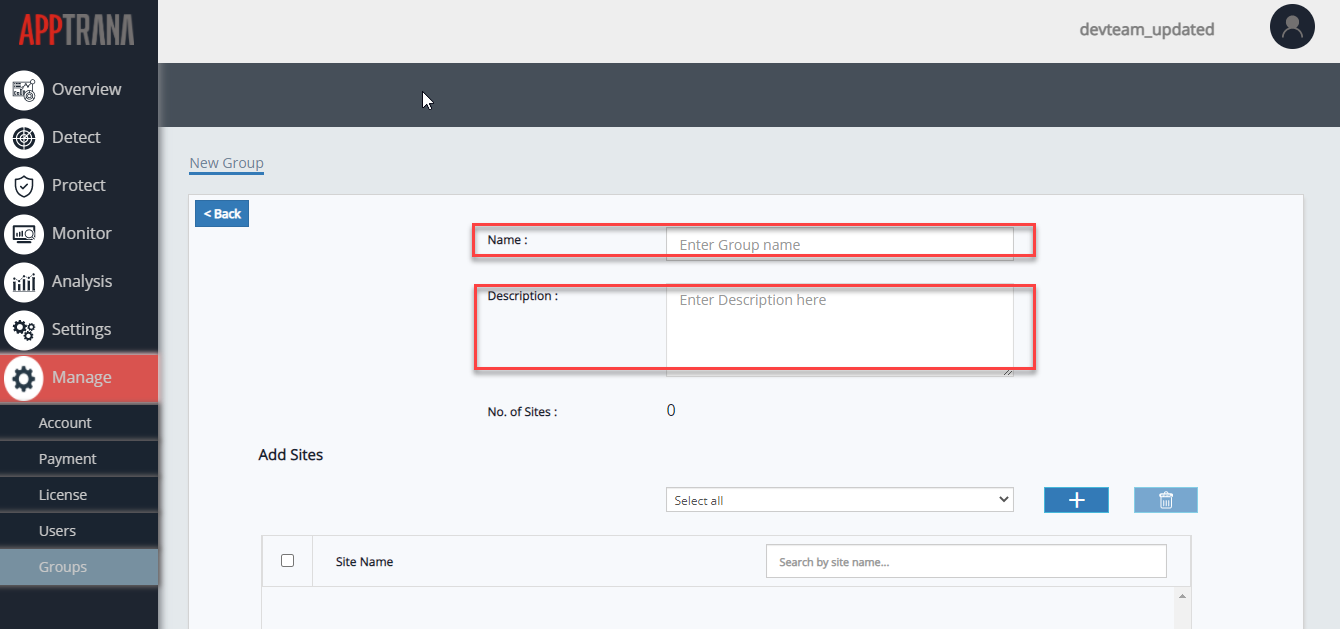
- Click Name field and enter the group name.
- When characters exceed beyond 256, the following message will be displayed:
Maximum character limit has reached
Add Websites to Group
- Find the drop-down menu given to view the list of sites and to select the required sites to add to group. Click plus (+) button to add the sites to group.
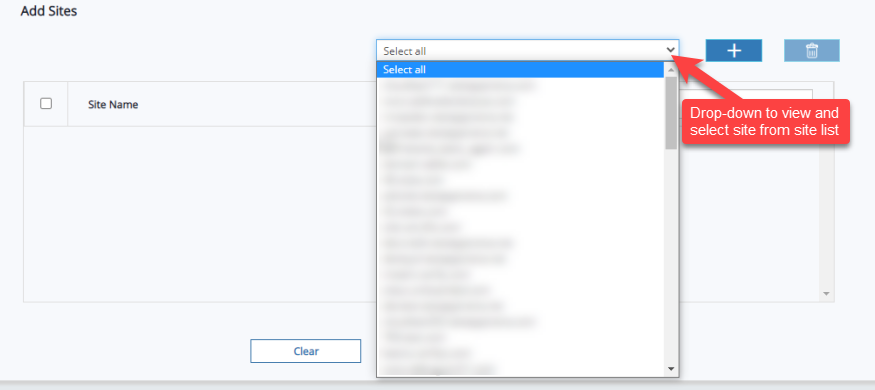
- Select sites from the drop-down list and click Plus (+) button to add the selected sites to group. Added sites will be displayed on table and number of sites added also display on page.
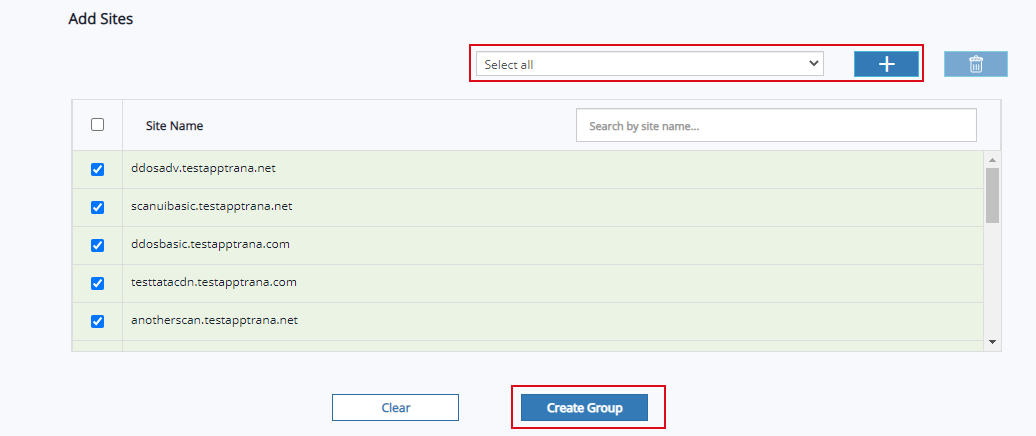
- Choose select all option and click Plus (+) button to add all sites to group.

- Click Create Group to create a new group for selected sites.
- A success pop-up will appear. Click OK to close the pop-up.
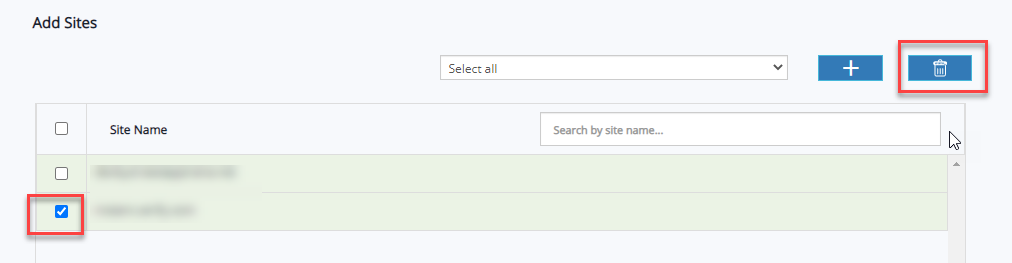
Delete Websites from Group
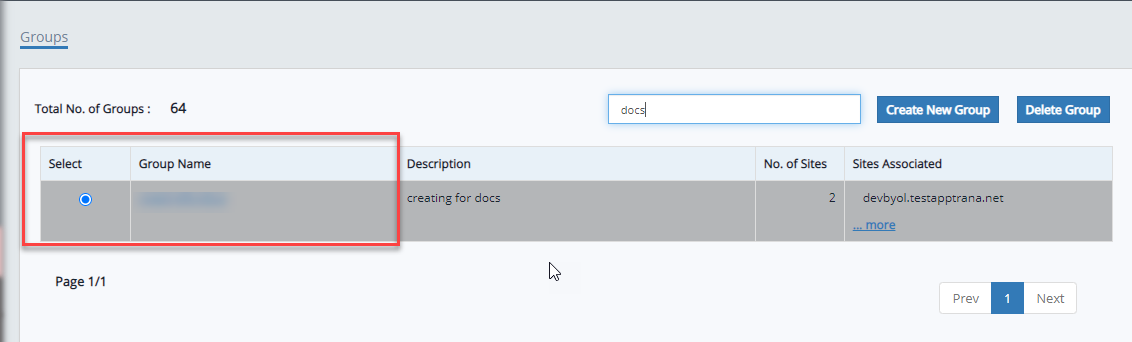
- On Group's page, select the associated group with the website and click Group Name.
- Go to Add Sites table, select site name, and click Delete button.
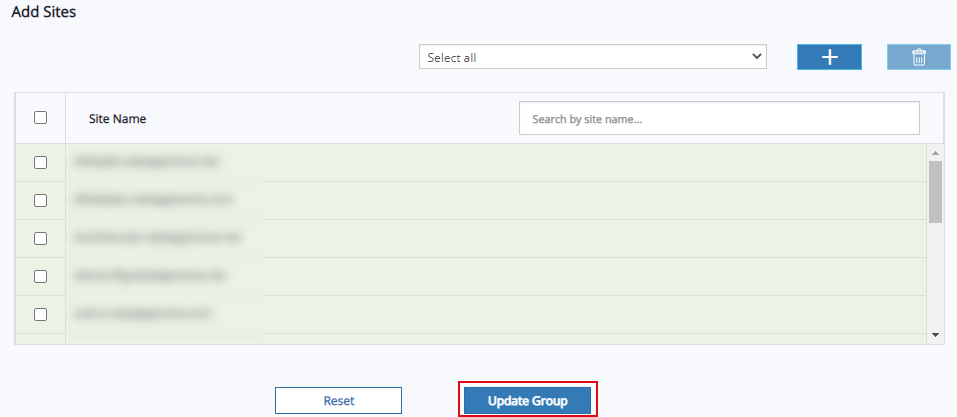
- To apply changes in the group, click Update Group button.
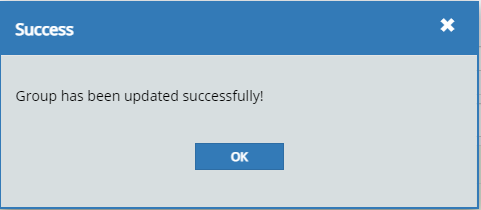
 A success pop-up will appear. Click OK to close the pop-up.
Find Group
- Enter group name or description in search bar to find required group from list. Another option is by going through page by page.
Delete Group
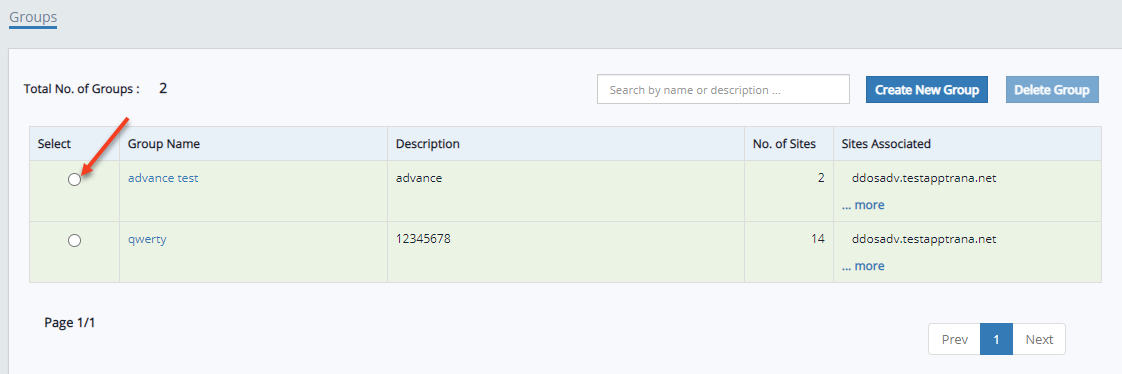
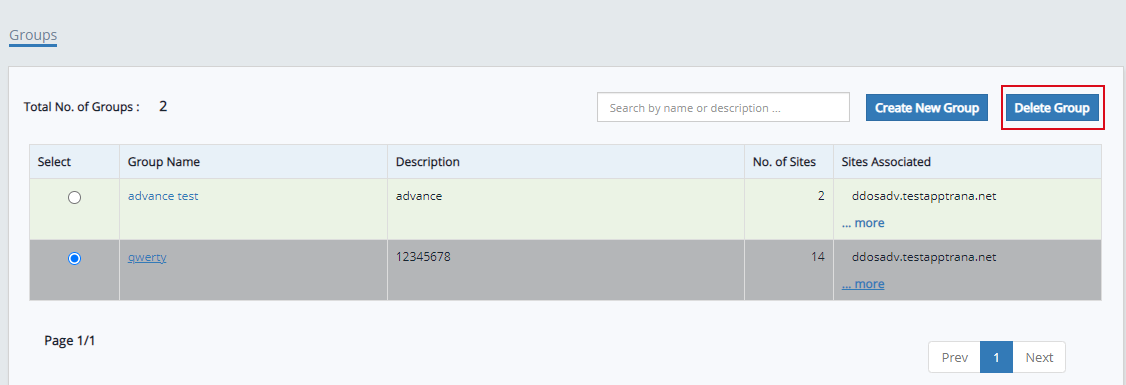
- A radio button has been given to select group name. Click radio button in the first column.
- Click Delete Group button.
- A confirmation pop-up will appear to delete group or cancel the action.
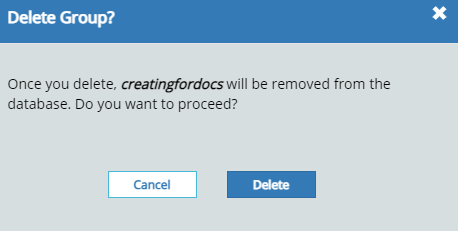
- Click Delete to permanently remove the group from the group list. A success pop-up will appear after deletion.
