Table of Contents
Change Plan

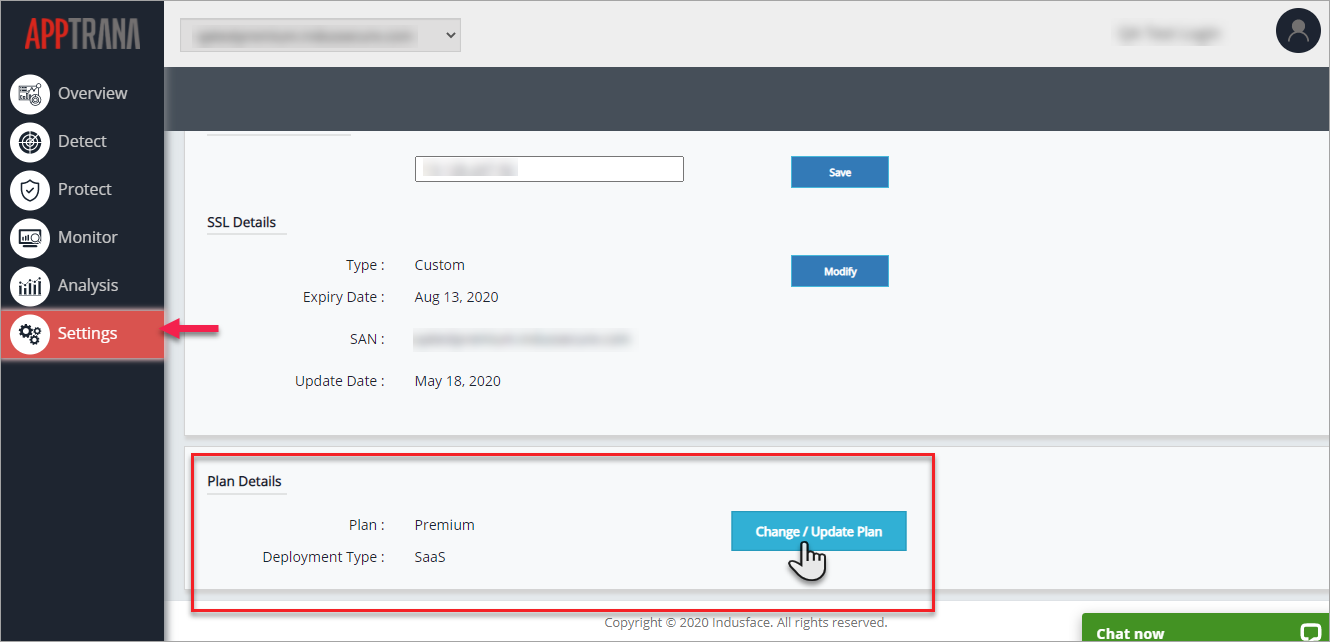
Change plan for Premium Plan Users
A user on Premium plan can choose to downgrade to Advance and/or Basic subscriptions.
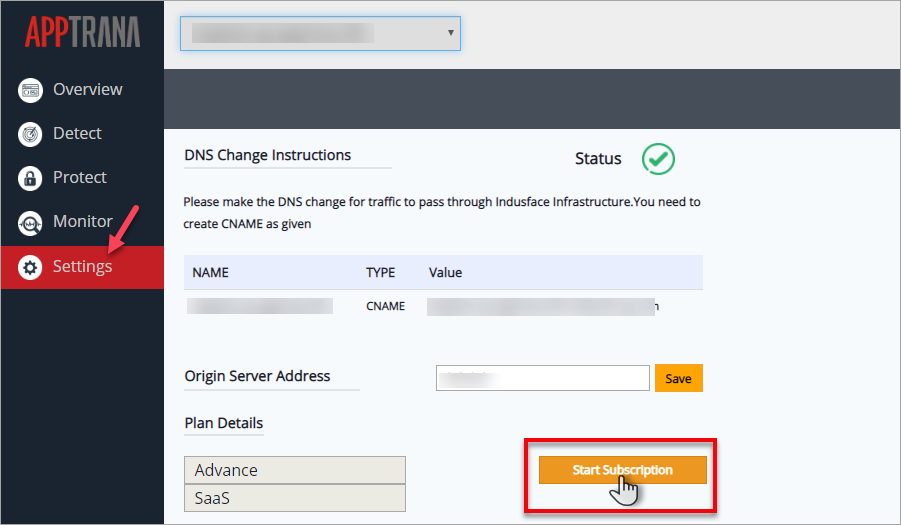
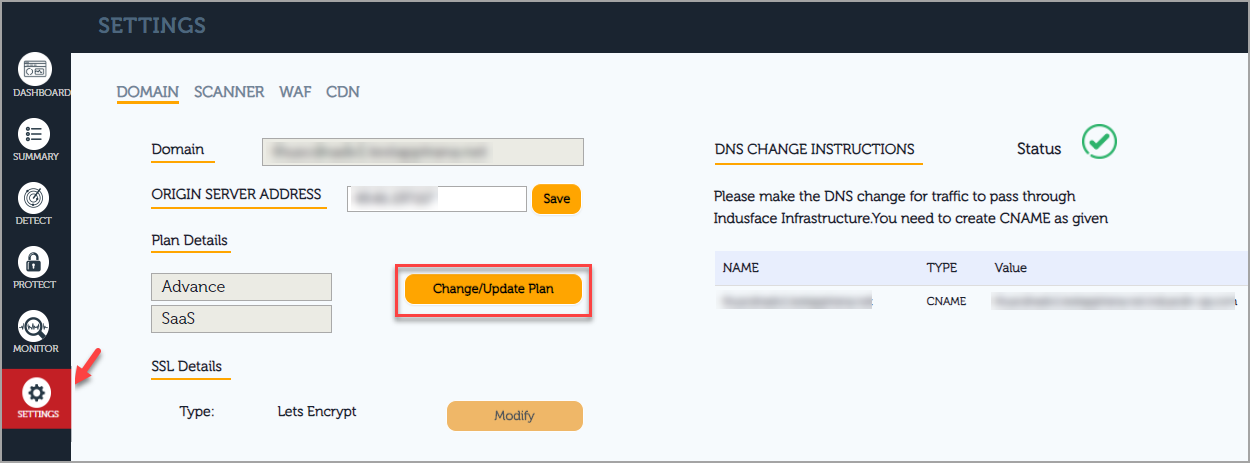
Click the Settings tab on the left navigation plane, click Change/Update Plan button.
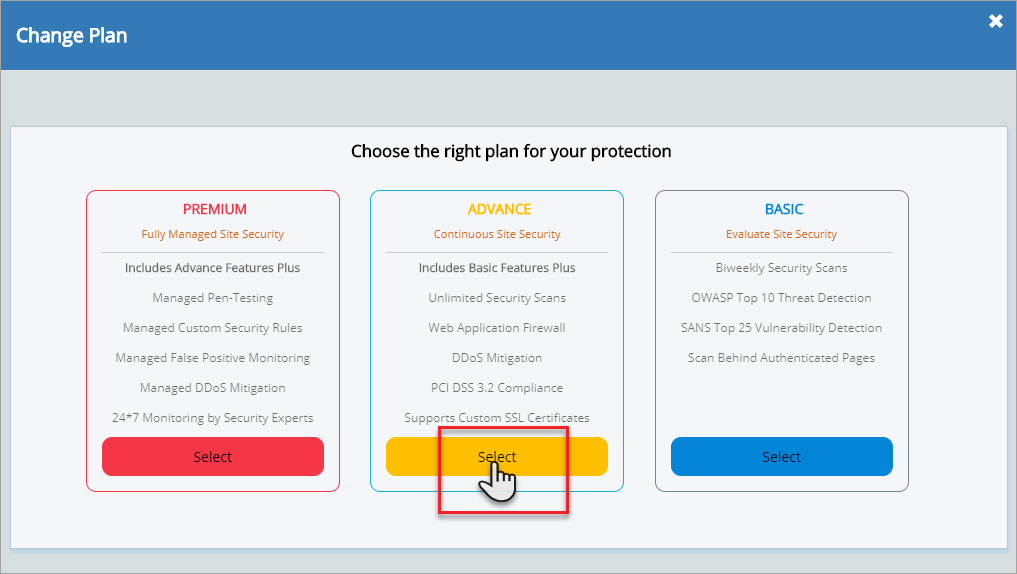
Change to Advance Plan
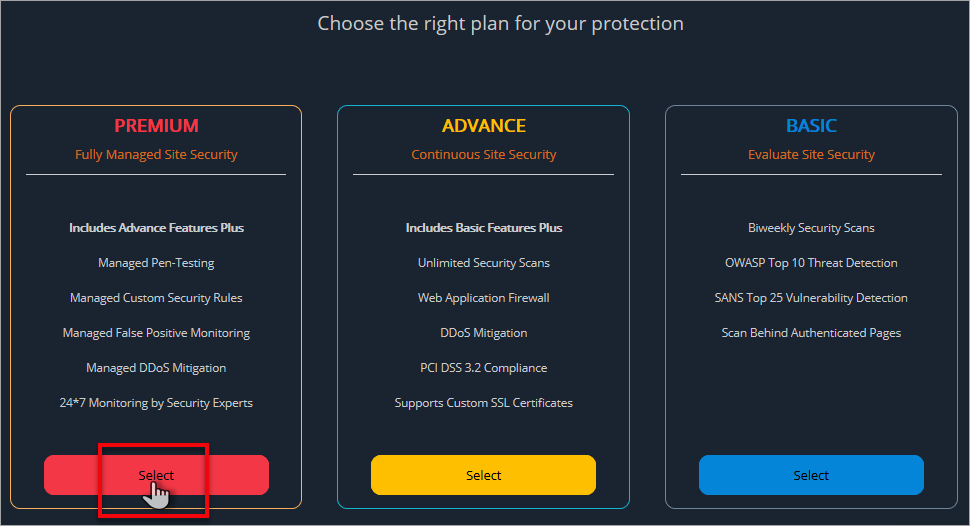
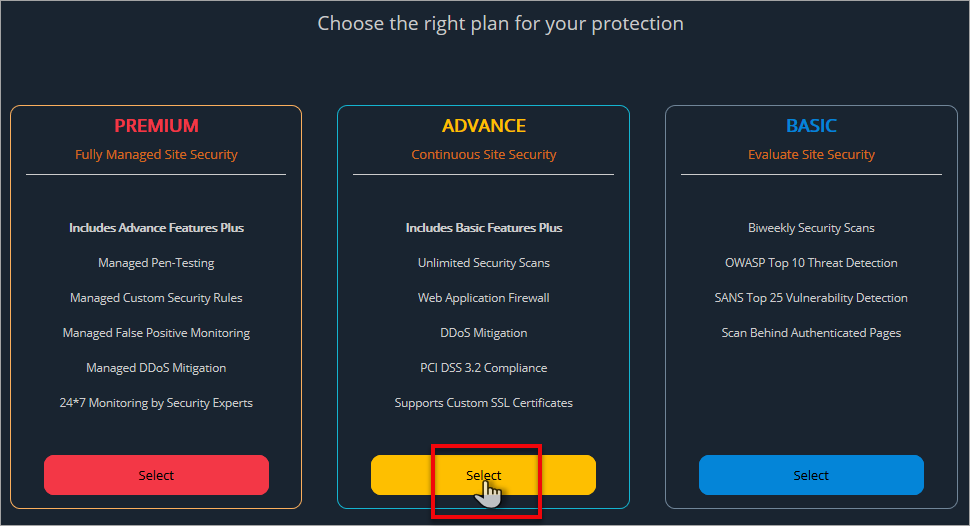
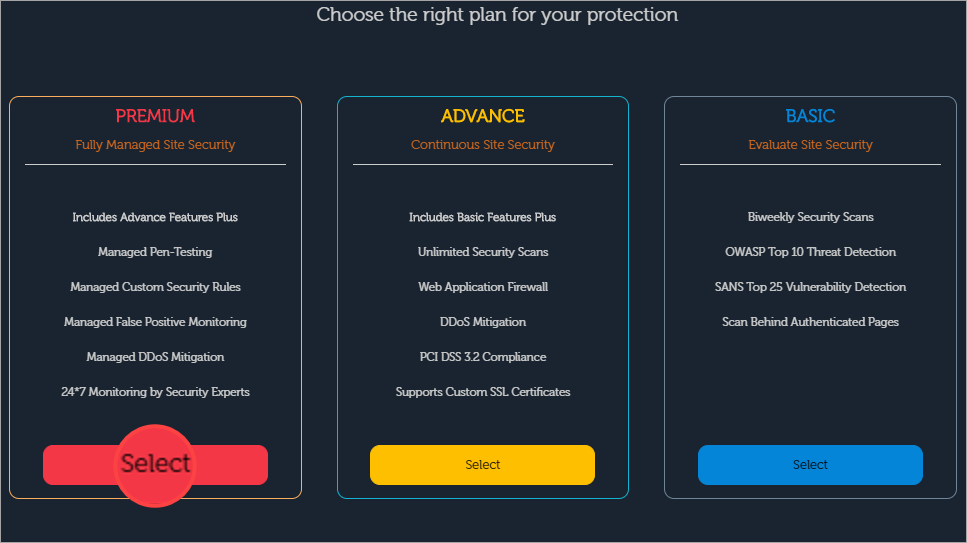
Click Select button in the ADVANCE option to continue with the Advance plan. The Payment Type page appears.
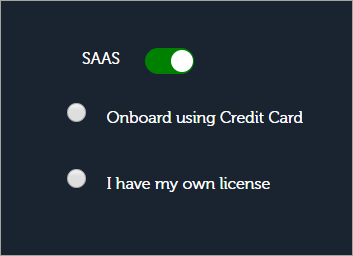
SAAS Website
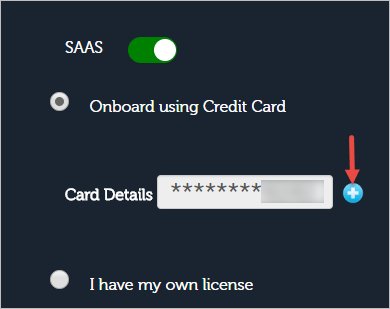
For a SAAS Website, both Credit Card and License options are available. By default, "Onboard using Credit Card" option is selected.
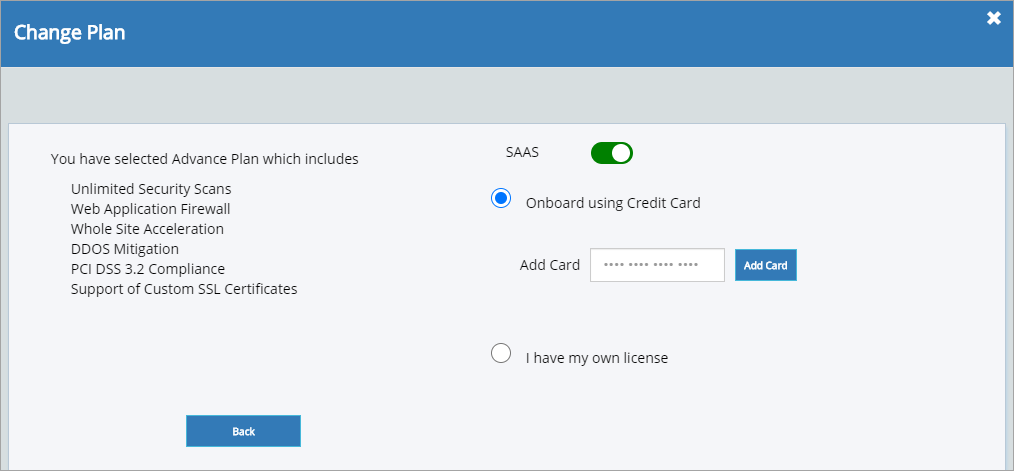
Onboard using Credit Card
Click Onboard using Credit Card button if not selected by default. Add Card option appears.
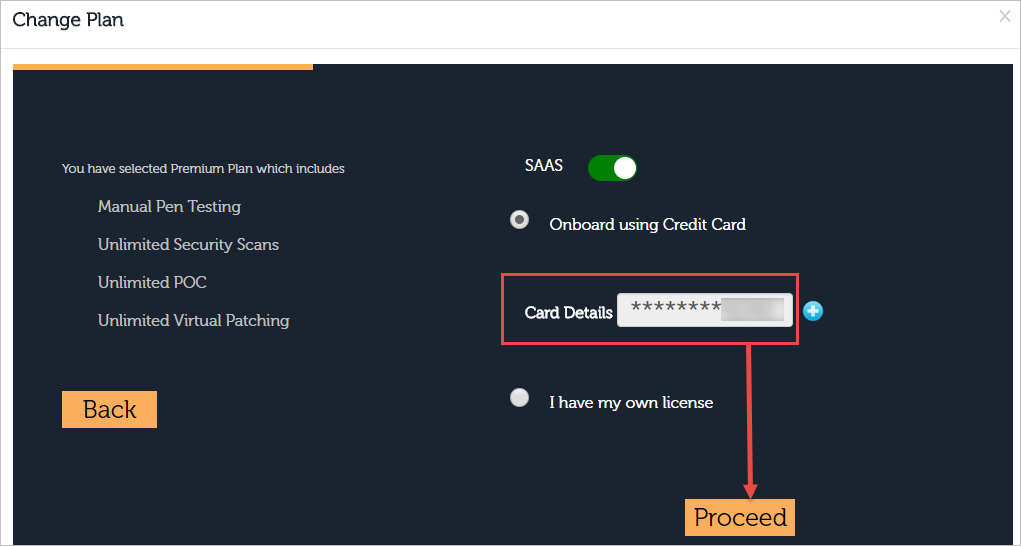
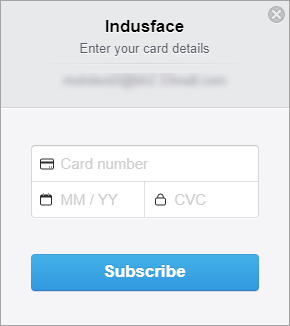
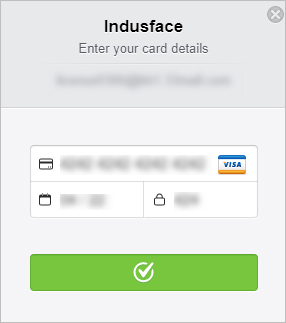
Click Add Card button to add the card details. Indusface pop up appears.
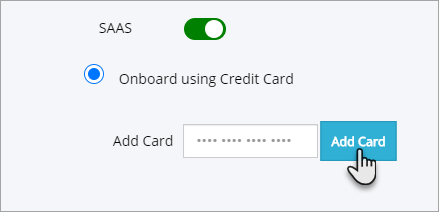
Click the respective fields and enter the information such as Card number, Expiry Date (mm&yy) and CVC number and then click Subscribe button.
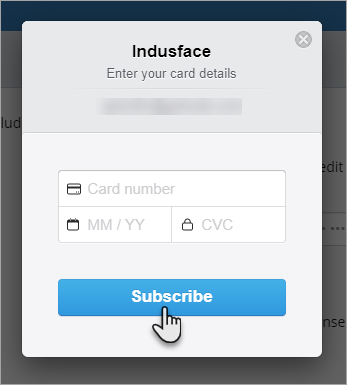
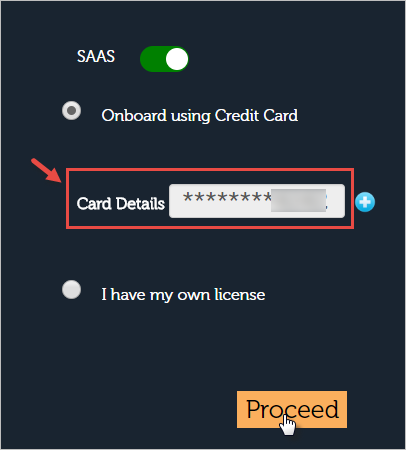
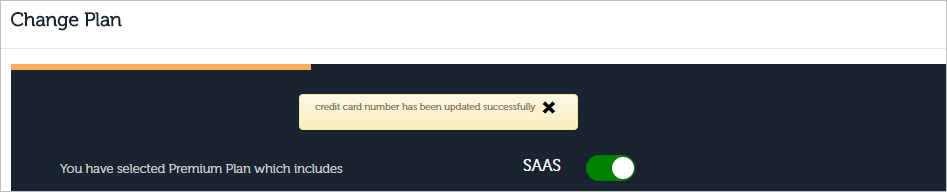
With a successful entry, the Subscribe button changes into Green Success button.
Success message is displayed on the top.

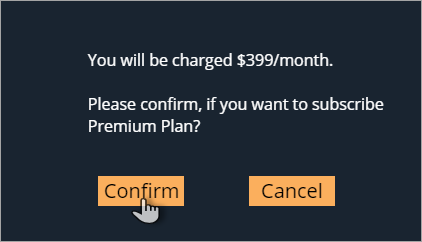
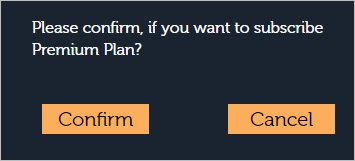
Click Proceed button to continue with credit card. Confirmation page appears.
Click Confirm button to continue with the Advance plan. Thank you for Subscribing page appears.
Click the OK button to finish the process.
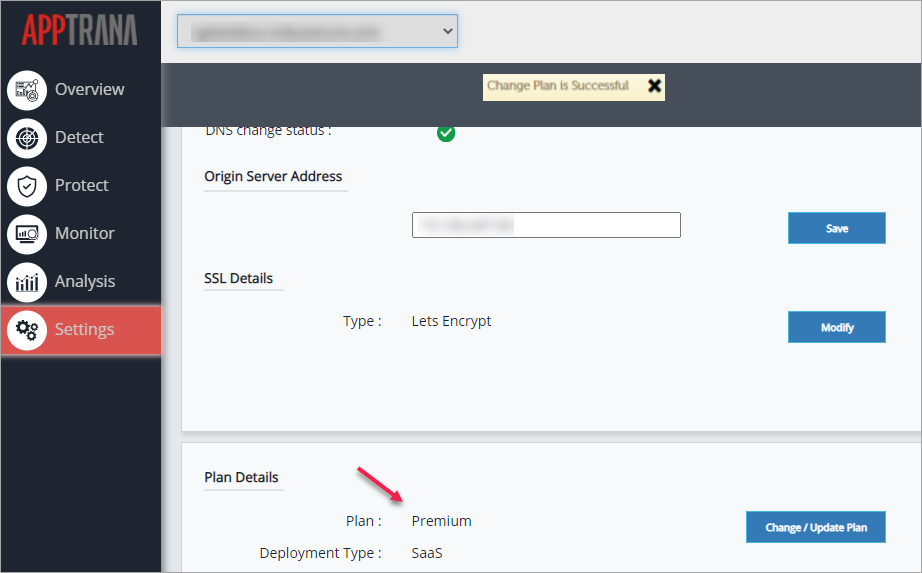
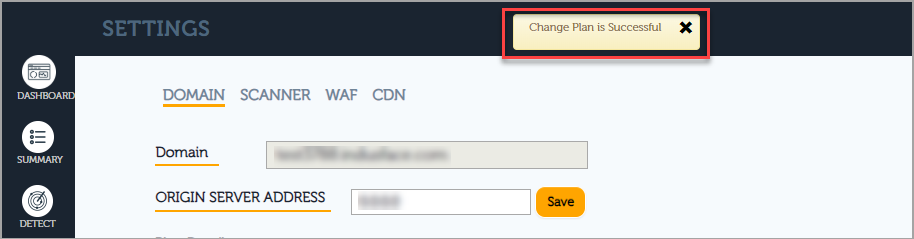
A success pop-up message is displayed on Settings page, if change plan is successful.

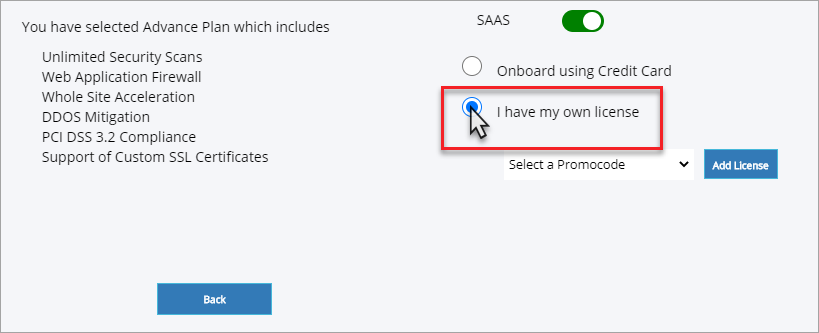
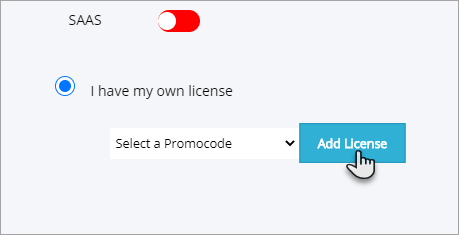
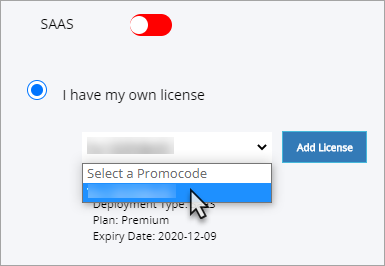
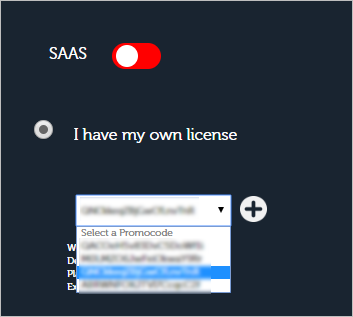
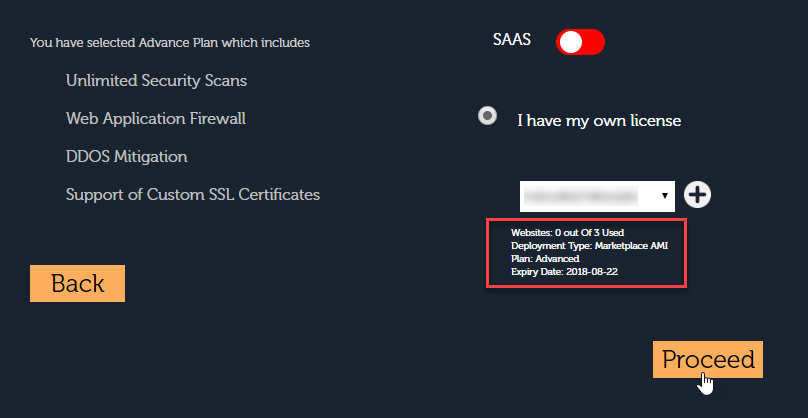
I have my own license
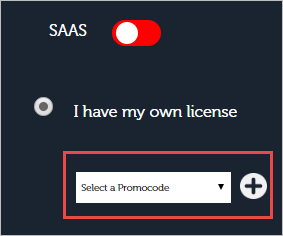
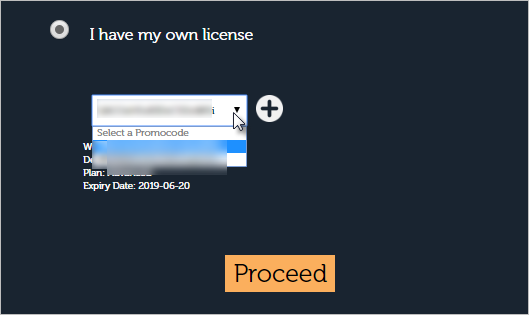
Click I have my own license radio button. License Details appear.
Click Add License to add a new license or click Select a Promocode drop down to select from your existing promocodes if any.
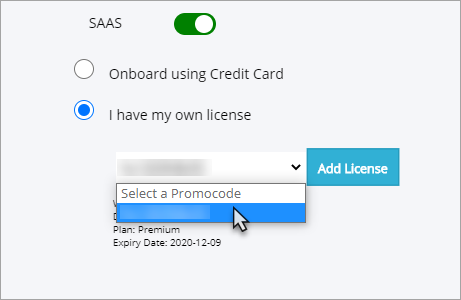
Click Select a Promocode drop-down and click to select a suitable license for the selected plan and then click Add License button. Success pop up displays.
[OR]
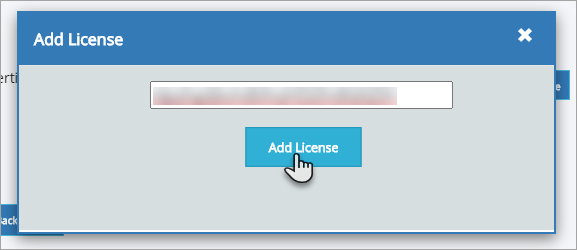
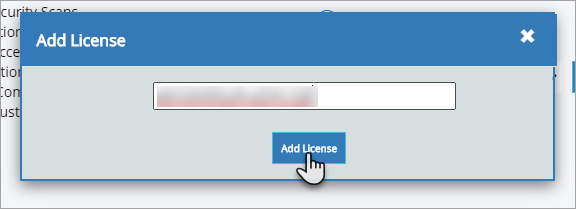
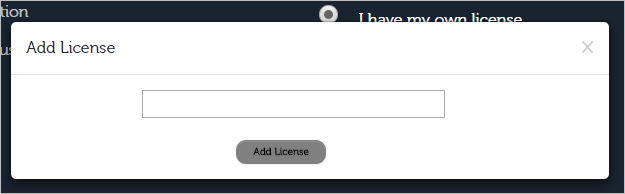
Click Add License button to add a new promo code. Add License pop-up appears.
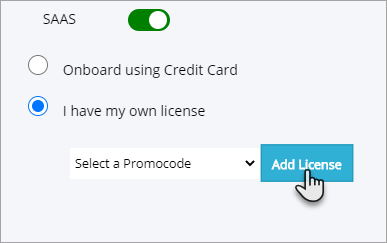
Click Add License field, copy the suitable promo code and click Add License button. Success pop is displayed with successful entry.
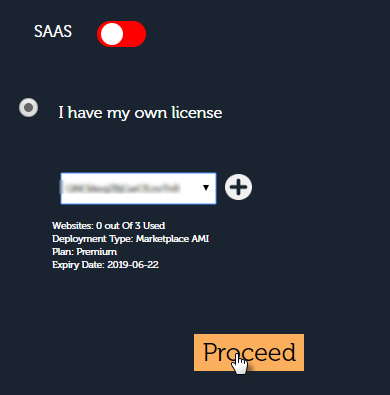
With a successful entry, the selected license information like No. of Websites Used, Deployment Type etc., is displayed.
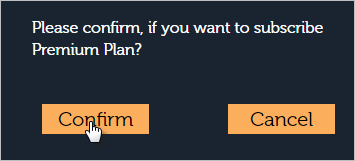
Click Proceed button. Confirmation page appears.
Click Confirm button.
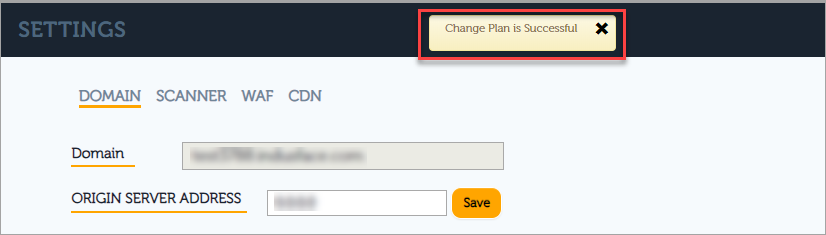
A success pop-up message is displayed on Settings page, if change plan is successful.
Non-SAAS Website
For Non-SAAS Websites like BYOL, Marketplace AMI etc., only License option is available. A user can either add a new promocode or select a suitable code from the existing code(s).
Click Add License button to add a new promocode. Add License pop up appears.
Click Add License field, copy the suitable promo code and click Add License button. With successful update, success message is displayed.
With a successful entry, a pop-up message displays as Promo Code has been successfully added. Click Cross symbol to close the pop-up.
[OR]
Click select promocode drop down, click to select a suitable promocode as per the selected plan.
The License information like No. of Websites Used, Deployment Type etc., is displayed.
Click Proceed button. Confirmation page appears.
Click Confirm button. Settings page appears with a success message on top.
A success pop-up message is displayed on Settings page, if change plan is successful.

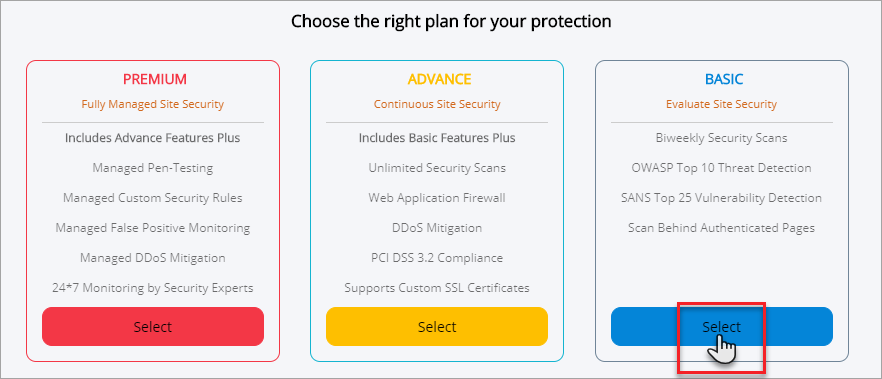
Change to Basic Plan
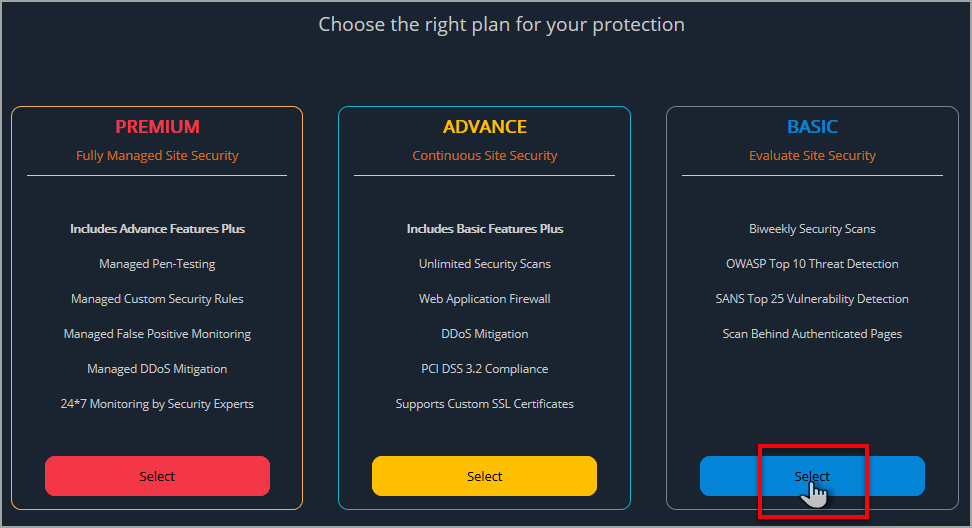
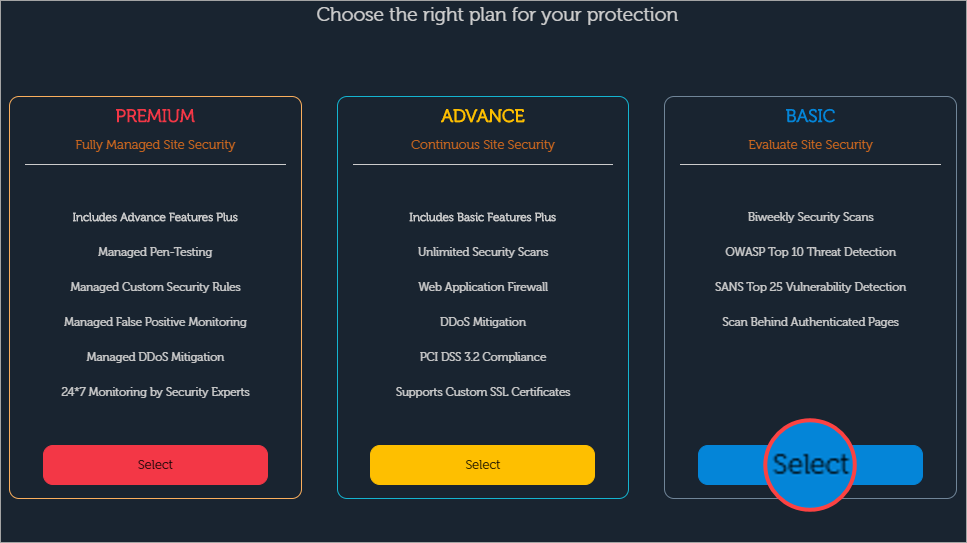
Click the Select button of BASIC plan to continue with the Basic Plan. The Confirmation page appears.
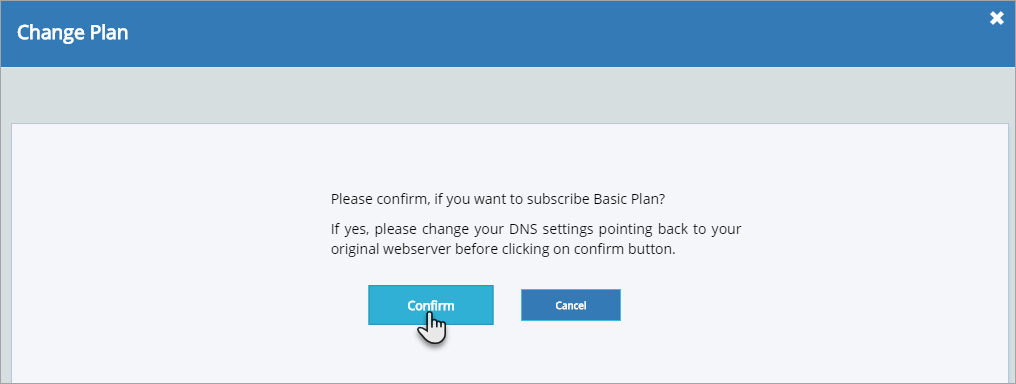
To subscribe to Basic Plan, change DNS settings as mentioned in the Confirmation page.
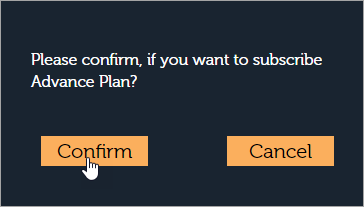
Click Confirm button to proceed.
Thank you for subscription page appears, click OK button.
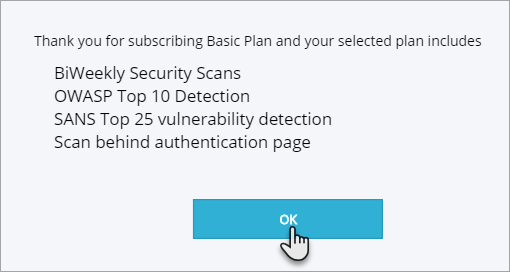
A success pop-up message is displayed on Settings page, if Change Plan is successful.

Change plan for Advance Plan Users
A user on Advance plan can either be on Advance Trail for 14 days or Advance Paid plan. Choose Advance plan or Premium plan or Basic plan.
Advance Trail User
Click Settings tab on the left navigation plane and click Subscribe button. Choose Plan page appears.
Change from Advance Trail to Premium Plan
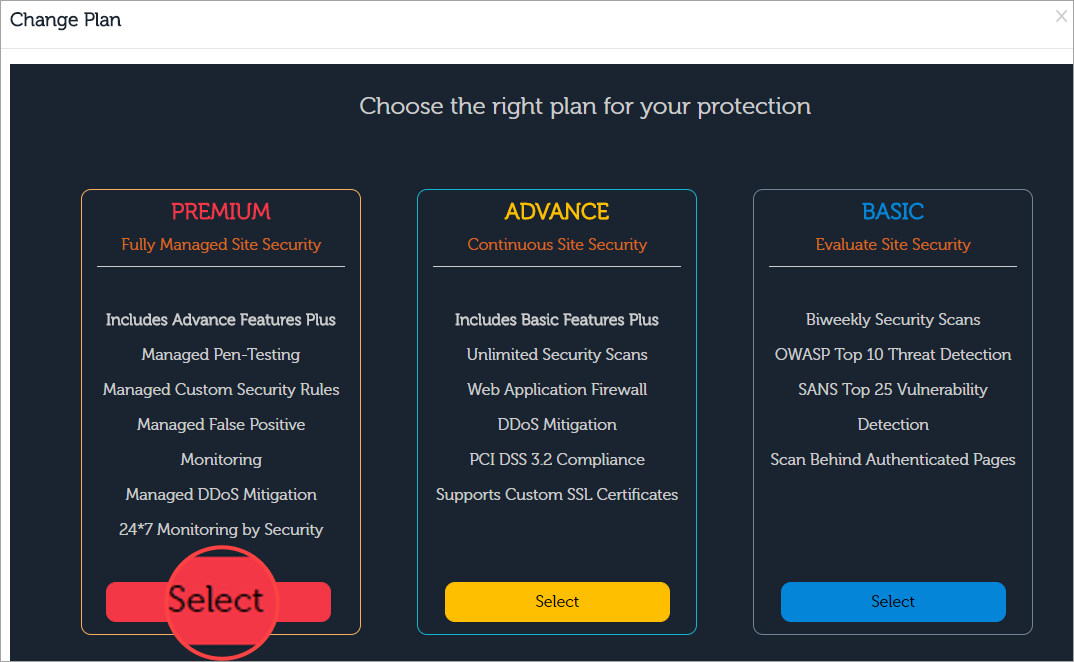
Click Select button in the Premium option to continue with the Premium Plan. Choose Payment Type page appears.
SAAS Website
Both Credit Card and License options are provided for SAAS Websites.
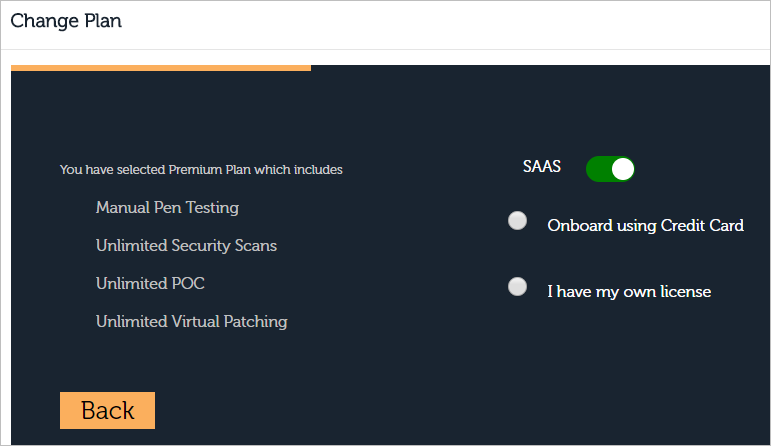
Onboard using Credit Card
Click Onboard using Credit Card to proceed with card payment option.
Click Proceed button to carry on with existing or saved credit card.
[OR]
Click Add Card button to add a new card. Enter Card details pop-up appears.
Enter the credit card details like Card Number, Expiry Date, CVC and then click Subscribe button.
With a successful card entry, the Subscribe button goes Green Success button.
Success pop-up message is displayed.
The updated Card's last 4 digits are displayed in Card Details option.
Click Proceed button to continue with the plan change. Confirmation page appears.
The charge for Premium plan is displayed for confirmation.
Click Confirm button to upgrade your plan.
A success pop-up message is displayed, if the plan change is successful.
I have my own license
Click I have my own license button. License Details and Add License button will appear.
A user can either go with Existing Promo Code or add a New Promo Code.

Click Select a Promo Code drop-down and click to select a suitable license depending on Deployment type and Plan.
[OR]
Click Add License button to add a new promo code. Add License pop-up appears.
Click Add License field, copy the suitable promo code and click Add License button.
With a successful entry, the selected license information like No. of Websites Used, Deployment Type etc., is displayed.
Click Proceed button. Confirmation page appears.

Click Confirm button.
A success pop-up message is displayed, if the plan change is successful.
Non-SAAS Website
For Non-SAAS Websites like BYOL, Marketplace AMI etc., only License option is available.
Click I have my own license button and License Details appear.
Click Select a Promo Code drop-down and click to select a suitable license depending on Deployment type and Plan.
[OR]
Click Add License button to add a new promo code. Add License pop-up appears.
Click Add License field, copy the suitable promo code and click Add License button.

With a successful entry, a pop-up message displays as Promo Code has been successfully added. Click Cross symbol to close the pop-up.
The License information like No. of Websites Used, Deployment Type etc., is displayed.
Click Proceed button. Confirmation page appears.
Click Confirm button. Settings page appears with a success message on top.
A success pop-up message is displayed, if the plan change is successful.
Change from Advance Trail to Advance Paid Plan
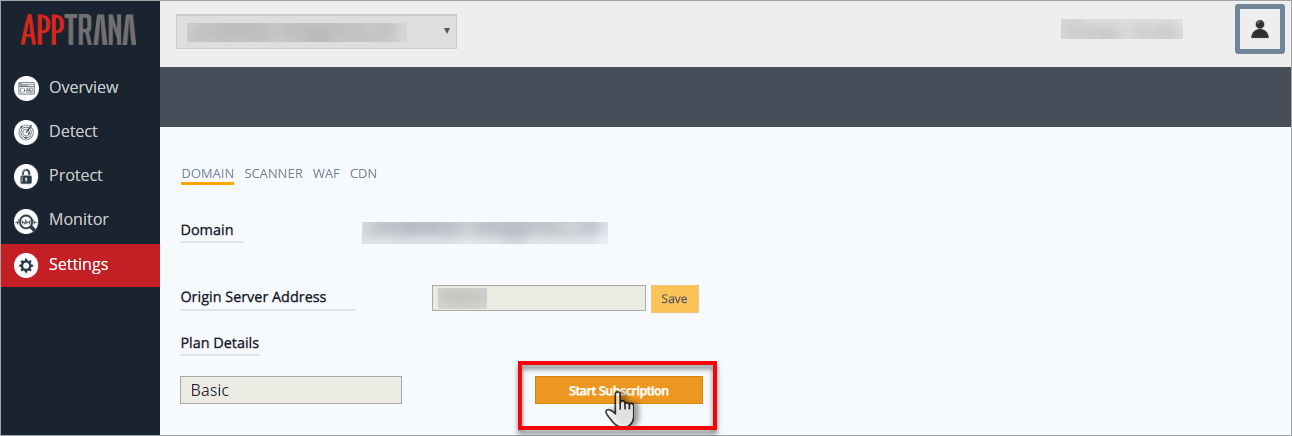
Click Settings tab on the left navigation plane and click Start Subscription button. Choose Plan page appears.

Click Select button in the ADVANCE option to continue with the Advance plan. SAAS page appears.
SAAS Website: [Adv Trail - Adv Paid]
For a SAAS website both Credit Card and License options are available.
Click here for further steps to upgrade your plan to Advance Paid.
Change from Advance Trail to Basic Plan
Click Select button in the Basic option to continue with the Advance plan.
Click here for further steps to change plan to Basic plan.
Advance Paid User
Click Settings tab on the left navigation plane and click Change/Update Plan button. Choose Plan page appears.
Change from Advance Paid to Premium Plan
Click Select button in the Premium option to continue with the Premium Plan. SAAS page appears.
Click here for further steps to change plan to Premium.
Change from Advance Paid to Basic Plan
Click the Select button of BASIC plan to continue with the Basic Plan. The Confirmation page appears.
Click here to navigate to the steps for downgrading to Basic Plan.
Change plan for Basic Plan Users
A user on Basic plan can upgrade plan to Premium or Advance.
Click Settings tab on the left navigation plane and click Start Subscription button. Choose Plan page appears.
Start Subscription button is also displayed in Overview page for Basic websites for easy upgrade of a website's security.

Change from Basic to Premium Plan
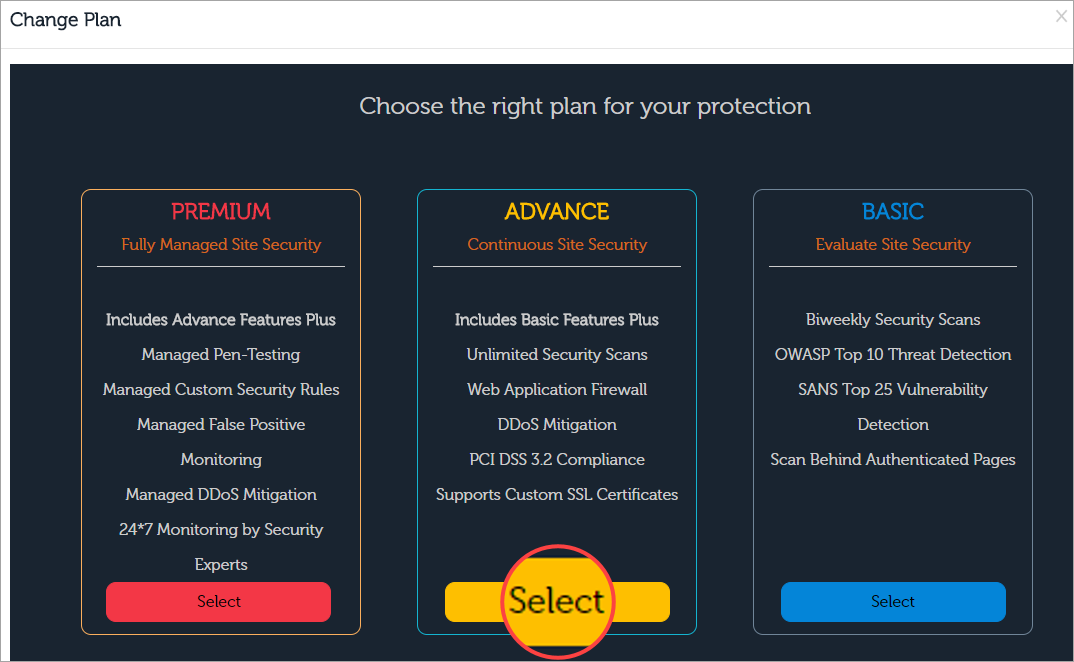
Click Select button in the Premium option to opt for Premium Plan. Deployment Type page appears.
Figure
Click SAAS switch toggle button to change the default deployment type to Non-SAAS.
SAAS Website
For a SAAS Website both Credit Card and License options are available.
Onboard using Credit Card
Click Onboard using Credit Card button. Card Details option appears.
Click Proceed button to continue with Existing(Saved) Card.
[OR]
To add New Credit Card, click Add Card button. Credit Card Details pop-up appears.
Enter the credit card details like Card Number, Expiry Date, CVC and then click Subscribe button.
With a successful card entry, the Subscribe button goes Green Success button.
Success message is displayed on the top. Configuration Details page appears.
Click here to skip the other scenarios and jump to Configuration Details page.
I have my own license
A user can either go with existing license or add a new license.
Click I have my own license button. License Details and Add License button appear.

Click Select a Promo code drop-down, click a suitable promo code from the existing ones.
[OR]
Click Add License button. Add License pop-up appears.
Click the empty box, copy a suitable license and click Add License button.
Click Proceed button. Configuration Details page appears.
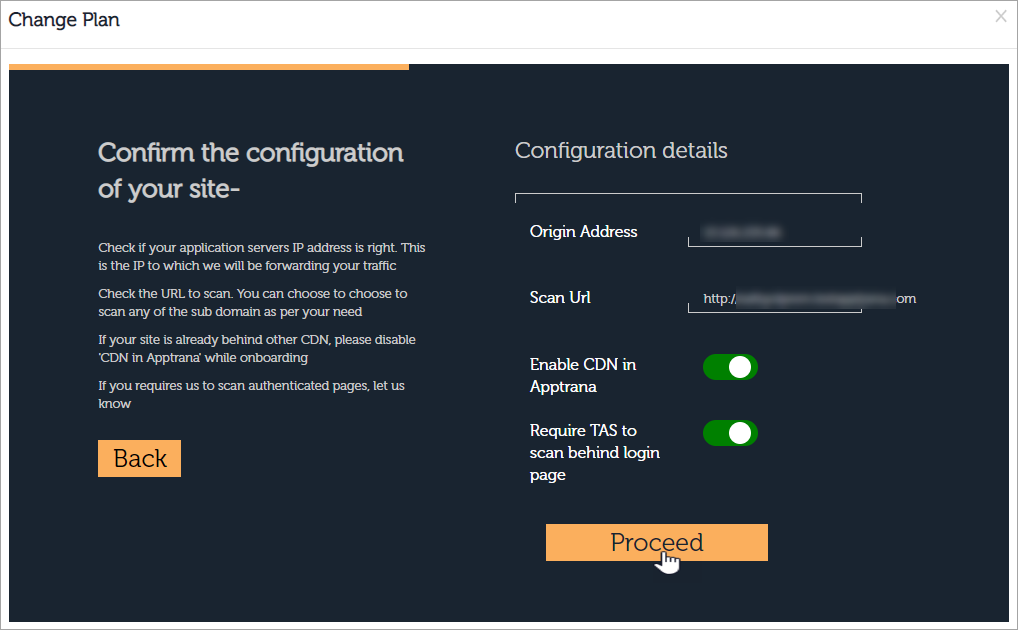
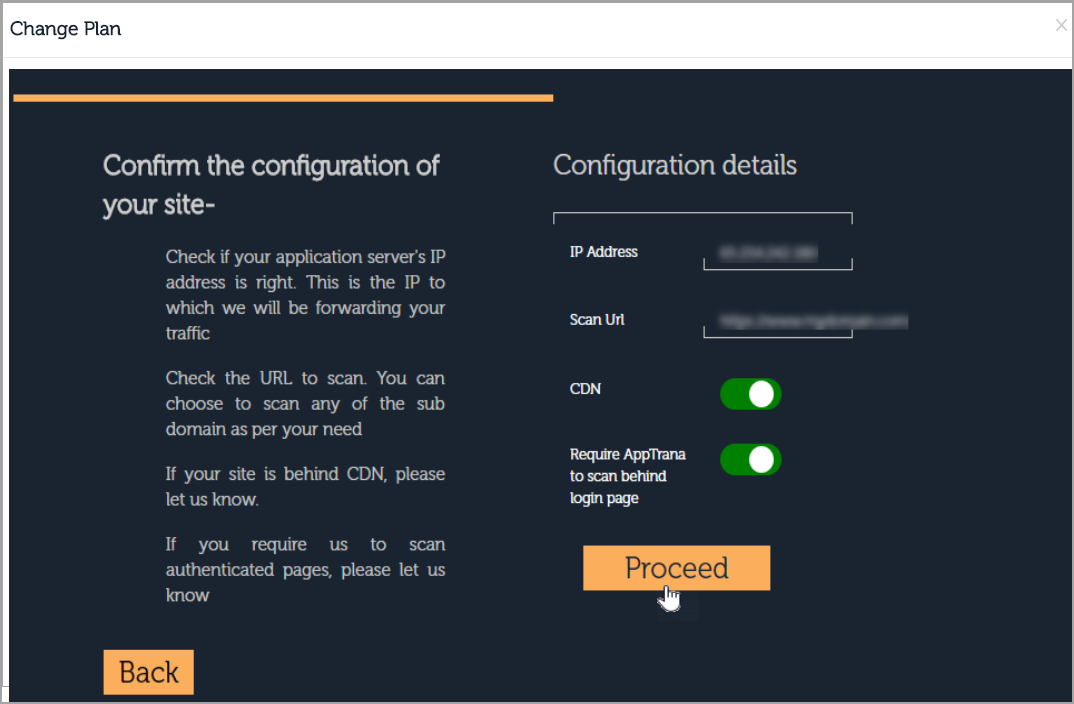
Configuration Details
As a part of Apptrana offerings, Indusface provides free CDN. Enable CDN in Apptrana is enabled for the same reason.

Click CDN switch toggle button to disable it, in case you have your own CDN protection.
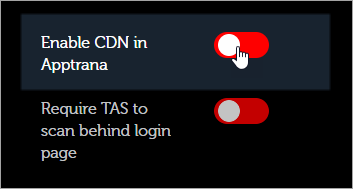
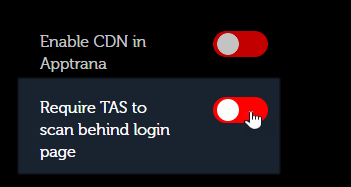
Click Require AppTrana to scan behind login page option for active scans. This option sends an email notification to our support team to request the user credentials to place the website on the scanner.
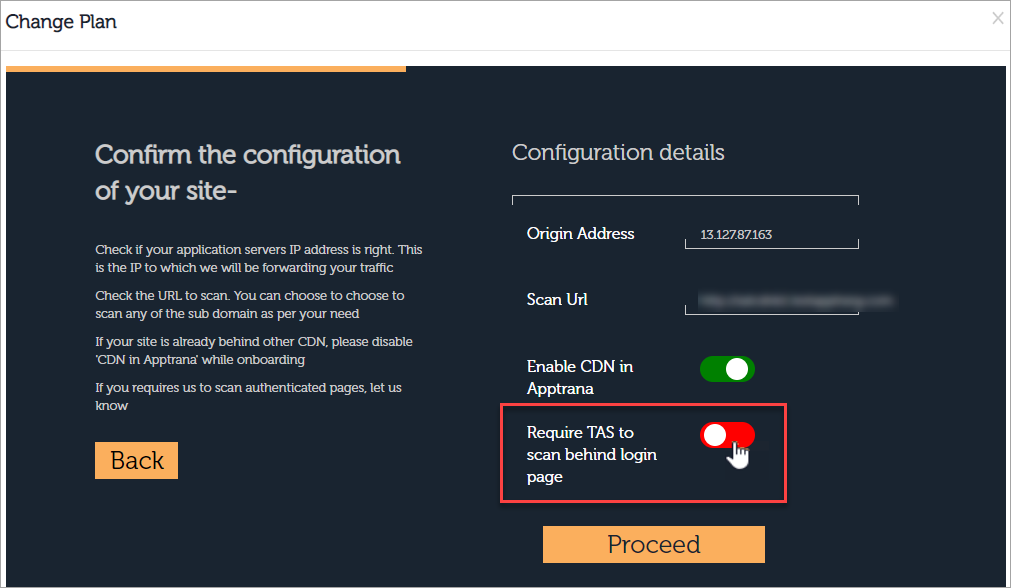
Click Proceed button. SSL Configuration Details page appears.

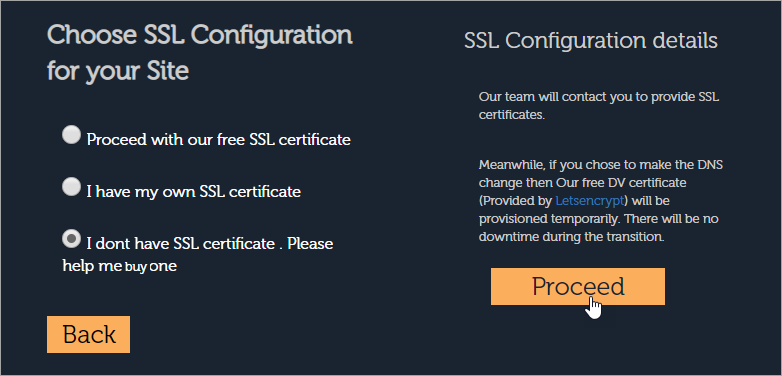
The Choose SSL Configuration for your site page has three options. They are:
Proceed With our free SSL Certificate
By default, the 1st option is selected as the page opens.
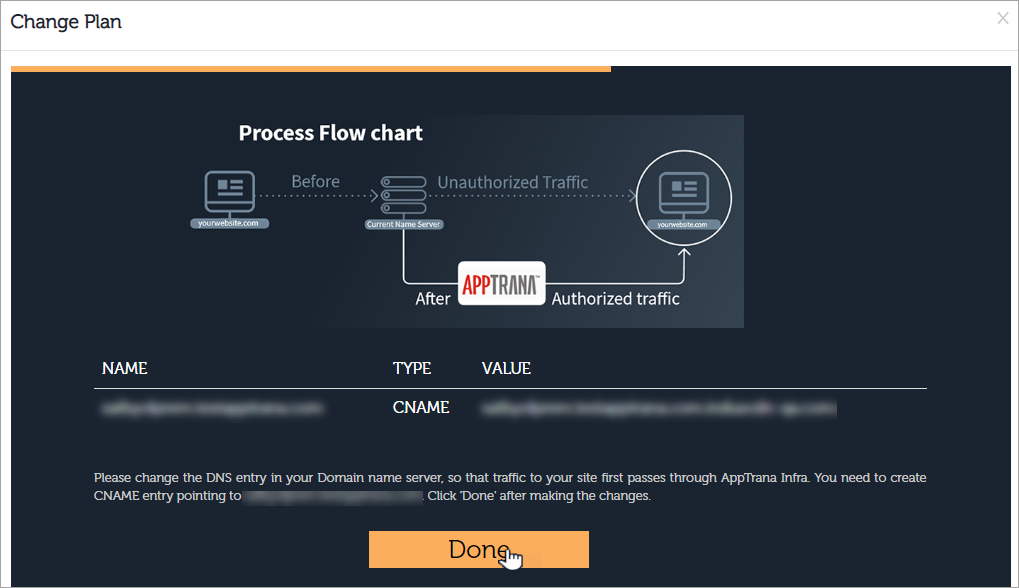
Click Proceed button to continue with our free certificate. The Confirmation page appears.

Please change the DNS entry in your Domain Name Server so that the traffic to your site first passes through Apptrana Infra. Create a CNAME entry pointing to your domain.
Click Done button to close the page. Dashboard page appears.

A success pop-up message is displayed, if the plan change is successful.
(OR)
I have my own SSL certificate
Select 2nd option to upload your own certificates in the given fields and click Verify.
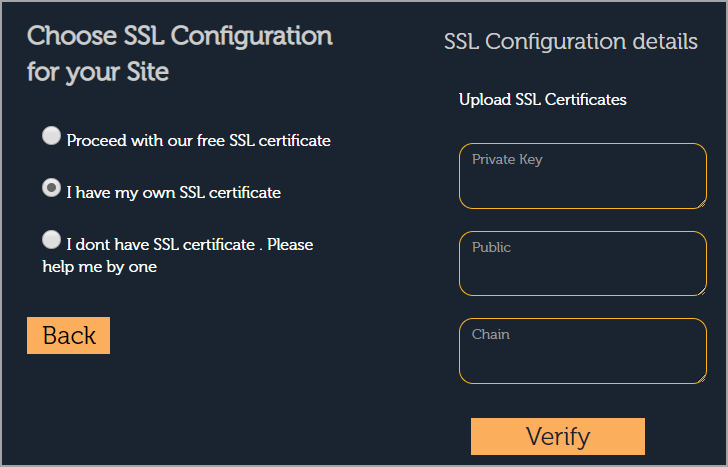
Parameter | Description |
Private Key | Paste the Private Key in this field as is the name. |
Public | Provide the public Key in this field. |
Chain | Paste the Chain certificate. |
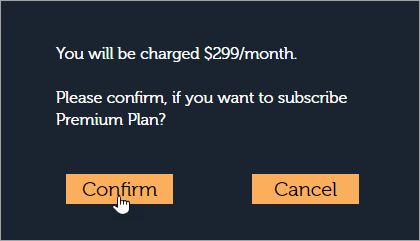
The charge for Premium plan is displayed for confirmation.
Click Confirm button to continue with the Premium plan.

Please change the DNS entry in your Domain Name Server so that the traffic to your site first passes through Apptrana Infra. Create a CNAME entry pointing to your domain.
Click Done button to close the page. Dashboard page appears.

A success pop-up message is displayed, if the plan change is successful.
(OR)
I don't have SSL certificate. Please help me by one
Click 3rd option to seek help from our Indusface AppTrana team and click Proceed button.

The charge for Premium plan is displayed for confirmation.
Click Confirm button to continue with the Premium plan.
Please change the DNS entry in your Domain Name Server so that the traffic to your site first passes through Apptrana Infra. Create a CNAME entry pointing to your domain.
Click Done button to close the page. Dashboard page appears.

A success pop-up message is displayed, if the plan change is successful.
A user has to upgrade to Premium Plan subscription to continue with the never-ending AppTrana protection.
A success pop-up message is displayed on Settings page, if Change Plan is successful.

Non-SAAS Website
The websites with Marketplace AMI, BYOL, and OVF deployment types are considered as Non-SAAS websites. Credit Card option is not available for Non-SAAS websites.
Click SAAS switch toggle button to turn it off for Non-SAAS users.
Click Select a Promo code drop-down to upload a license from the existing Promo Codes.
[OR]
Click Add License button to add a new promo code. Add License pop-up appears.
Click Add License field, copy the suitable promo code and click Add License button.
With a successful entry, a pop-up message displays as Promo Code has been successfully added. Click Cross symbol to close the pop-up
The License information like No. of Websites Used, Deployment Type etc., is displayed.
Click Proceed button. Configuration Details page appears.
Apptrana doesn't provide CDN feature for Non-SAAS customers. CDN is enabled for the Non-SAAS customers with their own CDN.

Click Require AppTrana to scan behind login page option for active scans. This option sends an email notification to our support team to request the user credentials to place the website on the scanner.
Click Proceed button. SSL Configuration page appears.

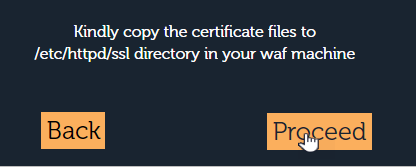
Copy your certificates in the given path of your WAF machine. Process Flow chart page appears.
Please change the DNS entry in your Domain Name Server so that the traffic to your site first passes through Apptrana Infra. Create a CNAME entry pointing to your domain.
Click Done button to close the page. Dashboard page appears.
A success pop-up message is displayed, if the plan change is successful.
Change from Basic to Advance Plan
Click Select button in ADVANCE option to continue with the Advance plan. Deployment Type page appears.

Figure
Click SAAS switch toggle button to Off the deployment type from SAAS to Non-SAAS.
SAAS Website : [Ba -Adv]
For a SAAS Website License and Apptrana Trail options are available.
I have my own license: [Ba -Adv]
Click I have my own license option. License Details display.
Click Select a Promo Code drop-down, click the suitable promo code for Advance plan and SAAS deployment type.
[OR]
Click Add License button to add a new promo code. Add License pop-up appears.
Click Add License field, copy the suitable promo code and click Add License button.
With a successful entry, the selected license information like No. of Websites Used, Deployment Type etc., is displayed.
Click Proceed button. Configuration Details page appears.
Click here to skip to Configuration Details page from other scenarios.
Apptrana Trail
Click Apptrana Trail option. Configuration Details page appears.
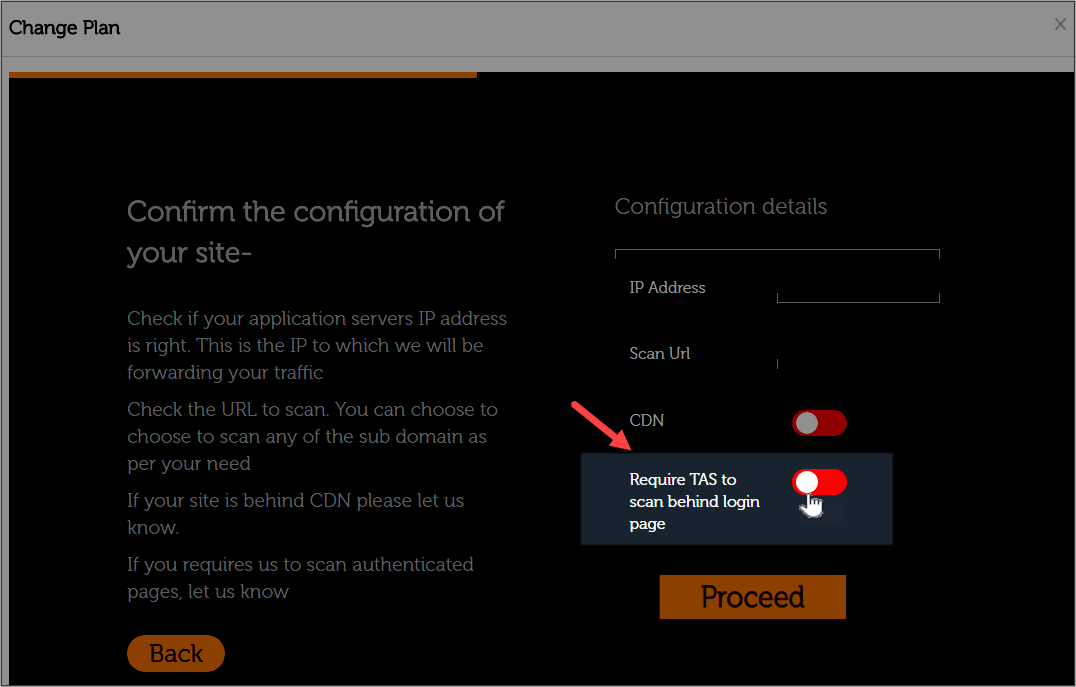
Config Details: [Basic -Adv Trail]
IP address and Scan Url is pre-populated.
CDN option is enabled if a customer has his own CDN.
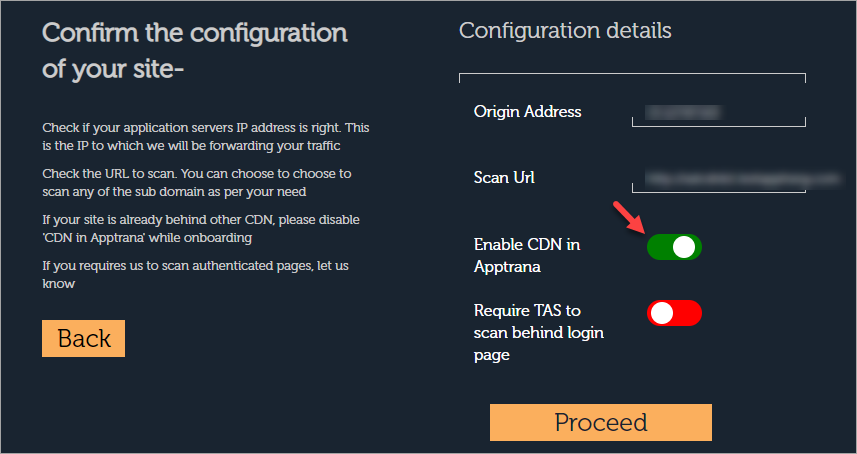
Click CDN option to activate Apptrana's CDN.

Click Require AppTrana to scan behind login page option for active scans. This option sends an email notification to our support team to request the user credentials to place the website on the scanner.
Click Proceed button. SSL Configuration Details page appears.
Choose SSL Configuration for your site page has three options. They are:
Proceed With our free SSL Certificate
By default, 1st option is selected as the page opens.
Click Proceed button to continue with our free certificate. Confirmation page appears.

Click Confirm button to proceed.
The final Process Flow Chart displays the flow of the Indusface AppTrana Security provided to a website.
Click Done button to close the Change Plan pop-up. Dashboard page appears.
A success pop-up message is displayed, if the plan change is successful.
(OR)
I have my own SSL certificate
Select 2nd option to upload your own certificates in the given fields and click Verify.

Parameter | Description |
Private Key | Paste the Private Key in this field as is the name. |
Public | Provide the public Key in this field. |
Chain | Paste the Chain certificate. |
The final Process Flow Chart displays the flow of the Indusface AppTrana Security provided to a customer.

A success pop-up message is displayed, if the plan change is successful.
(OR)
I don't have SSL certificate. Please help me by one
Click 3rd option to seek help from Indusface AppTrana team and click Proceed button.
For immediate protection, our LetsEncrypt certificate will be provisioned temporarily.
The final Process Flow Chart displays the flow of Indusface AppTrana Security provided to a customer.

A user has to upgrade to Premium Plan subscription to continue with the never-ending AppTrana protection
Non-SAAS Website: [Ba -Adv]
The websites with Marketplace AMI, BYOL, and OVF deployment types are considered as Non-SAAS websites. They have only Licensing option compared to SAAS websites.
Click SAAS switch toggle button to turn it off for Non-SAAS users.
Click Select a Promo code drop-down to upload a license from the existing Promo Codes.
[OR]
Click Add License button to add a new promo code. Add License pop-up appears.
Click Add License field, copy the suitable promo code and click Add License button.
With a successful entry, a pop-up message displays as Promo Code has been successfully added. Click Cross symbol to close the pop-up.
The License information like No. of Websites Used, Deployment Type etc., is displayed.
Click Proceed button. Configuration Details page appears.
Apptrana doesn't provide CDN feature for Non-SAAS customers. CDN is enabled for the Non-SAAS customers with their own CDN.

Click Require AppTrana to scan behind login page option for active scans. This option sends an email notification to our support team to request the user credentials to place the website on the scanner.

Click Proceed button. SSL Configuration page appears.
Copy your certificates in the given path of your WAF machine. Process Flow chart page appears.

Please change the DNS entry in your Domain Name Server so that the traffic to your site first passes through Apptrana Infra. Create a CNAME entry pointing to your domain.
Click Done button to close the page. Dashboard page appears.

A success pop-up message is displayed, if the plan change is successful.