Table of Contents
- Website
- Scanner
- WAF
- File Upload Settings
Settings

- Website
- Scanner
- WAF
- File Upload Settings
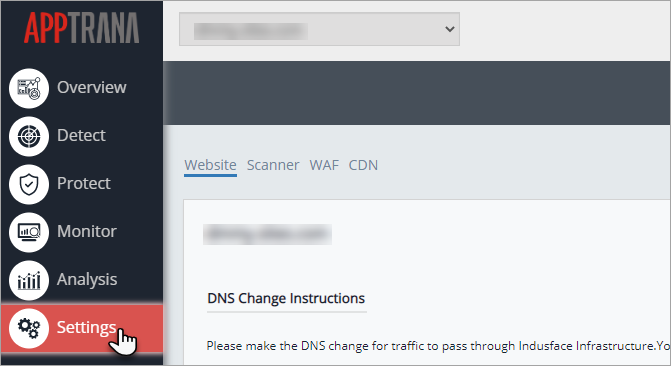
Select Settings option on the left navigation pane.
Website
By default, Website tab is selected.
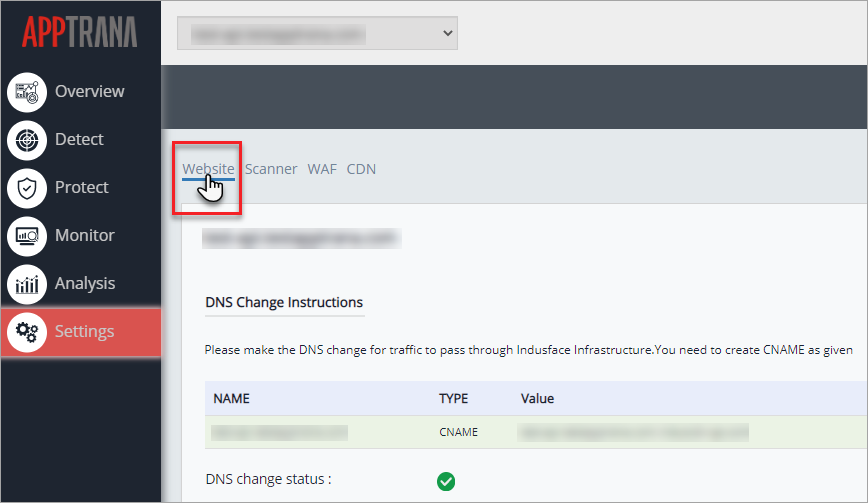
DNS change information such as instructions to change, cname, DNS change status is displayed. Further details like Origin server IP address, SSL details, upgrade plan settings, and so on available.
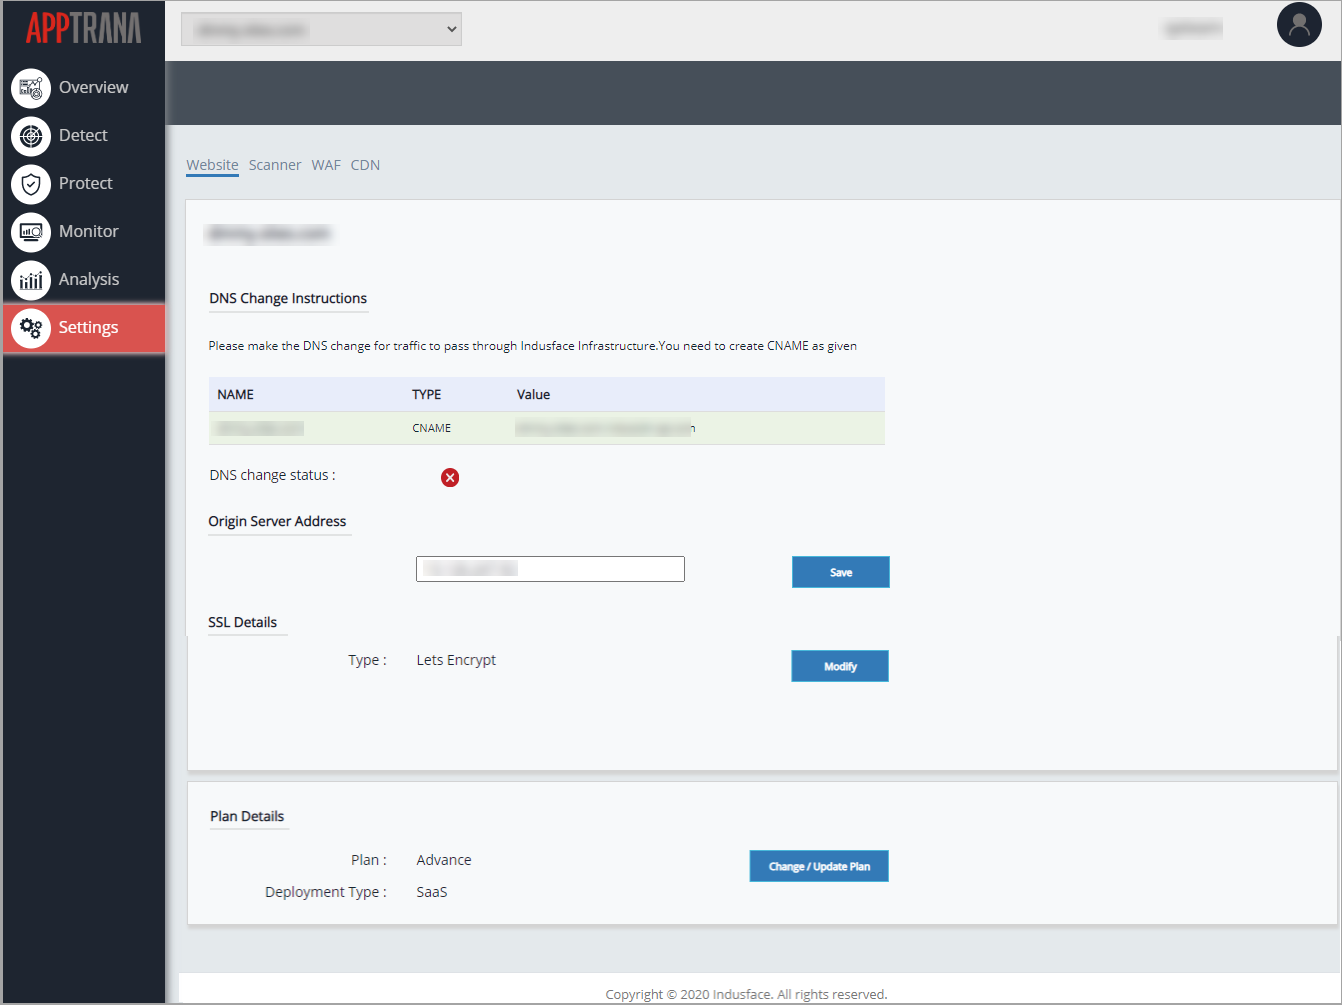
DNS Change Instructions
Domain name system is essential to any network. The DNS server converts hostnames to IP addresses. DNS settings refer to certain records within the Domain Name System that allow customers to access their websites through their unique domain names.
The DNS change status option displays if DNS change is successful. Name, Type, and Value display the CNAME for a specific domain. 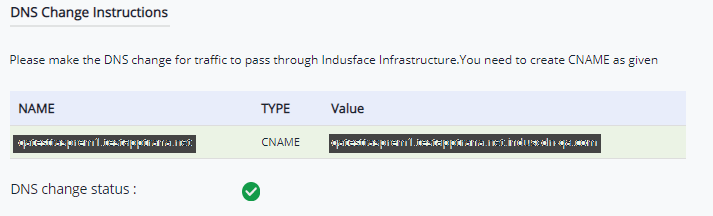
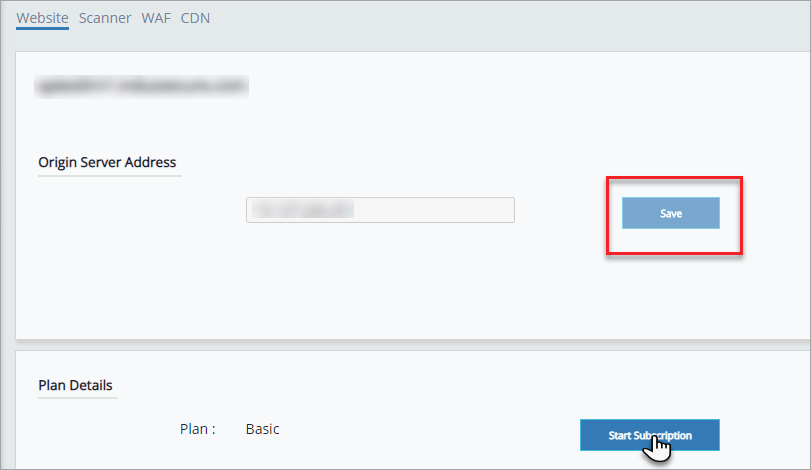
Origin Server Address
The purpose of an origin server is to process and respond to incoming internet requests from internet clients. Origin Server Address is displayed to change the existing server address. Click IP address text bar, update, and click Save button.

For Basic Websites the Settings page displays only Origin Server Address and any changes is disabled. No other details are available or displayed for Basic plan.
Click Start Subscription button to upgrade your plan and get full web application protection.
Change/Update Plan
Click Change/update button in Plan Details option to update the existing plan. Change plan pop-up appears.

Click here for further steps to Change Plan.
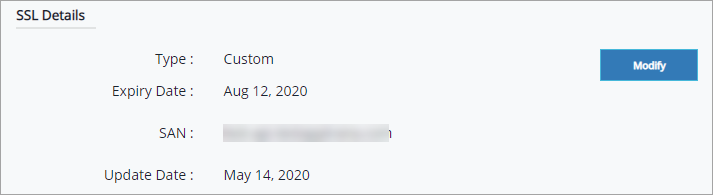
SSL Details
The SSL Details are displayed only, if the certificate type is Custom. Expiry Date displays the date till when the certificates will be valid, SAN option displays the Subject Alternative Name the SSL certificate, and Update Date displays the date when the certificates are updated in the portal.
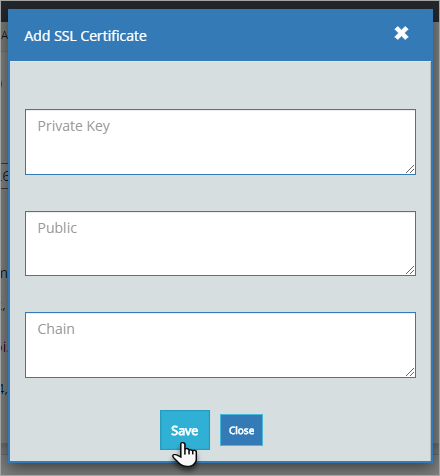
Update/Modify License
Click Modify button in SSL Details option. License Details pop-up appears.

Copy the certificates in the respective fields and click Save button to update the certificates. Success message is displayed if the update is successful.
Parameter | Description |
Private Key | Copy your Private Key into any text editor(for eg: Notepad) and paste it from the editor to Private Key field. |
Public Key | Copy your Public certificate into any text editor(for eg: Notepad) and paste it from the editor to Public field. |
Chain Certificate | Copy your Chain certificate into any text editor(for eg: Notepad) and paste it from the editor to Chain field. While updating multiple chain certificates, paste one below another with a line gap. |
Scanner
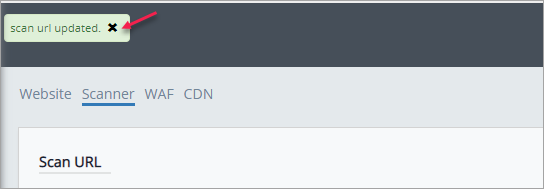
Select Scanner tab to display the details Scan URL and Scan Behind Login Page.
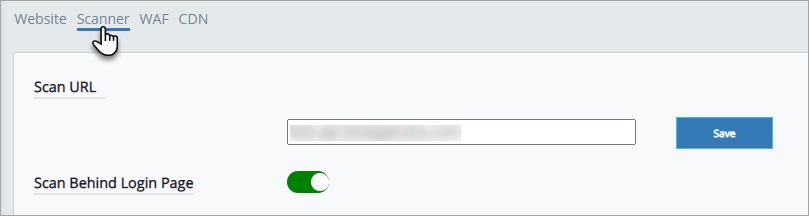
Scan URL
Click Scan URL field, enter the URL, and click Save button.

With successful update, scan url updated message pop-up is displayed.
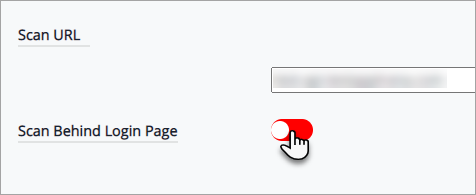
Scan Behind Login Page
This option helps to scan the application links that are accessible post authentication and helps to find more vulnerabilities.
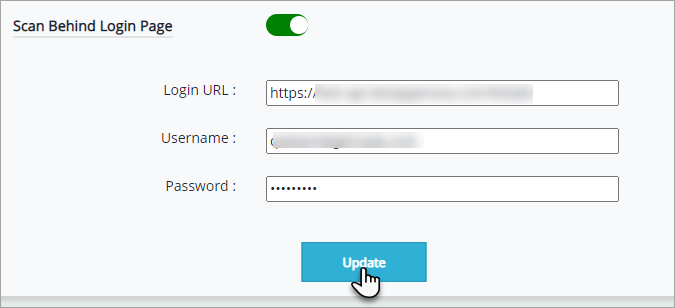
Click Toggle button to ON(green) or enable this option. Login Page details appear.
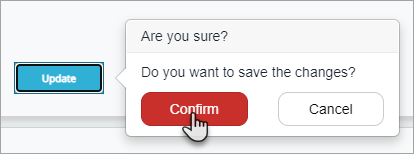
Enter the details and click Update button. With successful entry, a Confirmation pop-up appears.
Are you sure? a pop-up appears displaying "Do you want to save these changes?"
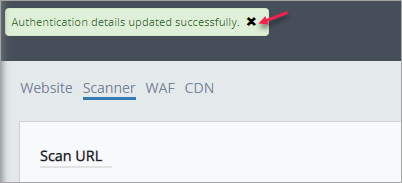
Click Confirm button to apply changes.
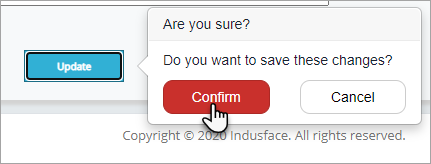
"Authentication details updated successfully" message is displayed as a pop-up.
WAF
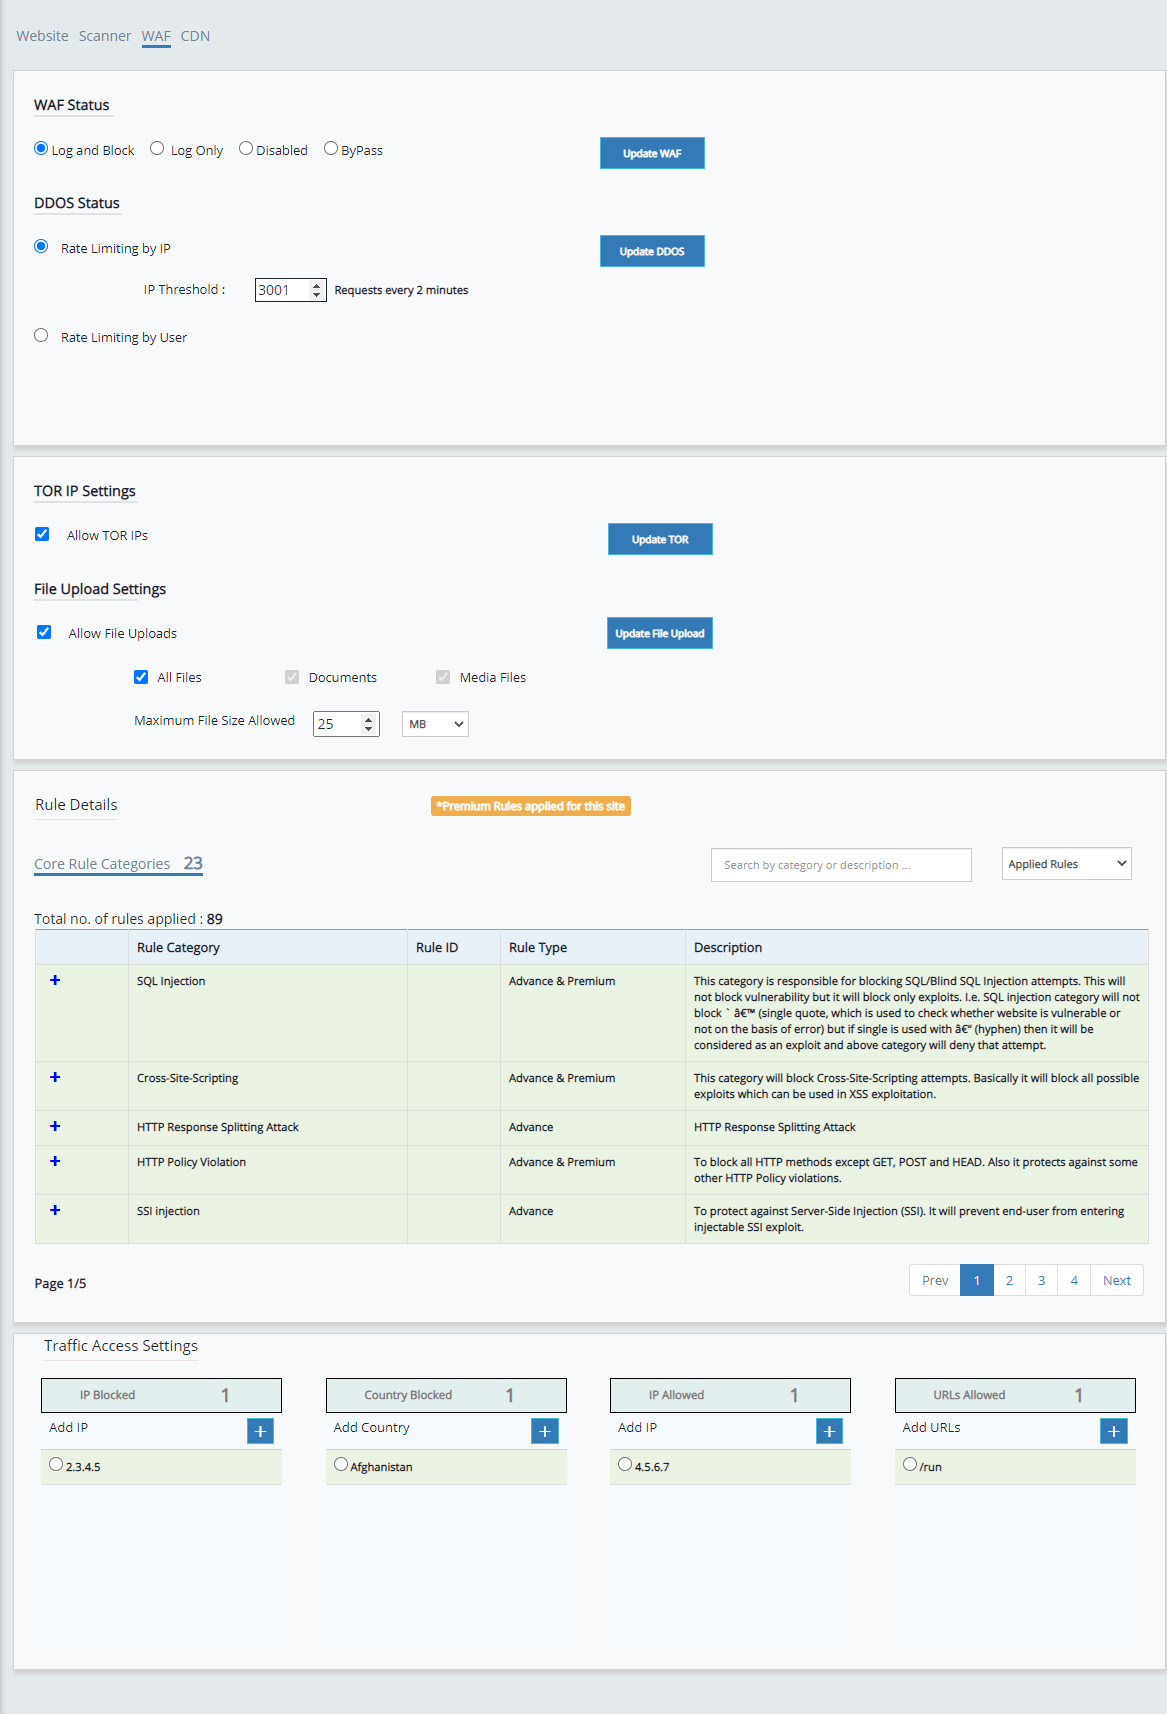
WAF section details about unique features like WAF Status, DDOS Status, TOR IP Settings, File Upload Settings, Rule Details, and Traffic Access Settings. Select WAF tab to display the WAF Details.
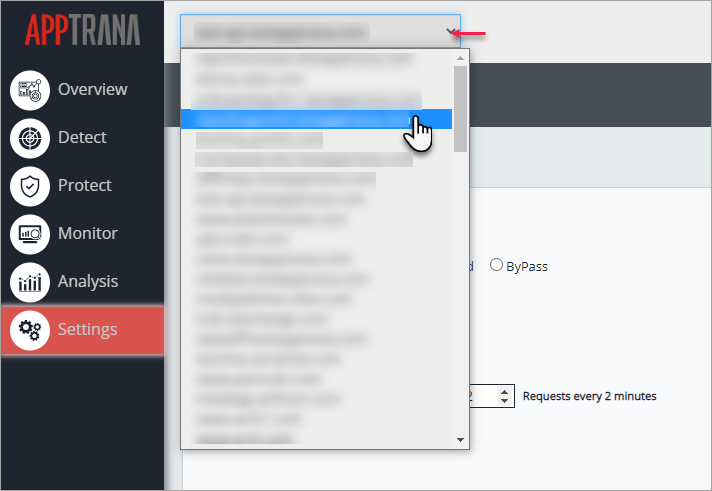
Click Website drop down and select a specific website to display its WAF Status and other details.
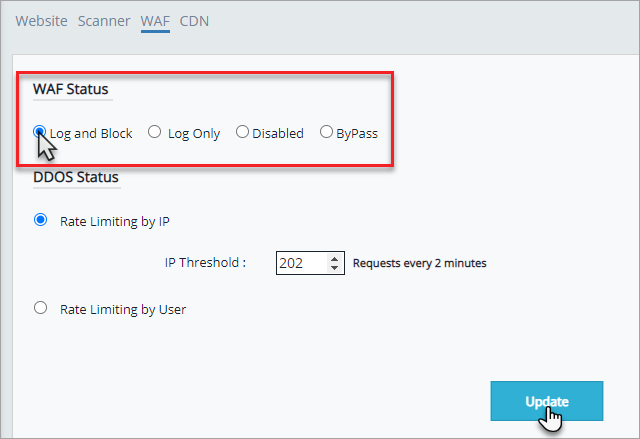
WAF Status
Four different options are available in WAF status. i.e., Log and Block, Log Only, Disabled, and Bypass. (Log and Block, Log Only, Disabled are available for SAAS and Non-SAAS websites. ByPass option is available only for SAAS websites.)
The selected option in WAF Status is the current status. By default, Log and Block option is selected.
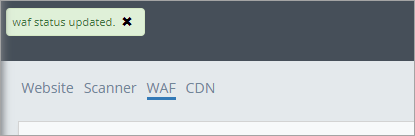
Select any WAF status and click Update button to save the changes.
Click Confirm button to proceed. Success message is displayed.
With the successful update, success message is displayed as waf status updated.
File Upload Settings
This feed helps customers to allow different type of files to upload on their websites.
- Allow File Uploads button enabled with a checkmark by default.
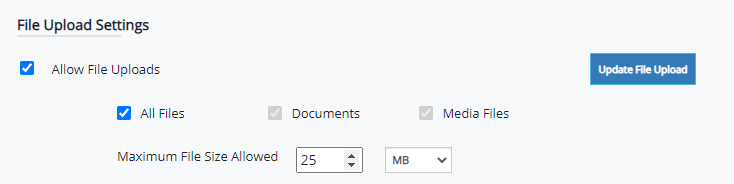
- Unselect the All Files to allow any specific files such as either Documents or Media Files.

- Under Allow File Uploads option, three different options are displayed to support the customer.
Choose the option accordingly:
Supported File | Media Files | Documents | All Files |
.doc | √ | √ | |
.docx | √ | √ | |
.ppt | √ | √ | |
.pptx | √ | √ | |
.rtf | √ | √ | |
.docm | √ | √ | |
√ | √ | ||
.wps | √ | √ | |
.xml | √ | √ | |
.txt | √ | √ | |
.csv | √ | √ | |
.xps | √ | √ | |
.ods | √ | √ | |
.xls | √ | √ | |
.xlsx | √ | √ | |
.xlsm | √ | √ | |
.bmp | √ | √ | |
.emf | √ | √ | |
.png | √ | √ | |
.jpg | √ | √ | |
.jpeg | √ | √ | |
.gif | √ | √ | |
.mp4 | √ | √ | |
.tif | √ | √ | |
.tiff | √ | √ | |
.psd | √ | √ | |
.ai | √ | √ | |
.raw | √ | √ | |
.eps | √ | √ |
Maximum File size allowed:
This field defines the maximum file size allowed on website as per the customer request.
- File size 25MB is selected by default.
- Use Up and down arrow to change the maximum file size allowed and drop-down menu to change the unit.
- If the file size is larger than the Maximum file size allowed value configured in the File Upload Settings, then the request will be blocked.
Rule Details
The following section briefs you the details of core and custom rules applied to the site.
Rule details are categorized into 2 types.
- Core rule categories
- Custom rule categories
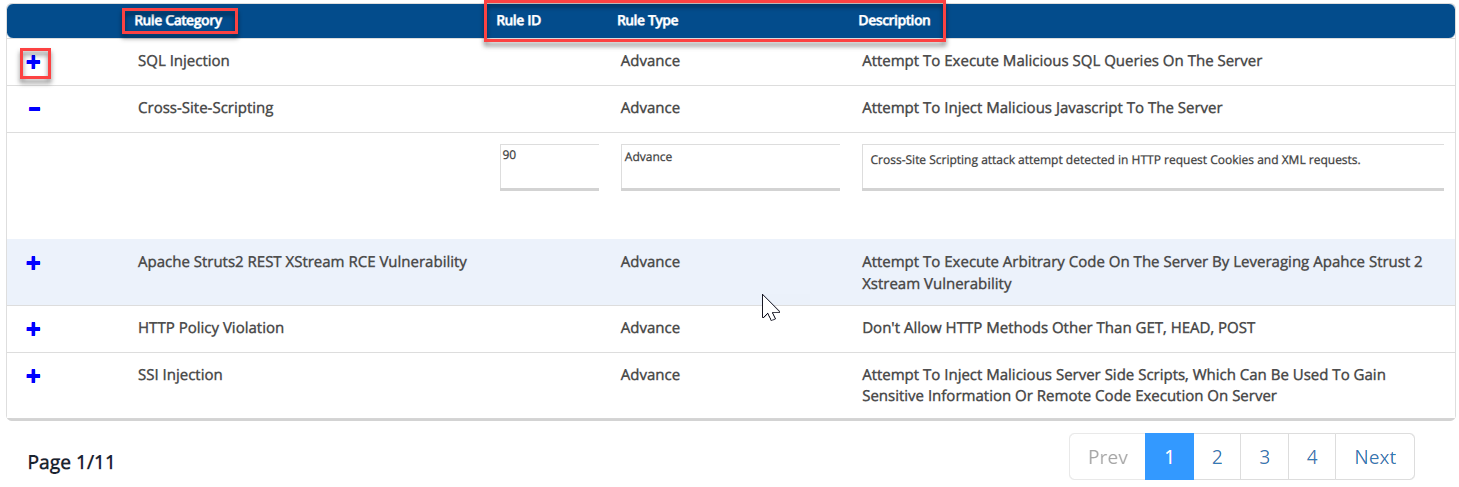
1. Core Rule Categories
- Total number of rules and number of applied rules will be displayed. Use the drop-down menu to select applied rules/all rules.
- A search bar is given to filter the rules by category or description.
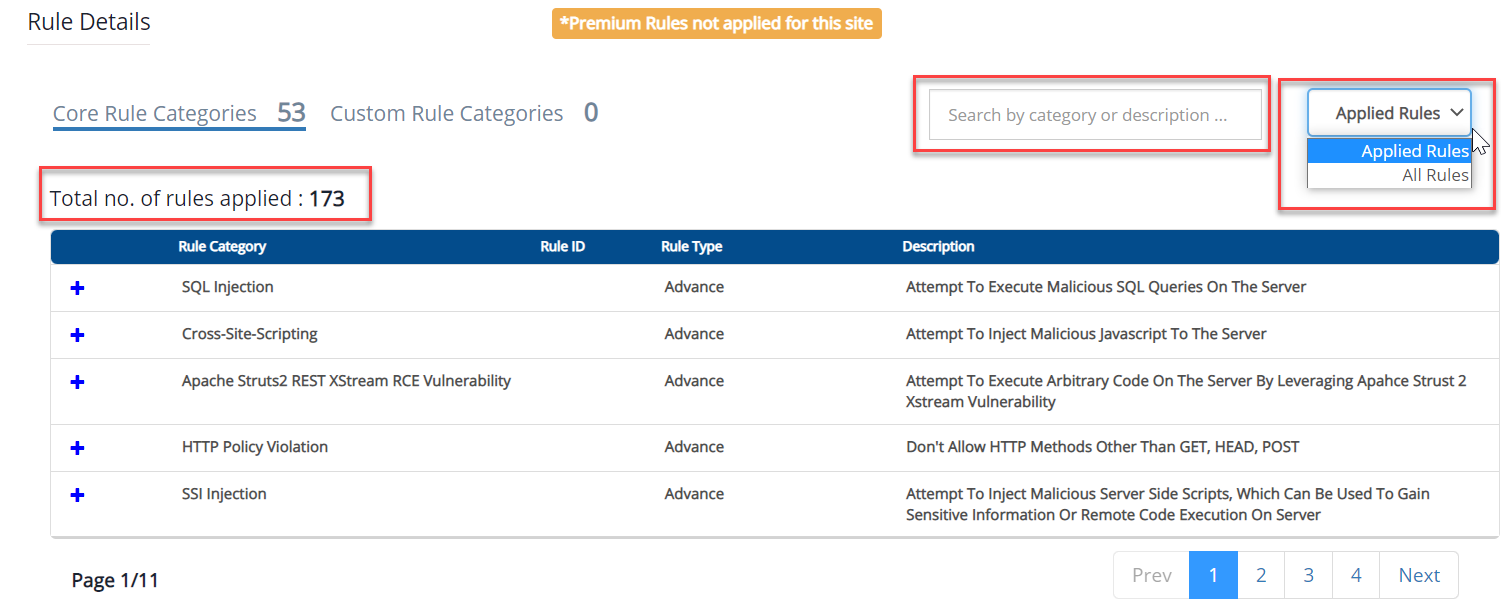
- Under every rule category, there are set of rules present and each rule consists of a unique rule id and a description will be given to every rule.
- Click on the ‘+’ button of a specific rule category to view the full details.
2. Custom Rule Categories
Earlier, custom rules are created by the Indusface support team. Now users can create the rules in a self-service mode.
To learn more about the custom rules, click Custom rules.
Traffic Access Settings
This section contains four different blocks which are used to take different actions for a selected website.
- IP Range Blocked
- Country Blocked
- IP Range Allowed
- URLs Allowed

IP Range Blocked
This block displays the count of blocked IPs, and the users can add an IP address to blacklist and delete any IP from the blocked IPs list.
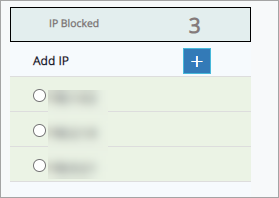
Adding an IP Range to Blacklist
- Click on the Plus (+) button in the Add IP Range field.

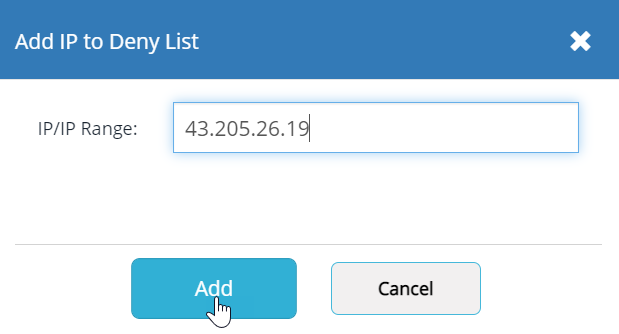
- A new pop-up window will be opened to add the IP address which you want to blacklist.
- Enter the IP or IP range in IP/IP Range field and then click on the Add button.
- By using a comma, user can add multiple IPs in IP/IP Range field.
Delete the IP/IP Range from the list
- Select the IP by clicking on the radio button and then the Delete icon will be enabled.
- Click on the Delete button.

Country Blocked
This block displays the count of blacklisted countries, and users can add a country to blacklist and delete any country from the list.
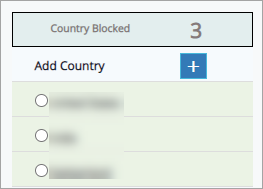
Adding a Country to Block List
- Click on the Plus(+) button in the Add Country field.
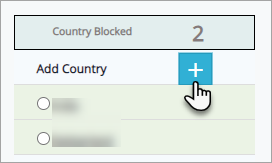
- A new pop-up window will be opened to add the country which you want to blacklist.
- Enter the country code in the Country field and then click on the Add button.

- With a successful entry, a success message will be displayed.
Delete Country from Block List
- Select the country by clicking on the radio button and then the Delete icon will be enabled.
- Click on the Delete button. A success message will be displayed.
IP Range Allowed
This block displays the count of whitelisted IPs/IP Range.
Users can provide access to the list of IPs/ IP range by whitelisting or allowing. Also, users can delete the whitelisted IPs from the list.

Adding an IP Range to Allow
- Click on the Plus (+) button in the Add IP Range field.

- A new pop-up window will be open to add the IP address which you want to blacklist.
- Enter the IP or IP range in IP/IP Range filed and then click on the Add IP button.

- By using a comma, the user can add multiple IPs in the IP/IP Range field.
- If a user selects the All Rules option the added IP or IP Range will be whitelisted for WAF, BOT, and DDoS.
- If a user selects the BOT option, the Bot attacks for the entered IP / IP range will not be blocked.
- If a user selects the DDoS option, the DDoS attacks for the entered IP/IP range will not be blocked.
- With a successful entry, a success message will be displayed.

Delete the IP/IP Range from Allowed list
- Select the IP by clicking on the radio button and then the Delete icon will be enabled.
- Click on the Delete button. A success message will be displayed on the top.
URLs Allowed
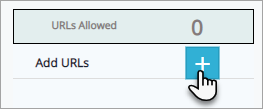
The URLs that have permissions to access your website(s) are allowed. The list of Allowed URLs are displayed in this column and Total Count of URLs is displayed on the top.
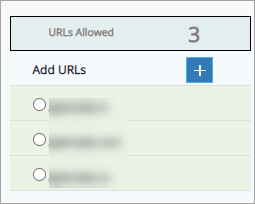
Add URL to allow
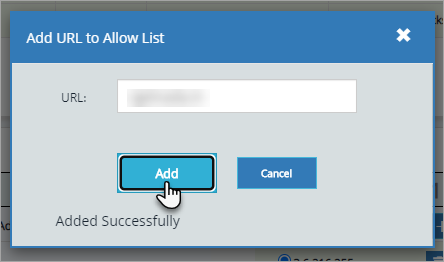
Click plus symbol to allow a URL. Add URL to Allow List pop-up appears.
Click URL field, enter the URL and then click Add button.
With a successful update, Added Successfully message is displayed. Click Cancel button or cross symbol to close the pop-up.
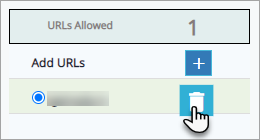
Delete URL from Allow List
Click to select a specific URL and click Delete symbol. The URLs Allowed column is displayed with updated list.
Global Actions
The global actions feature helps users (admin) to take different actions such as blacklisting or whitelisting an IP address / IP Range and blacklisting the countries across all the websites.
- Go to the Settings > WAF.
- From the website drop-down menu, you must select the All Sites option, and then the Global Actions section will be enabled.

Actions
Action | Description |
Whitelist | The added IP/ IP Range will be allowed for all the websites. |
Blacklist | The added IP/ IP Range/ Country will be blocked for all the websites. |
Whitelist-DDoS | The behavioral-DDoS attacks for the added IP / IP Range will not be blocked for all the websites. |
Whitelist-BOT | The Bot attacks for the added IP / IP Range will be allowed for all the websites. |
Whitelist-DDoS-Bot | All the DDoS and Bot attacks for the added IP/ IP Range will be allowed for all the websites. |
Actions by IP
- Click the drop-down menu of IP / IP Range / Country field and select the IP option.
- Enter the IP in IP / IP Range field.
- Go to the Actions drop-down menu and then select the action you wish to perform.
- Click on the Update Waf button.

- If users wish to add any note about the action, they can write in the Notes field. It is a non-mandatory field.
Action by IP Range
- Click the drop-down menu of IP / IP Range / Country field and select the IP Range option.
- Enter the IP Range in IP / IP Range field.
- Go to the Actions drop-down menu and then select the action you wish to perform.
- Click on the Update WAF button.

- If users wish to add any note about the action, they can write in the Notes field. It is a non-mandatory field.
Actions by Country
- Click the drop-down menu of IP / IP Range / Country field and select the Country option.
- Select the country and click on the Update WAF button.

- If users wish to add any note about the action, they can write in the Notes field. It is a non-mandatory field.
Global Traffic Access Settings
The summary for various actions is shown in this table.
Parameter | Description |
Value | This field contains the IP and IP Range values, and the Country name for which an action has been performed. |
Actions | Actions like whitelist/ blacklist for the value will be displayed here. |
User Initiated | The action performed by a user will be displayed here. |
State | Status of the action will be displayed here. Likely Action success, fail, and pending.
|
Delete Action
- Click on the Delete symbol to delete the action from the list.
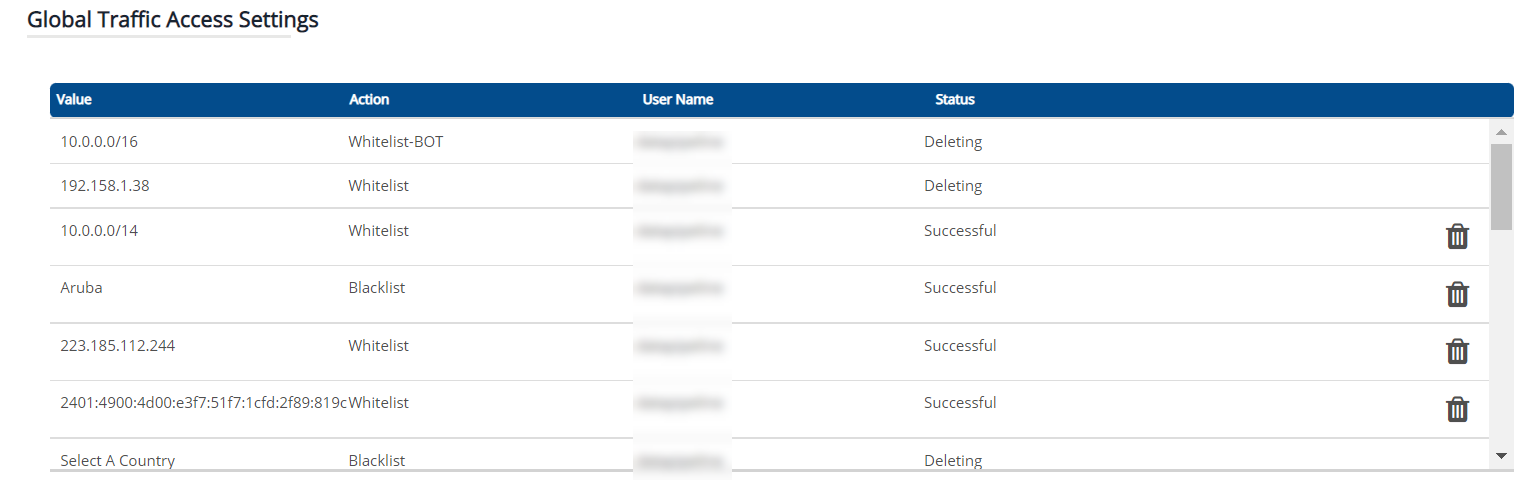
- Once the user clicks on the delete button, the status will be changed to Deleting.
- Also, a pop-up message will be displayed saying “Deleting the IP. This may take some time!”
CDN
Indusface offers the integration of CDN with AppTrana which benefits the users with best speed/performance & fully managed security.
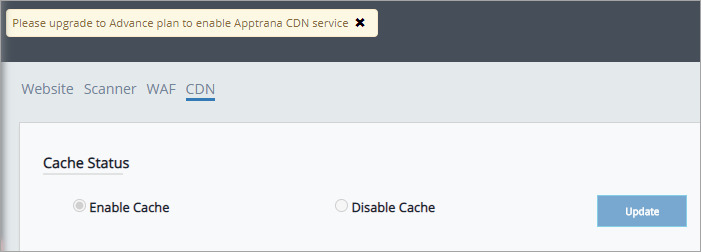
CDN is a part of AppTrana’s Advance & Premium plans at no additional charge.
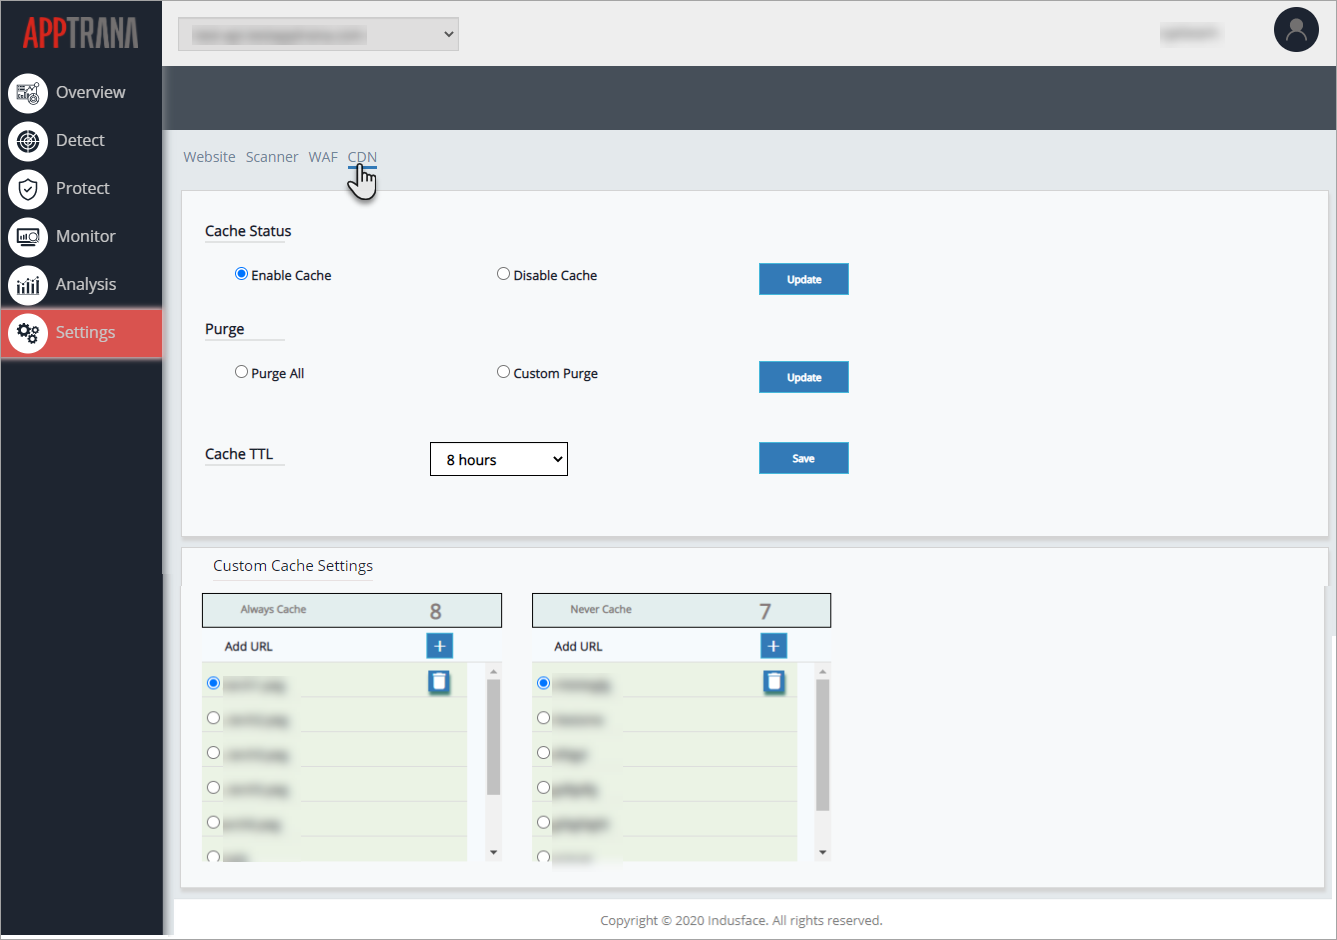
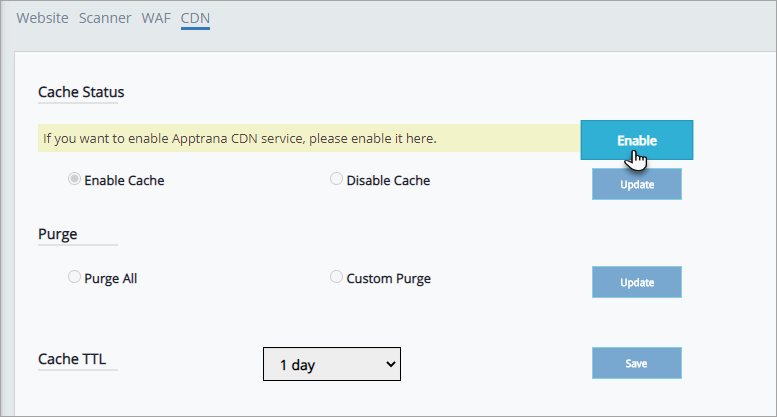
Click CDN tab in Settings page. CDN Details appear with various functionalities.
CDN is disabled for the websites just onboarded or for the websites with pre-existing CDN.
Click Enable button to activate AppTrana CDN services.
"CDN configuration is in progress. Please make DNS settings change to (cdn address of the website is displayed)." pop up message is displayed as CDN changes are in progress.
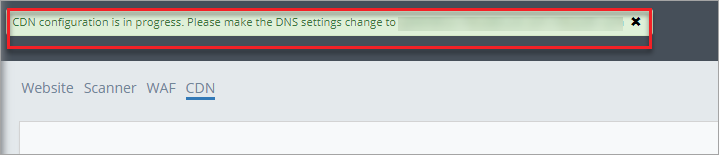
Figure
Cache Status
This option displays if the cache status is enabled or disabled.
Click Enable Cache option and click Update button to enable cache level.
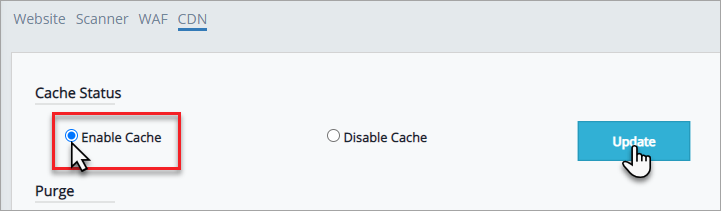
Click Disable Cache option and click Update button to disable the cache level.

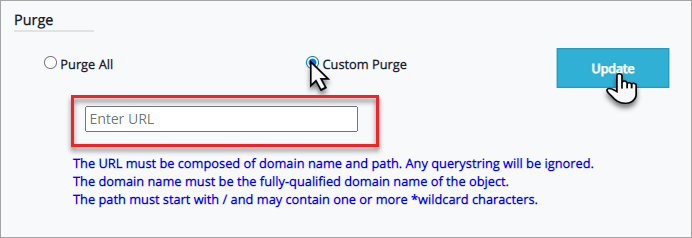
Purge
This option helps in removing cache of a specific URL and/or entire history up till then, depending on the option chosen.
Purge All
Click to select Purge All option and click Update button to delete everything from cached data.

Custom Purge
This option helps in purging a specific URL of your choice.
Click to select Custom Purge option. URL field appears.
Click URL field, enter URL as per Indusface URL Policy(instructions in blue) and click Update button.
Cache TTL
TTL stands for Time To Live which means to set the time period for the data to be cached.
Click Cache TTL drop-down, click to select specific time option and then click Save button.

"TTL Change request has been submitted successfully" message is displayed with successful entry. In Progress is displayed until the change is made from the back-end.

Custom Cache Settings
This option helps in customising the cache by adding a URL into Always Cache option or Never Cache option. Total count of URLs is displayed on the top(on the side of headings).
Pending action is displayed for the URLs those are yet to be added from the Apptrana Admin.
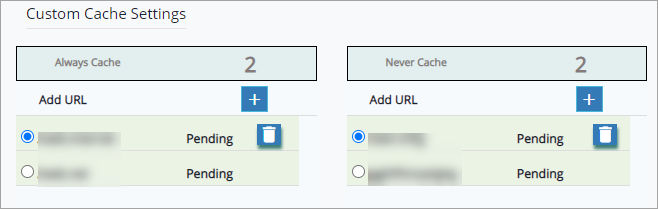
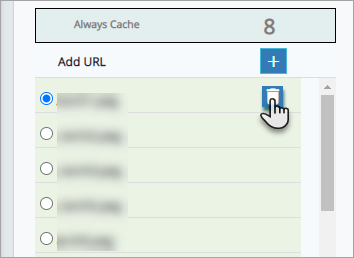
Always Cache
The list of URLs is displayed in this column. Pending action is displayed as action from admin portal is pending.
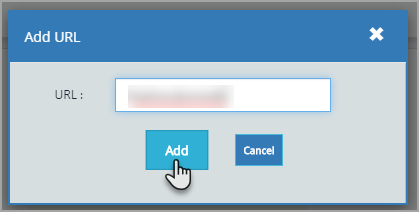
Click plus button to add a URL into always cache. Add URL pop-up appears.
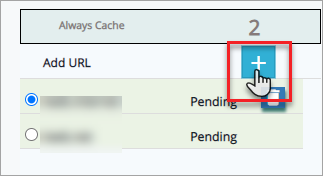
Click URL field, enter the URL and click Add button. Success pop-up appears.
Figure
With successful update, Config updated pop-up appears.
Delete URL from Always Cache
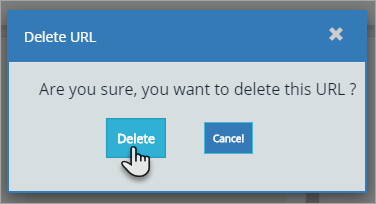
Click to select the URL that needs to be deleted and click Delete option. Confirmation pop-up appears.
"Are you sure, you want to delete this URL?" is displayed in confirmation pop-up.
Click Delete button to confirm the action. Success message is displayed.
With successful update, Config updated pop-up appears.

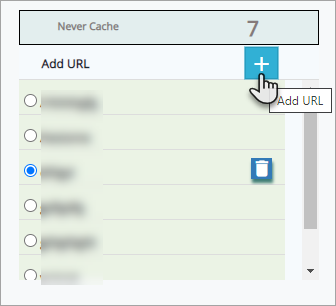
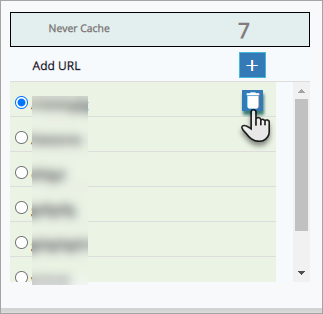
Never Cache
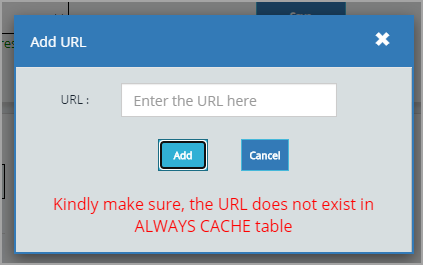
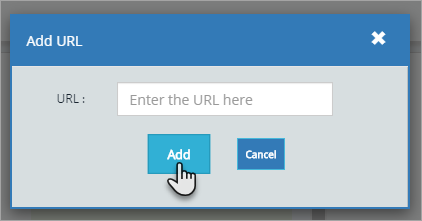
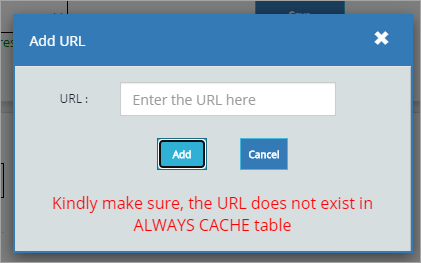
Click plus button to add URL into Never Cache list. Add URL pop-up appears.
Click URL field, enter the URL and then click Add button. Success pop-up appears.
Figure
With successful update, Config updated pop-up appears.

Delete URL from Never Cache
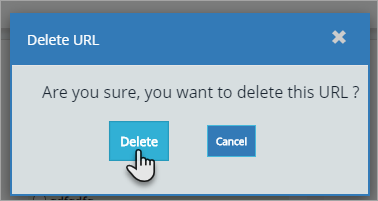
Click to select the URL that needs to be deleted and click Delete option. Confirmation pop-up appears.
Are you sure, you want to delete this URL? displayed in confirmation pop-up.
Click Delete button to confirm the action. Success message is displayed.
With a successful update, Config updated pop-up message is displayed.
